What is Padmasana (Lotus Pose)?
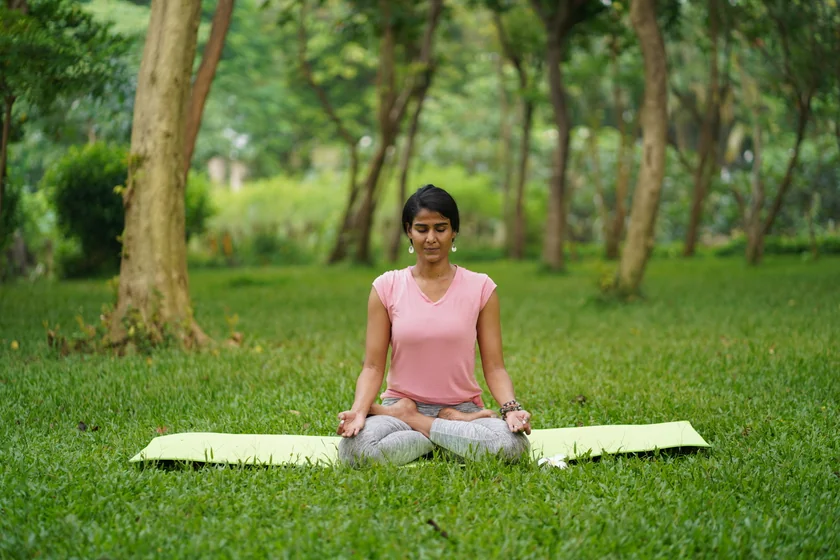
Padmasana, or the Lotus Pose, is a seated yoga posture used for meditation and physical well-being. It involves sitting cross-legged with the feet placed on opposite knees. Sitting upright with a straight spine improves posture, increases flexibility in the hips and knees, and promotes stability. This pose also encourages deep breathing, which calms the mind and enhances focus.
In Tibetan, Chinese, and Buddhist traditions, it is known as Vajra Pose and symbolizes spiritual growth and inner peace.
Padmasana: Overview & Meaning of Lotus Pose
Padmasana is a Sanskrit word combining Padma (lotus) and Asana (pose). The lotus symbolizes purity, rebirth, spirituality, and progress toward enlightenment. In mythology, the lotus holds deep significance—it grows in a murky pond but blooms with remarkable beauty. Thus, in yoga, the Lotus Pose is considered a pathway to spiritual awakening and blossoming.
In Hindu, Jain, Tantra, and Buddhist traditions, Padmasana has been used for meditation since ancient times, even before Hatha Yoga was formally developed. The Hatha Yoga Pradipika (15th century) describes Lotus Pose as the “destroyer of all diseases”—a practice that removes ailments, balances the body's metabolic functions, and enhances mental clarity.
The Bhagavad Gita encourages people to be like the lotus—performing their duties selflessly, without attachment to results. Just as a lotus leaf remains untouched by muddy water, a person who acts without seeking rewards remains free from sin.
At a Glance
- Sanskrit Name: पद्मासन
- Pronunciation: Pa-dah-maa-sun-aa
- Pose Type: Seated
- Also known as: Lotus Pose or Cross-Legged Sitting
- Strengthens: Spine, Neck, and Mind
- Stretches: Knees and Ankles
- Hold Duration: 1-5 minutes
Benefits of Padmasana
Padmasana has several benefits for the body and mind, such as:
Physical
Padmasana benefits you physically as it:
- Improves Posture & Alignment: By encouraging you to sit upright, this pose reduces slouching and back strain.
- Increases Flexibility: Sitting cross-legged stretches the hips, knees, and ankles, improving flexibility and mobility.
- Reduces Stiffness: By encouraging better blood flow to the lower body, this pose helps reduce stiffness and tension.
- Supports Digestion: Padmasana gently massages the abdominal organs, enhancing digestion, increasing metabolism, and alleviating issues like constipation.
- Strengthens the Back & Core: This pose requires you to engage the core muscles, providing stability and reducing lower back discomfort.
- Tones the Pelvic Floor: This pose strengthens and activates the pelvic floor muscles, supporting bladder control and reproductive health.
Mental
Mentally, padmasana benefits you as it:
- Reduces Stress and Anxiety: By activating the parasympathetic nervous system, this pose promotes calmness and relaxation, reducing stress and anxiety.
- Enhances Focus & Concentration: Slow and conscious breathing helps clear mental clutter, improving attention span and concentration.
- Boosts Mindfulness: This meditative pose creates awareness of the body, breath, and present moment.
- Improves Sleep Quality: This pose promotes relaxing the nervous system, leading to deeper, more restful sleep.
Spiritual
The spiritual benefits include:
- Strengthening the mind-body connection by aligning movement with breath, enhancing self-awareness and inner peace.
- Spiritual awakening and enlightenment by promoting you to resonate with the lotus.
- Detachment from distractions and external influences by fostering inner stillness.
How to Do Padmasana: Step-by-Step Guide
Part 1. Preparing for Padmasana
Sitting in Padmasana (Lotus Pose) requires flexibility in the hips, knees, and ankles. If these areas feel tight or stiff, it’s essential to prepare with stretches and preparatory poses to open them. Some preparatory poses include:
1. Sukhasana (Easy Pose)
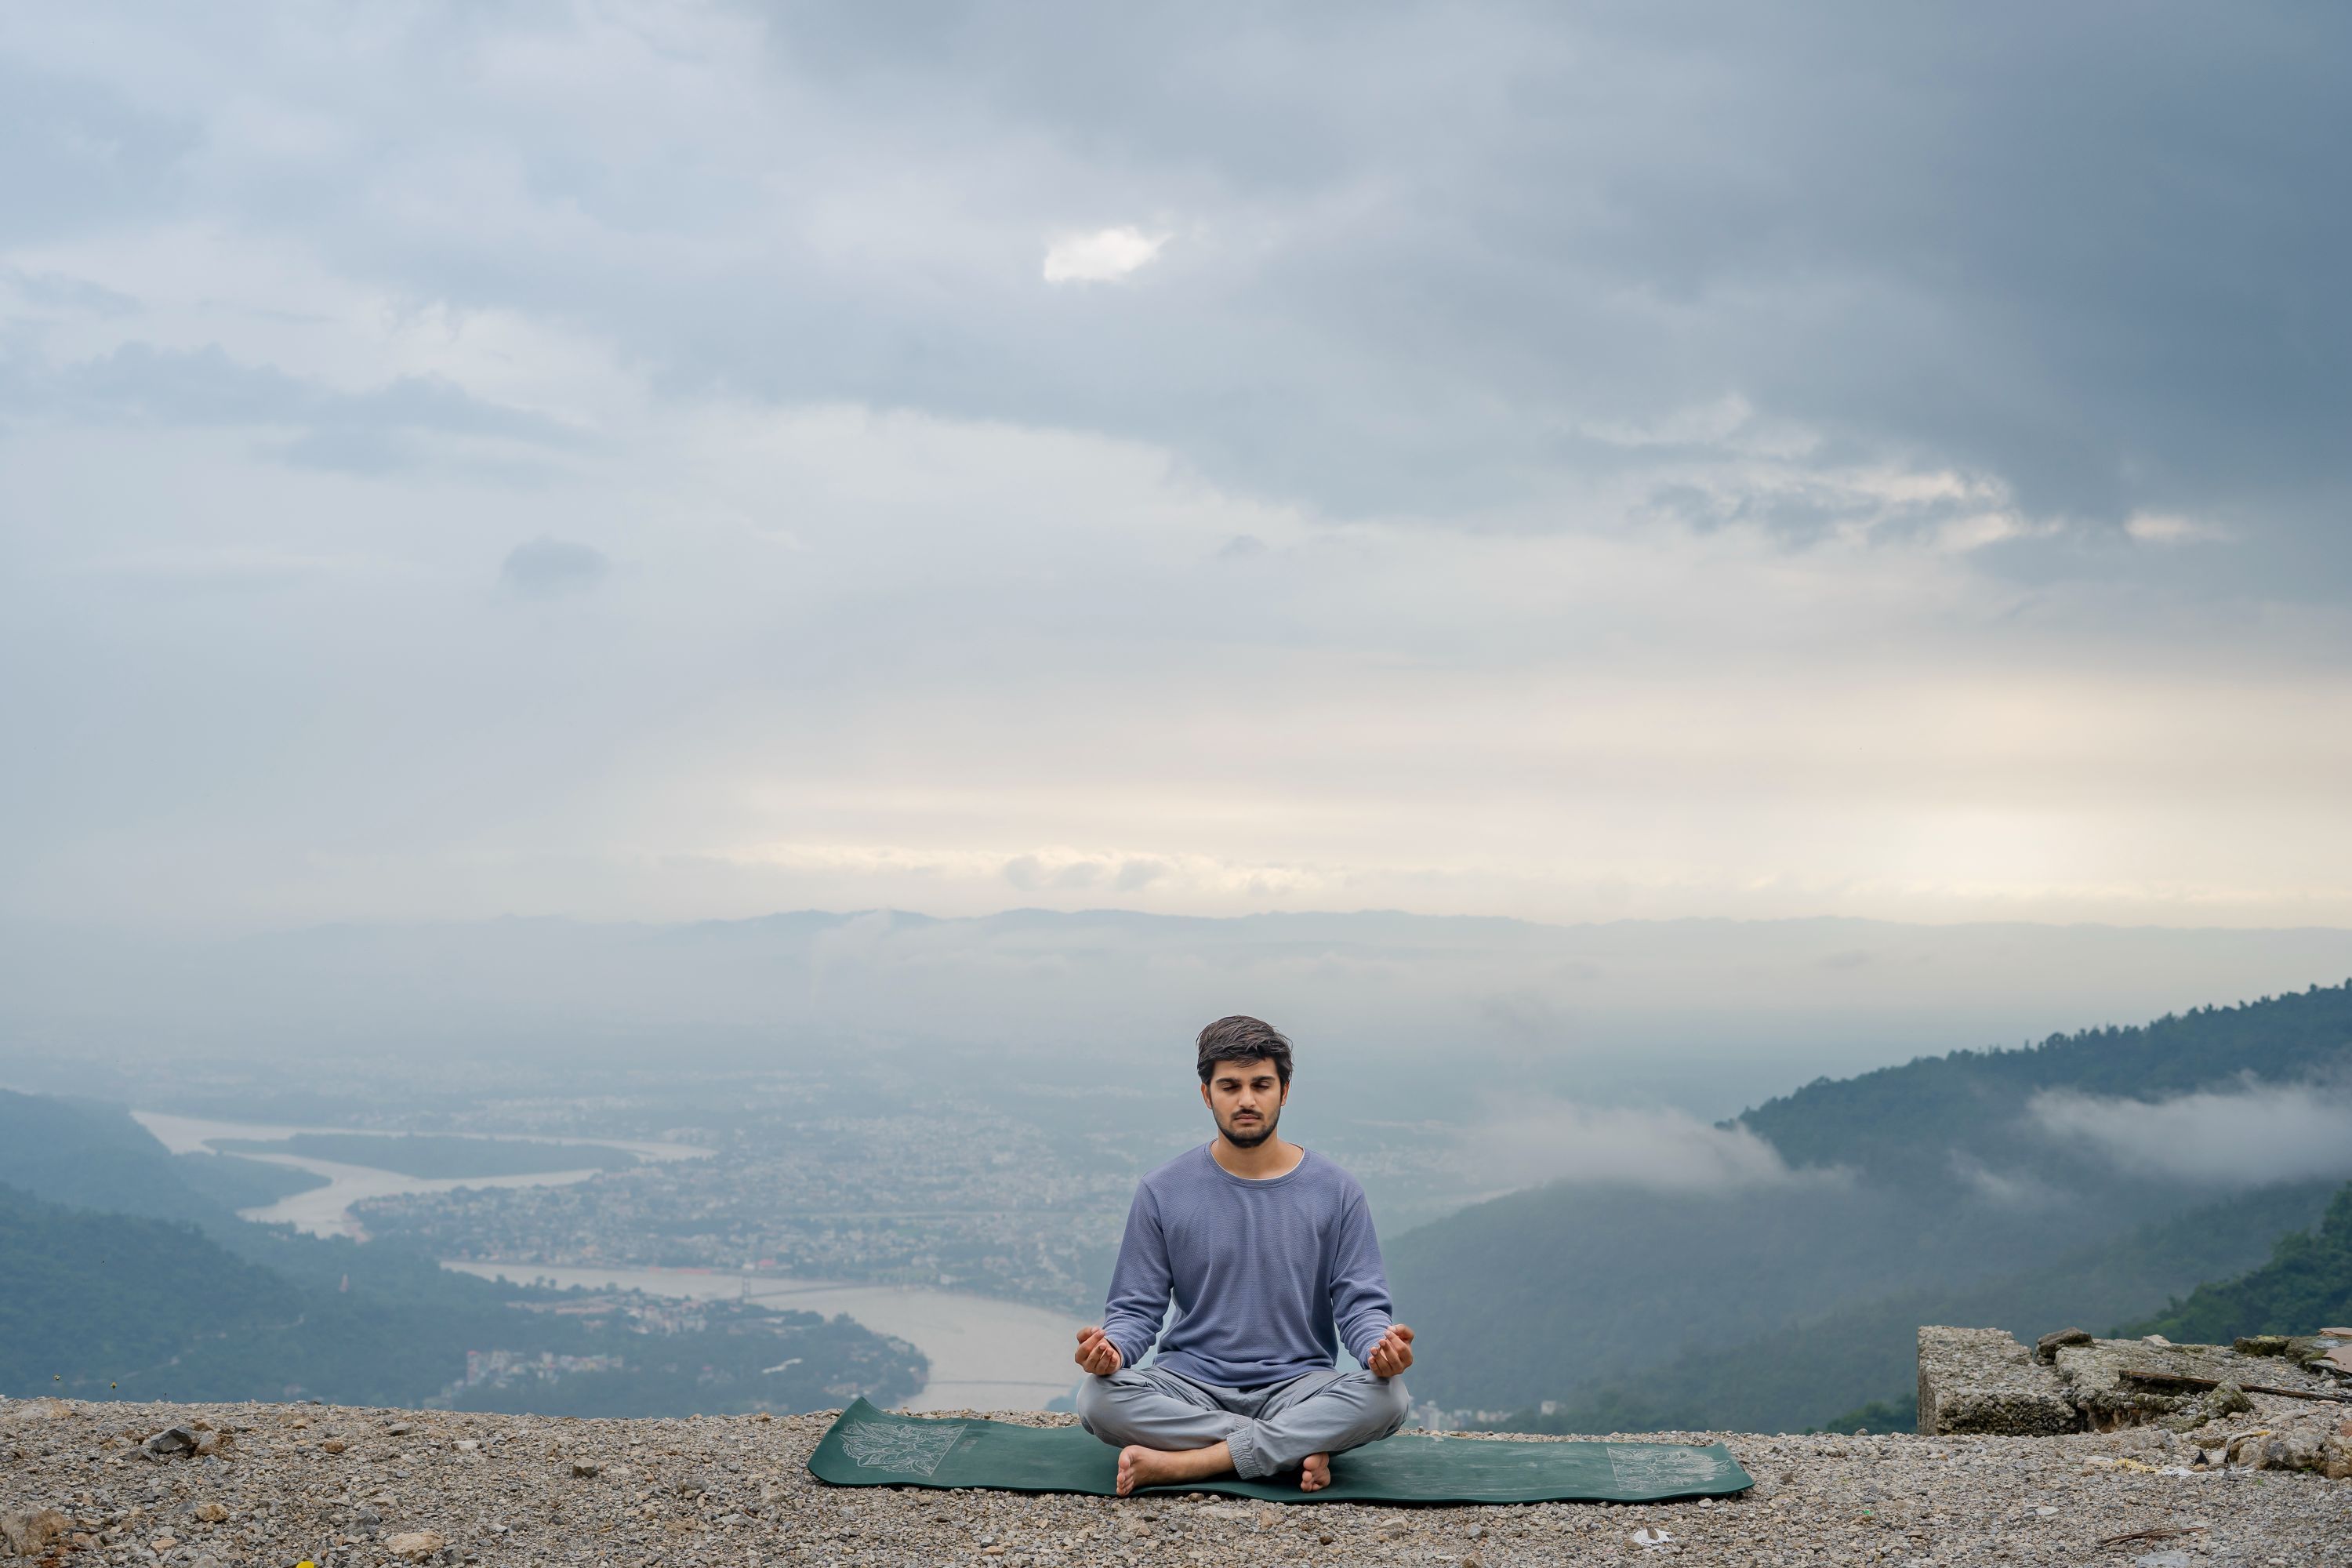
This pose provides a good stretch for the hips, groin, and ankles, all key areas required to do Padmasana comfortably. Practice this pose daily to improve flexibility before starting with Padmasana.
- Sit cross-legged with your spine elongated.
- Bring each foot under the opposite knee.
- Rest your hands on your knees, palms facing up or down as per preference.
- Close your eyes and engage your core slightly.
- Allow your knees to relax toward the floor. Also relax the shoulders, jaw, and facial muscles, allowing the body to settle into the pose.
- Keep breathing deeply, inhaling through the nose and exhaling slowly through the mouth.
2. Baddha Konasana (Butterfly Pose)
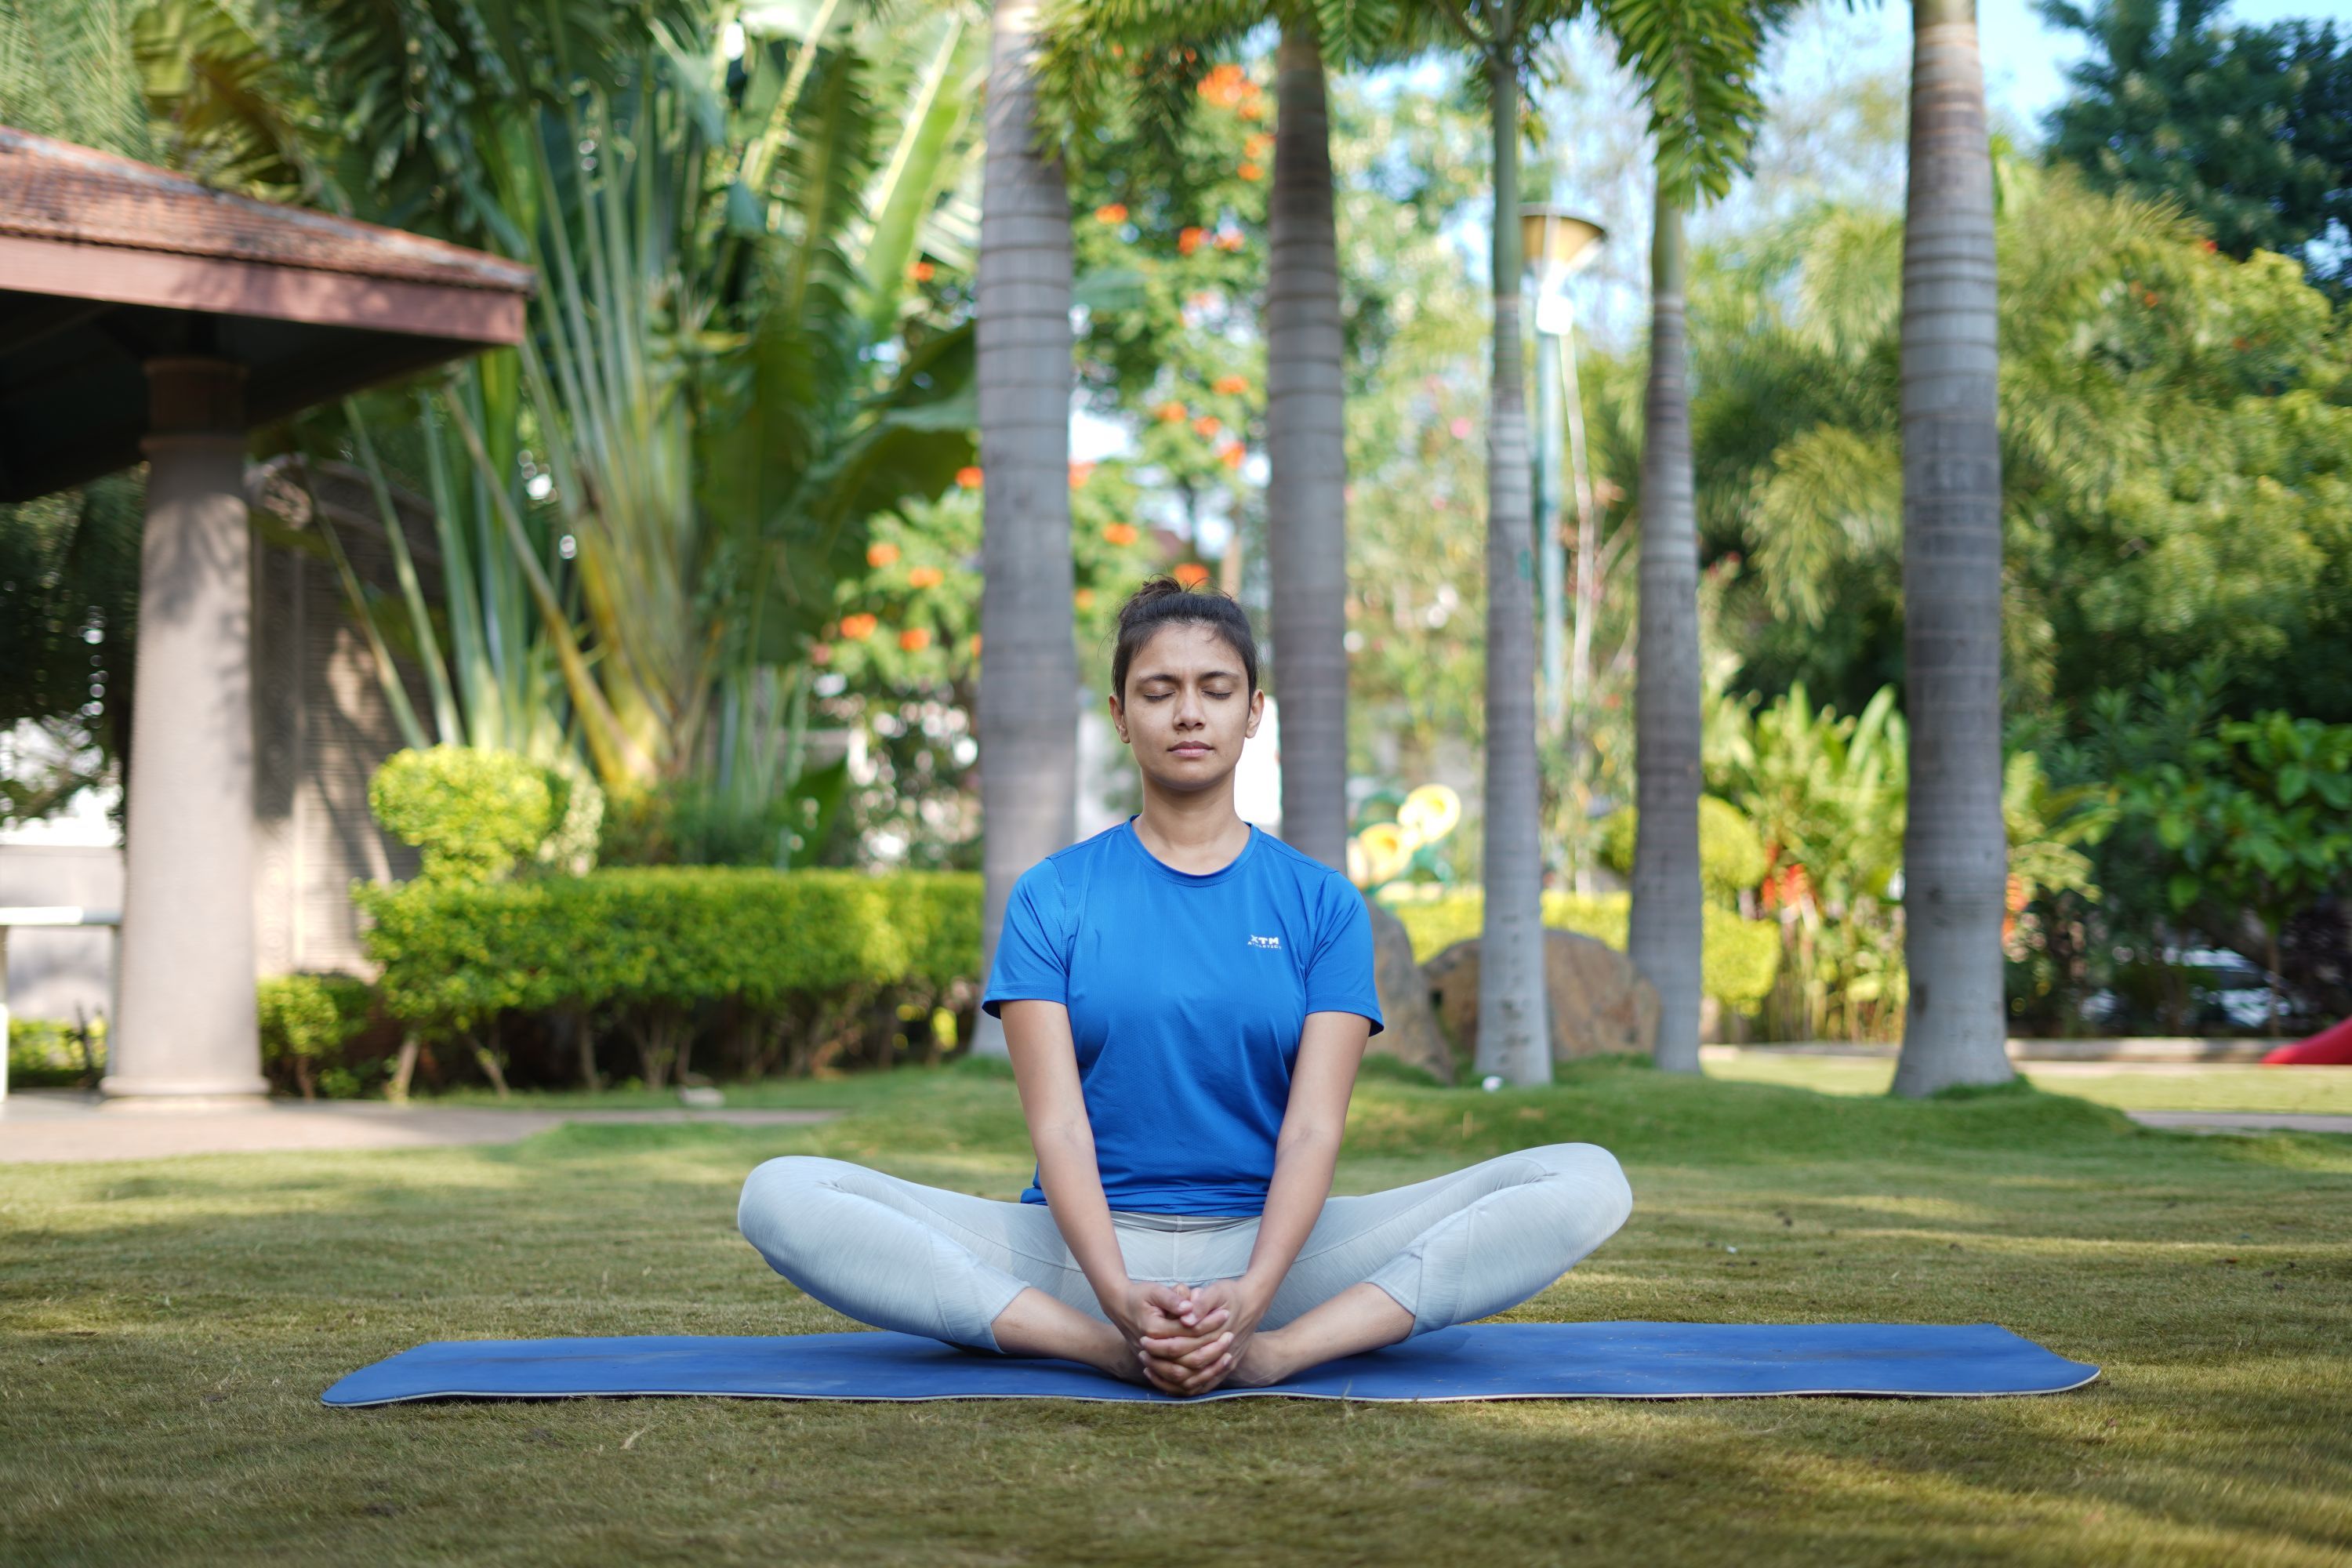
This is a great pose to open the hips and stretch the inner thighs, helping you progress towards doing Padmasana comfortably. Regular practice can help you develop mobility, making Lotus Pose easier to hold.
- Sit with your legs extended.
- Bend your knees and bring the soles of your feet together.
- Hold your feet with your hands and press the outer edges firmly into the floor.
- Allow your knees to relax downward without force.
- Hold for 10-15 breaths.
3. Virasana (Hero Pose)
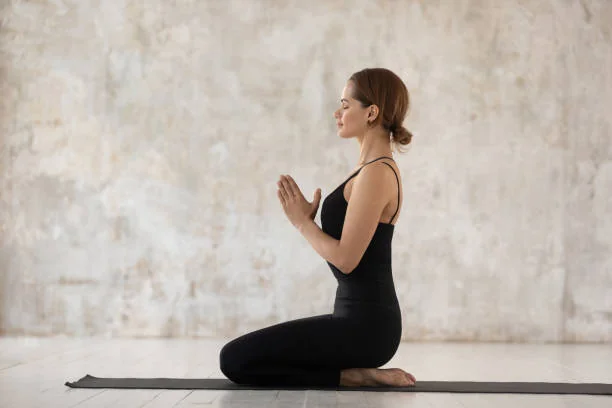
This pose helps stretch the thighs, knees, and ankles—essential for doing the Lotus Pose easily. With consistency, you can build more flexibility in these areas and do Padmasana comfortably.
- Kneel on the floor with your knees together.
- Sit between your heels, ensuring your back is straight.
- If your hips don’t touch the floor, place a block or cushion under your buttocks for support.
Part 2: How to Do Padmasana (Lotus Pose): Step-By-Step Instructions
Wondering how to sit in Padmasana? Here is a step-by-step guide to help you:
Step 1: Sit on the floor with your legs extended and your spine upright.
Step 2: Bend your right knee and place your right foot on top of your left thigh. The sole should face upward, and the heel should be close to your lower abdomen.
Step 3: Bend your left knee and place your left foot on top of your right thigh, mirroring the position of the first leg. Both soles should be facing upward.
Step 4: Place your hands on your knees with palms facing up and the thumb and index finger touching.
Step 5: Keep your spine elongated from the base of your neck to the crown of your head.
Step 6: Hold the pose, and then switch the position of your legs.
Step 7: Repeat on the other side.
Step 8: Maintain steady breathing throughout. Inhale deeply, and exhale for twice the length of your inhalation.
Part 3: Tips for Proper Alignment & Safety
It’s crucial to be safe while holding the pose. Keep the following in mind:
- Duration: Hold the pose for a minute if you’re a beginner. If you’re an advanced practitioner, hold the pose for as long as it feels comfortable.
- Protect Your Knees: If your knees feel strained, work on hip flexibility first by practicing the preparatory poses consistently.
- Flex Your Ankles: Slightly flexing your feet engages the tibial muscles, reducing strain on the knee and ankle joints, making this pose safe and comfortable for you.
- Ensure Proper Foot Placement: The outer edge of your ankle should rest near your lower abdomen. Avoid overstretching and be cautious of discomfort in the ankles.
- Listen to Your Body: Distinguish between mild discomfort (stretching) and sharp pain (potential injury). Stop if you feel pain.
- Practice Relaxing Poses: After sitting in Padmasana for an extended period, counterposes, like Seated Forward Bend and Corpse Pose, help release tension and restore circulation.
Learn Padmasana step-by-step with a coach! Book a free 1-on-1 trial session today.
Padmasana Variations
Whether you’re working on hip mobility or seeking deeper engagement, there are several Padmasana variations you can practice to suit your needs, level of flexibility, and comfort.
1. Ardha Padmasana (Half Lotus Pose): This is a beginner-friendly version of Padmasana that can improve flexibility in the hips and knees, preparing the body for the full Lotus Pose. It involves placing one foot on the opposite thigh while the other remains on the floor.
2. Lotus Pose Forward Bend: Adding a forward fold to Padmasana enhances spinal flexibility and releases tension in the lower back. This variation provides a deep stretch for the glutes, shoulders, and chest while promoting relaxation.
3. Half Lotus Pose with Side Bend (Hands Behind Head): This pose involves a gentle side bend to stretch the obliques, spine, and shoulders, making it a great warm-up pose. In this variation, one leg is placed in a half lotus position while the hands interlock behind the head.
4. Baddha Padmasana (Bound Lotus Pose): This is an advanced variation, involving crossing the legs in full Padmasana while reaching the arms behind the back to grab the opposite toes. It increases flexibility in the shoulders, chest, and hips.
5. Utpluthi (Lifted Lotus Pose): Another advanced strength-based variation, this pose requires lifting the body off the ground while maintaining Padmasana. It strengthens the core, arms, and shoulders while improving balance and control.
6. Half Lotus Pose with Props: For those with limited flexibility, using yoga props like blocks, cushions, or folded blankets can provide additional support. This variation makes Padmasana easier by reducing strain on the knees and ankles.
Padmasana: Precautions and Contraindications
While Padmasana (Lotus Pose) is a beneficial and well-rounded yoga pose, it’s not suitable for everyone. Practicing it with proper awareness is essential to prevent strain or injury.
Who Should Avoid Padmasana?
- Individuals with knee or hip injuries: The pose places significant pressure on these joints, which can worsen existing conditions.
- People with sciatica or chronic lower back pain: Sitting in this posture for long periods may increase discomfort.
- People with ankle stiffness or previous ankle injuries: If the feet are not positioned correctly, it may cause strain in the ankles.
- Pregnant women: Full Lotus Pose can put unnecessary pressure on the pelvic region, making it uncomfortable. You may opt for variations, but make sure to consult your doctor first.
- Individuals with arthritis: Especially those with arthritis in the knees, hips, or ankles, as the pose can aggravate joint pain.
How to Practice Padmasana Safely
- Warm Up Properly: Perform hip-opening and knee-mobility exercises before attempting the pose.
- Maintain Proper Alignment: Keep the spine tall, shoulders relaxed, and feet flexed to avoid knee strain. Slouching and not keeping the feet flexed can strain the neck, back, and ankles.
- Listen to Your Body: If you feel discomfort or sharp pain, ease out of the pose and try an alternative.
- Use Props: Place a folded blanket or cushion under the hips for better alignment and comfort.
- Try Padmasana Variations: If full Lotus is too intense, start with Ardha Padmasana (Half Lotus) or Sukhasana (Easy Pose).
By following these safety measures, you can practice Padmasana effectively while minimizing the risk of injury.
Padmasana: Related Poses
Here are some poses that release tension, restore balance in the hips, spine, and lower back while maintaining healthy mobility.
1. Paschimottanasana (Seated Forward Fold)
A calming forward bend that stretches the entire back body and relaxes the hips after Lotus.
- Sit with both legs extended and spine tall.
- Inhale to lengthen, then exhale to fold forward from the hips.
- Rest hands on shins, ankles, or feet and breathe gently.
2. Padmasana Forward Bend (Yoga Mudrasana)
A grounding fold from Lotus that deepens hip opening and releases the lower back.
- Sit in Padmasana or Half Lotus.
- Inhale to lift the chest.
- Exhale and fold forward, placing hands on the floor or letting them rest naturally.
3. Half Lotus Side Bend
A gentle lateral stretch that opens the ribs, waist, and outer hips.
- Sit in Half Lotus with one foot on the opposite thigh.
- Reach your arm overhead on the same side as the extended leg.
- Lean gently to the opposite side, keeping the chest open.
4. Ardha Matsyendrasana (Half Lord of the Fishes Pose)
A seated twist that releases the spine and supports digestion after Lotus.
- Sit with one knee bent and the opposite foot crossing over it.
- Inhale to lengthen the spine.
- Exhale and twist toward the bent knee, placing the opposite elbow outside the thigh.
Enjoy a Free 1-on-1 Session with a Coach!
Receive personalized guidance tailored to your unique fitness goals, live with a dedicated coach—no credit card required.
Frequently Asked Questions
It's a seated position with crossed legs and feet on top of the opposing thighs at the hip crease. The word "Padmasana" comes from two Sanskrit words: Padma, which means "Lotus," and Asana, which means "Seat" or "Posture."
Lotus position is classified as intermediate to advanced because it necessitates hip flexibility and openness in order for the feet to be placed on opposing thighs without causing discomfort or knee twisting.
- Sit in a staff position (Dandasana).
- Your right leg should be crossed across your left thigh.
- Place the left foot over your right thigh.
- Bring your hands to your knees on each side.
- Make sure your root and throat locks are activated.
- Continue to take deep breaths while closing your eyes.
It may come as a surprise that being unable to sit cross-legged is a sign of strained muscles. The numerous advantages of sitting cross-legged will astound you.
1. It expands your range of motion.
2. It enhances blood circulation.
3. It's an excellent way to stretch your muscles without having to do anything.
4. It is also beneficial to your joints and knees.
5. It helps you to maintain a better posture.
6. It promotes bowel movement.
7. Finally, when you sit cross-legged, your ankles put additional pressure on your inner thighs' arteries. This pose causes your heart to pump more blood, resulting in better oxygenation of other body areas and improved function.
The major muscles that rotates the femur bone at the hip internally are the tensor fascia lata (TFL) and gluteus medius. When the hip is flexed, the gluteus minimus participates in this motion.
Whenever the internal rotators are tight, the joint's outward rotation is restricted, which is important in postures like Lotus. Thus, the lotus pose improves lumbar spine circulation, nourishes and tones abdominal organs, strengthens ankles and legs, and develops hip flexibility.
Yes, your hips will open when you sit in the lotus position for more extended periods. Particularly if done on a stable surface. Sukhasana (cross-legged) has the same effect on the hips. There are, however, other asanas that can help with flexibility. Also, if the legs feel numb, one should not remain in the lotus for too long.
Lotus Pose is thought to quiet the mind and help the practitioner prepare for profound meditation. It also stretches the ankles, knees, and hips while strengthening the spine and upper back..
The primary variations are the half-lotus, one toe lotus, inverted lotus pose, and psychic union stance. At the same time, the legs are in lotus or half-lotus in advanced variants of various other asanas, including yoga headstand or handstand.


.webp)
%20(7).jpg)
