What is Ustrasana (Camel Pose)?

Ustrasana, also known as Camel Pose, is a yoga stretching posture that improves shoulder flexibility, strengthens the core, and stretches the entire front of the body.
The thighs and the entire back are stressed in this pose, tilting backward and arched inwards. Camel Pose (Ustrasana) belongs to the category of backbend yoga poses, and is considered an intermediate-level yoga pose.
Ustrasana counteracts slouching and reduces lower back discomfort with a deep, heart-opening stretch.
Overview & Etymology
The name Uṣṭrasana is derived from the Sanskrit words Uṣṭra, which means "Camel," and Asana, which means "Posture" or "Seat."
Prior to the 19th century, Ustrasana was the name given to a separate standing stance known as Sritattvanidhi. Two of Krishnamacharya's pupils, Pattabhi Jois of Ashtanga Vinyasa Yoga and B. K. S. Iyengar of Light on Yoga, later illustrated this modern camel position as a semi-standing backbend stretch in the twentieth century.
Sanskrit Name: उष्ट्रासन Pronunciation: Oohs-tra-aa-sun-aa
Pose Type: Backbend, Chest Opener Also known as: Camel Pose
Strengthens: Back, Chest and Neck
Stretches: Abdomen, Thorax, Neck, Inguinal Region, Quadriceps, and Lower Back
Health Benefits of Ustrasana
Improve spinal flexibility.
Reduces lower back pain.
Engages, strengthens, and tones the core muscles.
Helps open up the muscle groups around the hips and spine.
Increased blood circulation in the thighs, glutes, neck, and low back.
With regular practice, more energy or Parna will flow in the whole body.
Stimulates the female reproductive system due to deep stretch in that area.
Intensifies blood circulation around the tailbone, shoulders, neck, glutes, thighs, and abs.
When to Avoid Performing Ustrasana?
Avoid during menstruation and pregnancy.
Avoid if you’re suffering from serious migraine issues.
Avoid if you have a back, neck, or spine injury, or recent surgery.
Avoid if you have high blood pressure and feel unable to breathe in this pose.
How to do Ustrasana (Camel Pose)
You’ll get the most out of this yoga pose by performing it slowly, mindfully, and carefully. We have divided the process into four parts (Preparation, Pose Steps, Alignment Tips, and Relaxation).
Part 1 - Preparatory Poses for Ustrasana
Camel Pose (Ustrasana) is an intermediate-level pose, so the warm-up sequence of yoga poses is also intermediate level. You can practice these preparation poses in the following order:
1. Surya Namaskar (Sun Salutation) - This intermediate 12-step yoga flow is the best way to start blood circulation when activating full body muscles. Yogis can begin with Surya Namaskar after mildly stretching the neck, shoulders, arms, legs, hips, and back.
This yoga pose sequence can be used for stretching, or as a cardio exercise to strengthen the muscles so that you can go deeper into more challenging poses with well-controlled breathing.
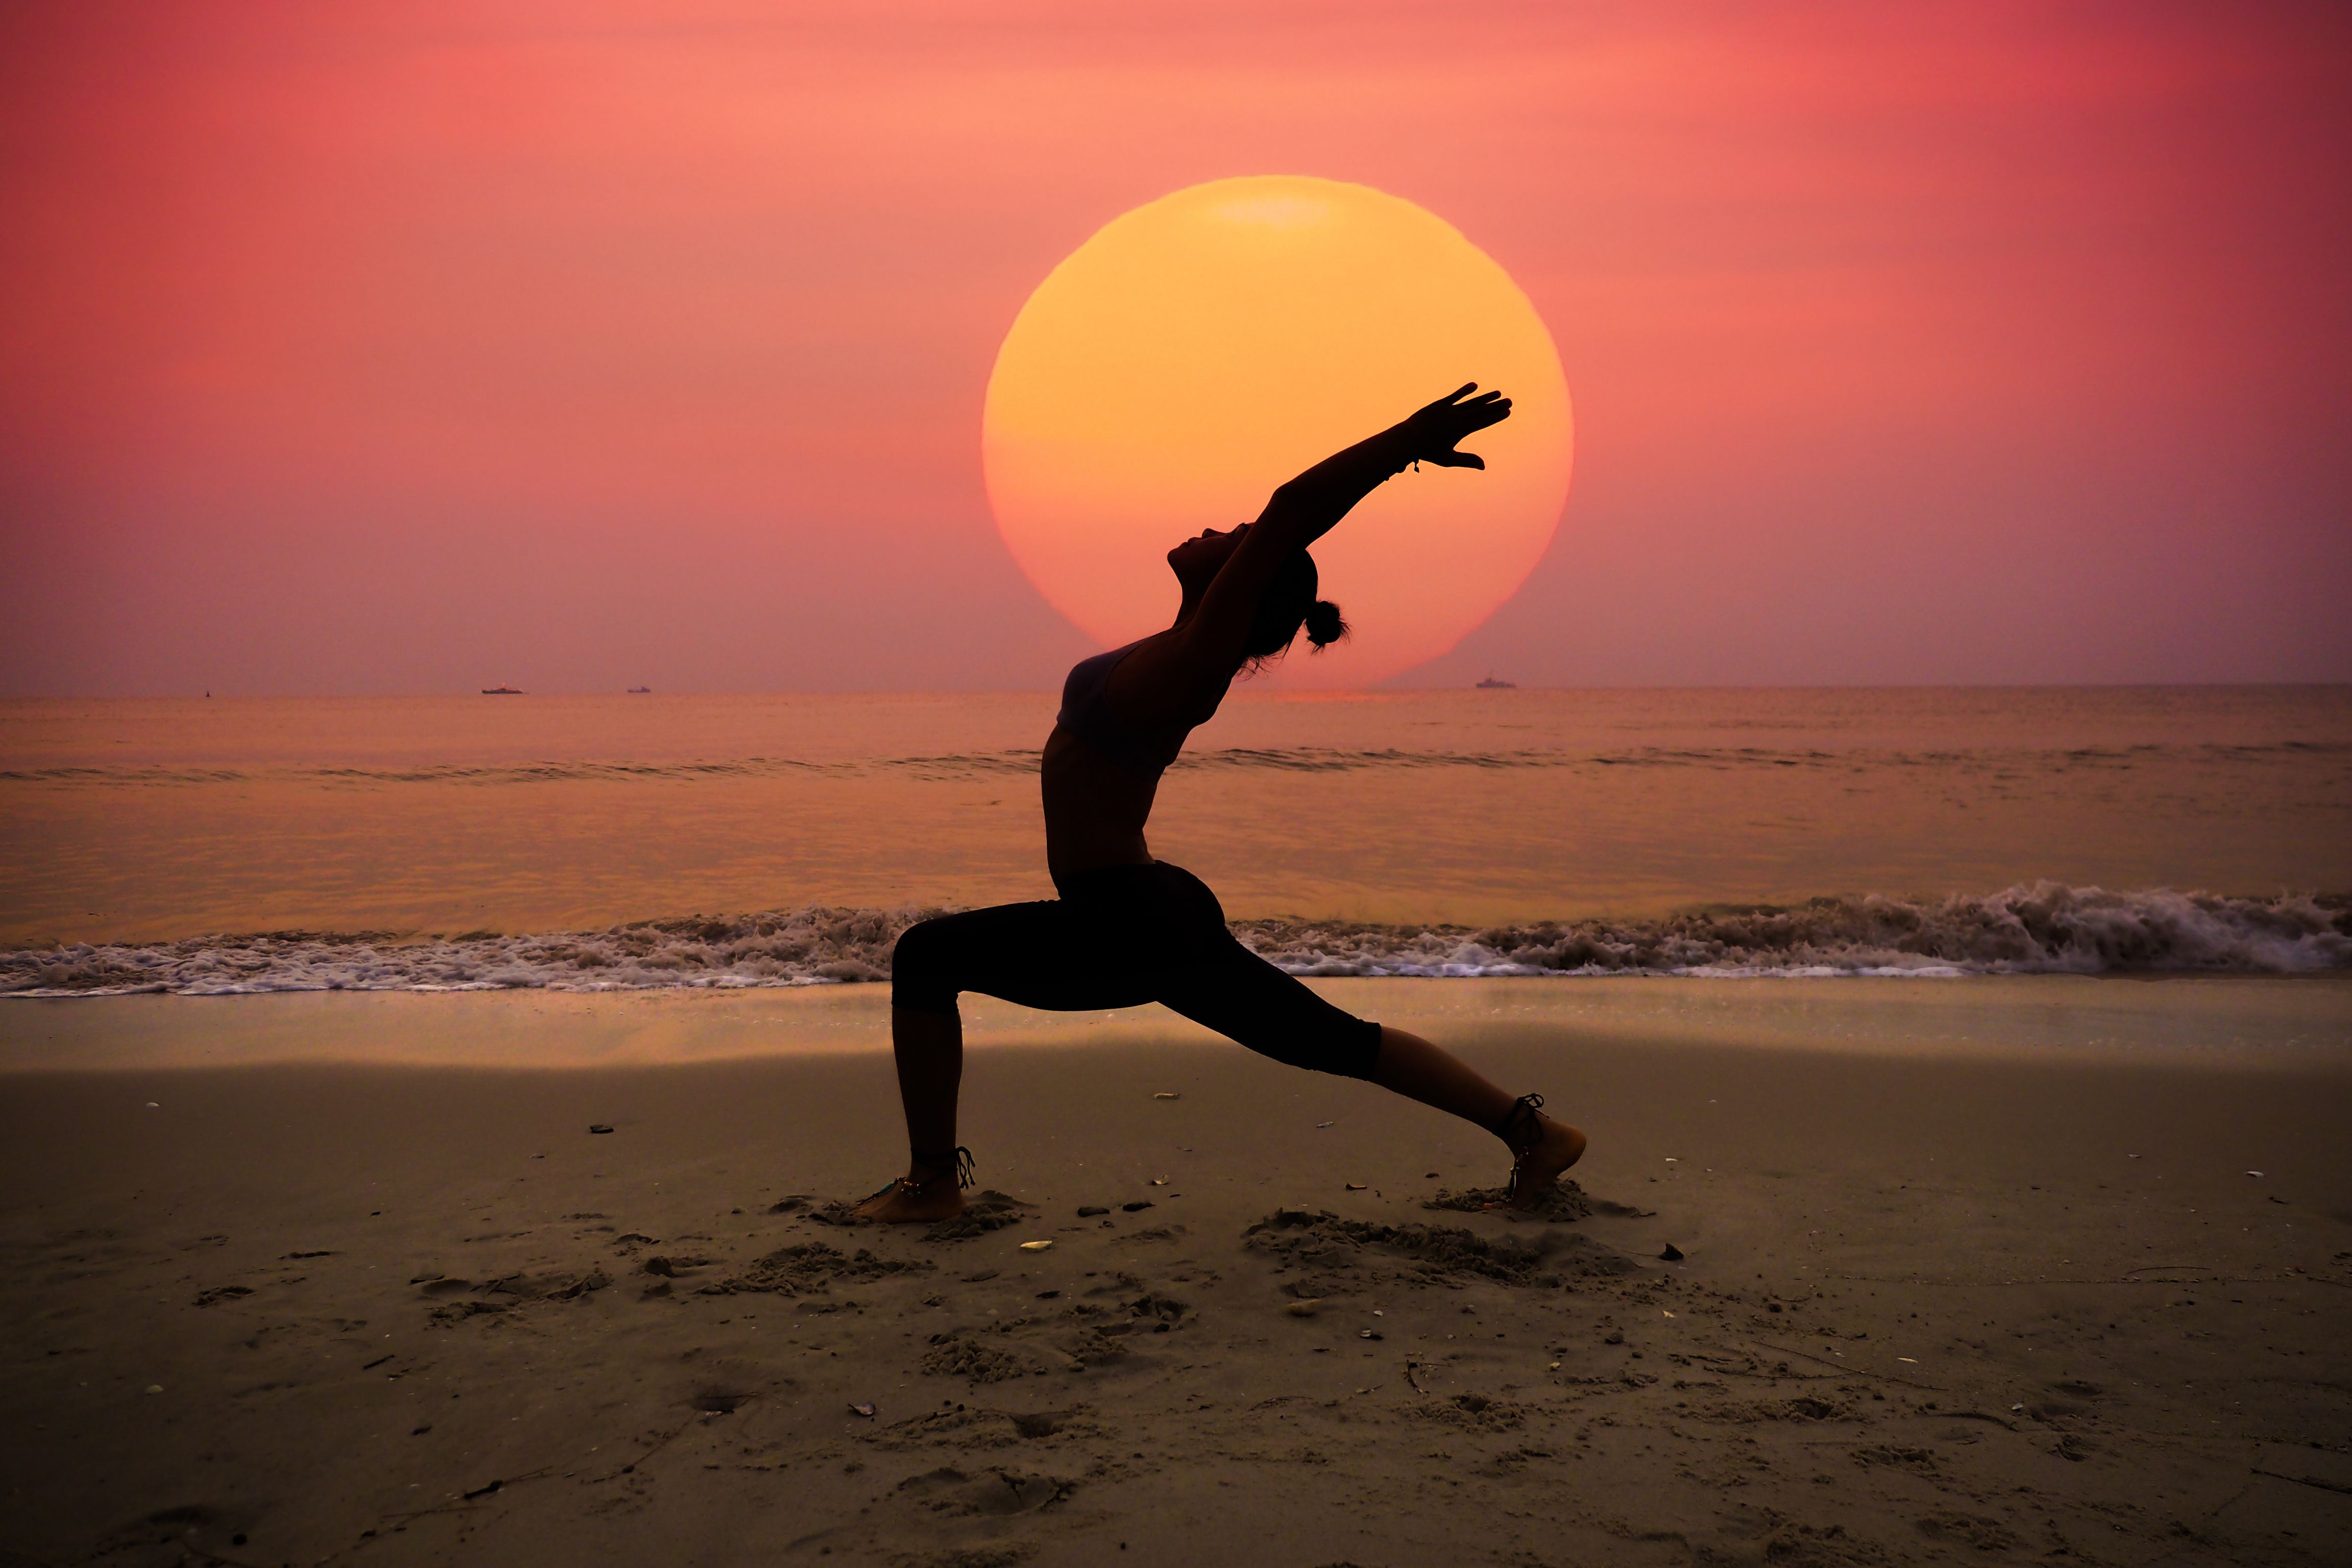
Depending on your body's needs, you could repeat the whole cycle 10 to 12 times for a full-body activation.
2. Bhujangasana (Cobra Pose) - is a reclining backbend from modern yoga practice. Start by lying on your abdomen facing the ground and slowly raise your upper body, taking the shape of a snake.

To further activate the neck and throat muscles, try extending and slowly dropping the head back for complete spine activation. Hold this position here as long as you feel comfortable and then come back to the ground slowly with a deep exhale.
3. Dhanurasana (Bow Pose) - Start by lying on your stomach, take a deep breath and raise your upper body upwards and backward, reaching for both the ankles with your arms behind you and your legs bent at the knees.
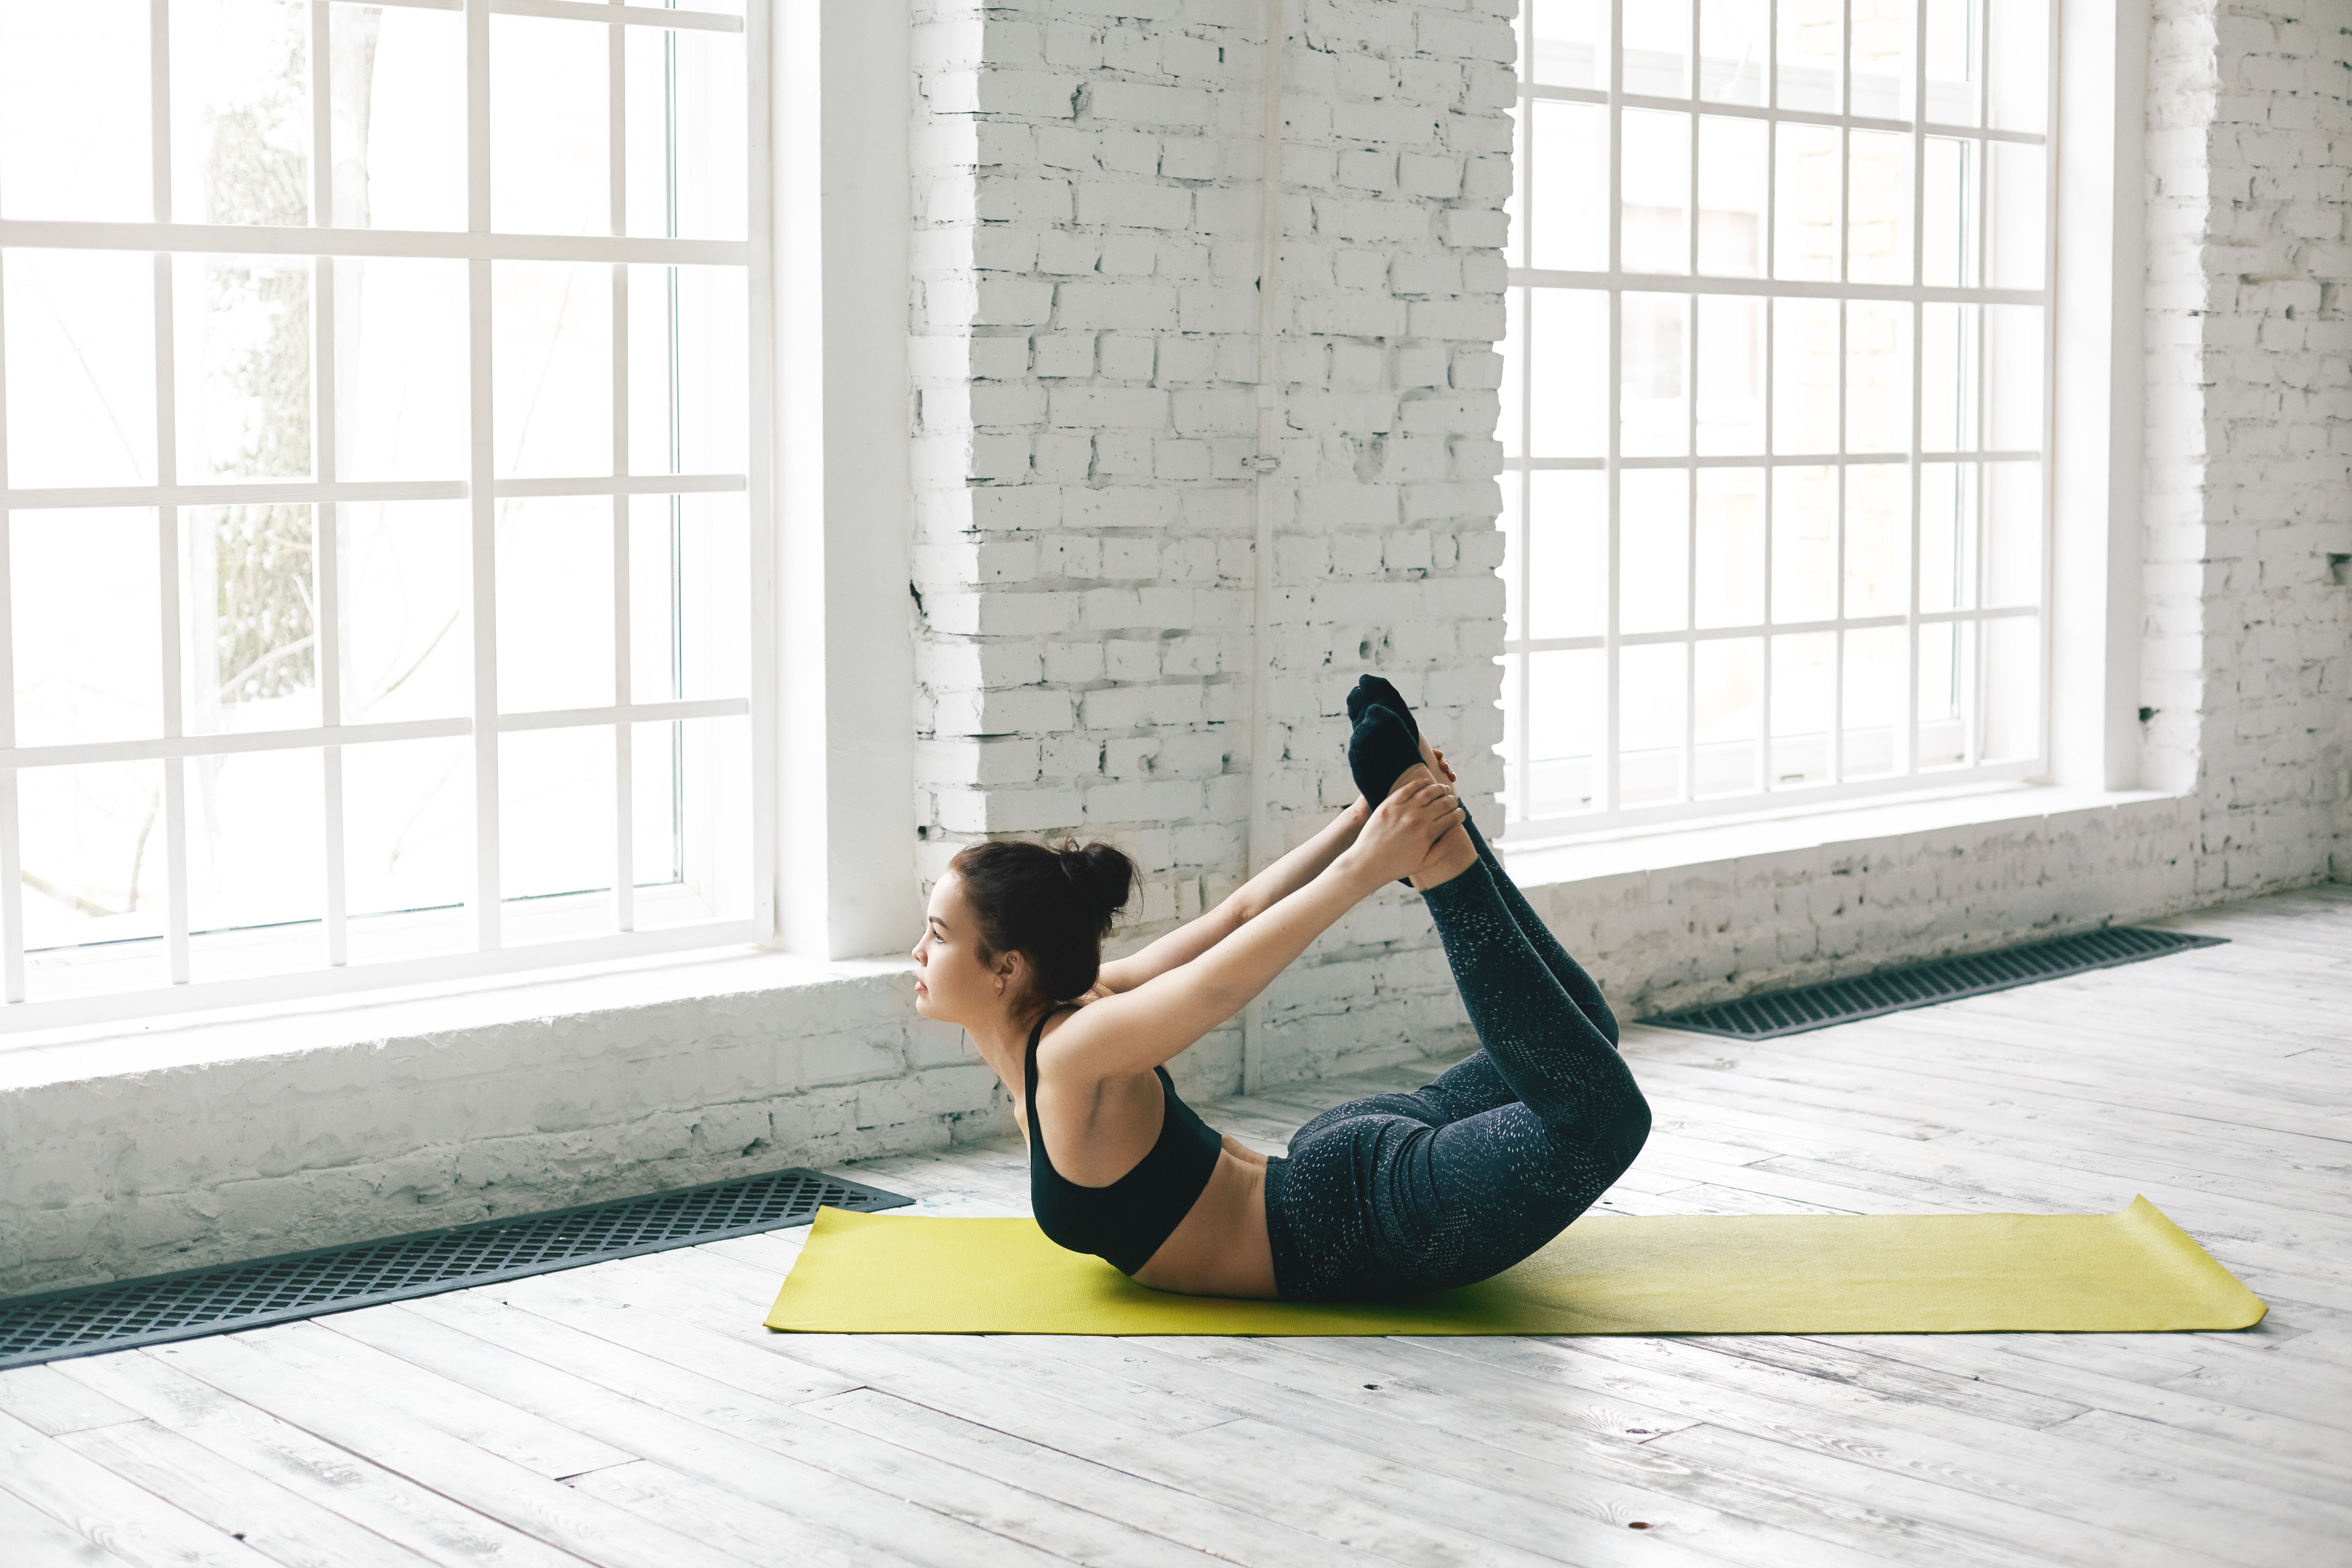
The body is shaped like a bow, appearing strong and powerful. It is a must-do yoga pose right before the Camel Pose practice because it opens the lower back while keeping the back arched, providing the strength needed for Ustrasana.
Part 2: Step-by-Step Instructions to Perform Ustrasana
This kneeling backbend can double the heart-opening process, providing you with a gentle stretch in your chest. To execute this pose safely, it's best to follow these steps to get you into the camel pose safely:
Step 1- Start by standing straight on the mat and gently kneel in the middle of the mat. Get seated in Vajrasana (Thunderbolt Pose).
Step 2- Rest your hands on your knees and place the tops of your feet flat on the mat.
Step 3- While sitting in Vajrasana, make sure your head and neck are straight in a line and pull both the shoulder blades back and down. Keep breathing at a normal pace.
Step 4- While you’re still kneeling on the ground, raise your upper body and stand up. Make sure your knees are hip-distance apart.
Step 5- Engage your core and start to deeply inhale while bending your elbows and curling your toes under.
Step 6- Place your hands on your hips and lift your upper chest, shoulders, and head back until you are looking straight upwards to the ceiling. Keep taking short (but full) breaths here.
Step 7- Extend your arms one by one behind you so that you can grab your heels with your hands and continue to lean backward.
Step 8- Stop leaning when you've stretched as far back as feels comfortable for your neck and back. Keep your core tight and hold this position here for 3 to 5 full breaths.
Step 9- Now, release your hands from your heels and place them on the lower back for support, as you slowly raise yourself back up to a kneeling position.
Step 10- Exhale deeply and sit back in Vajrasana.
Breath Awareness:
- Inhale deeply as you lift up the body from seated to kneeling stand.
Keep inhaling and exhaling slowly while leaning back and holding the pose.
Exhale slowly as you release the pose and get seated back on the ground.
Performance Duration for Beginners: Hold the camel pose for 20-60 seconds.
Performance Duration for Advanced: Hold the camel pose for 1 to 3 minutes.
Part 3: Things to Keep in Mind
Don't overwork your lower back: Keep in mind that you should lead with your upper body. It may be tempting to put a lot of weight on your lower back at first, but this can lead to discomfort or injury.
Instead, imagine your lower body is rooted in one place, you’re just working your ribs, shoulders, and chest.
Keep your hips in a neutral position: From the beginning, be sure to maintain adequate space between your knees. Keep your hips positioned above your knees when you elevate your body.
As you reach full extension, pay attention to how your body moves. Make a mental note to correct yourself if you notice yourself overextending or underextending your hips. You can ask for help from a spotter/yoga instructor to correct your alignment here.
Engage the abdomen: Most people trust their instincts when learning Camel Pose, and it's a bad idea. If your core (especially abs) isn't engaged well, your lower back could carry too much weight, which could cause chronic back pain.
If engaging the core is not possible, try not to lean too far backward. Simply, hold a slight leaning backward stance and support your lower back with your arms.
Part 4: Relaxing Poses After Ustrasana
Since your back is stretched to its utmost in Camel Pose, using the right counter-poses is necessary right after performing this pose. Try practicing some of the following:
1. Balasana (Child’s Pose):
Release Camel Pose slowly, bringing your body back to a sitting position on your knees and heels. Lengthen your body forward and place your forehead on the floor. Now, stretch your spine and bring your chest close to the ground in front of you.
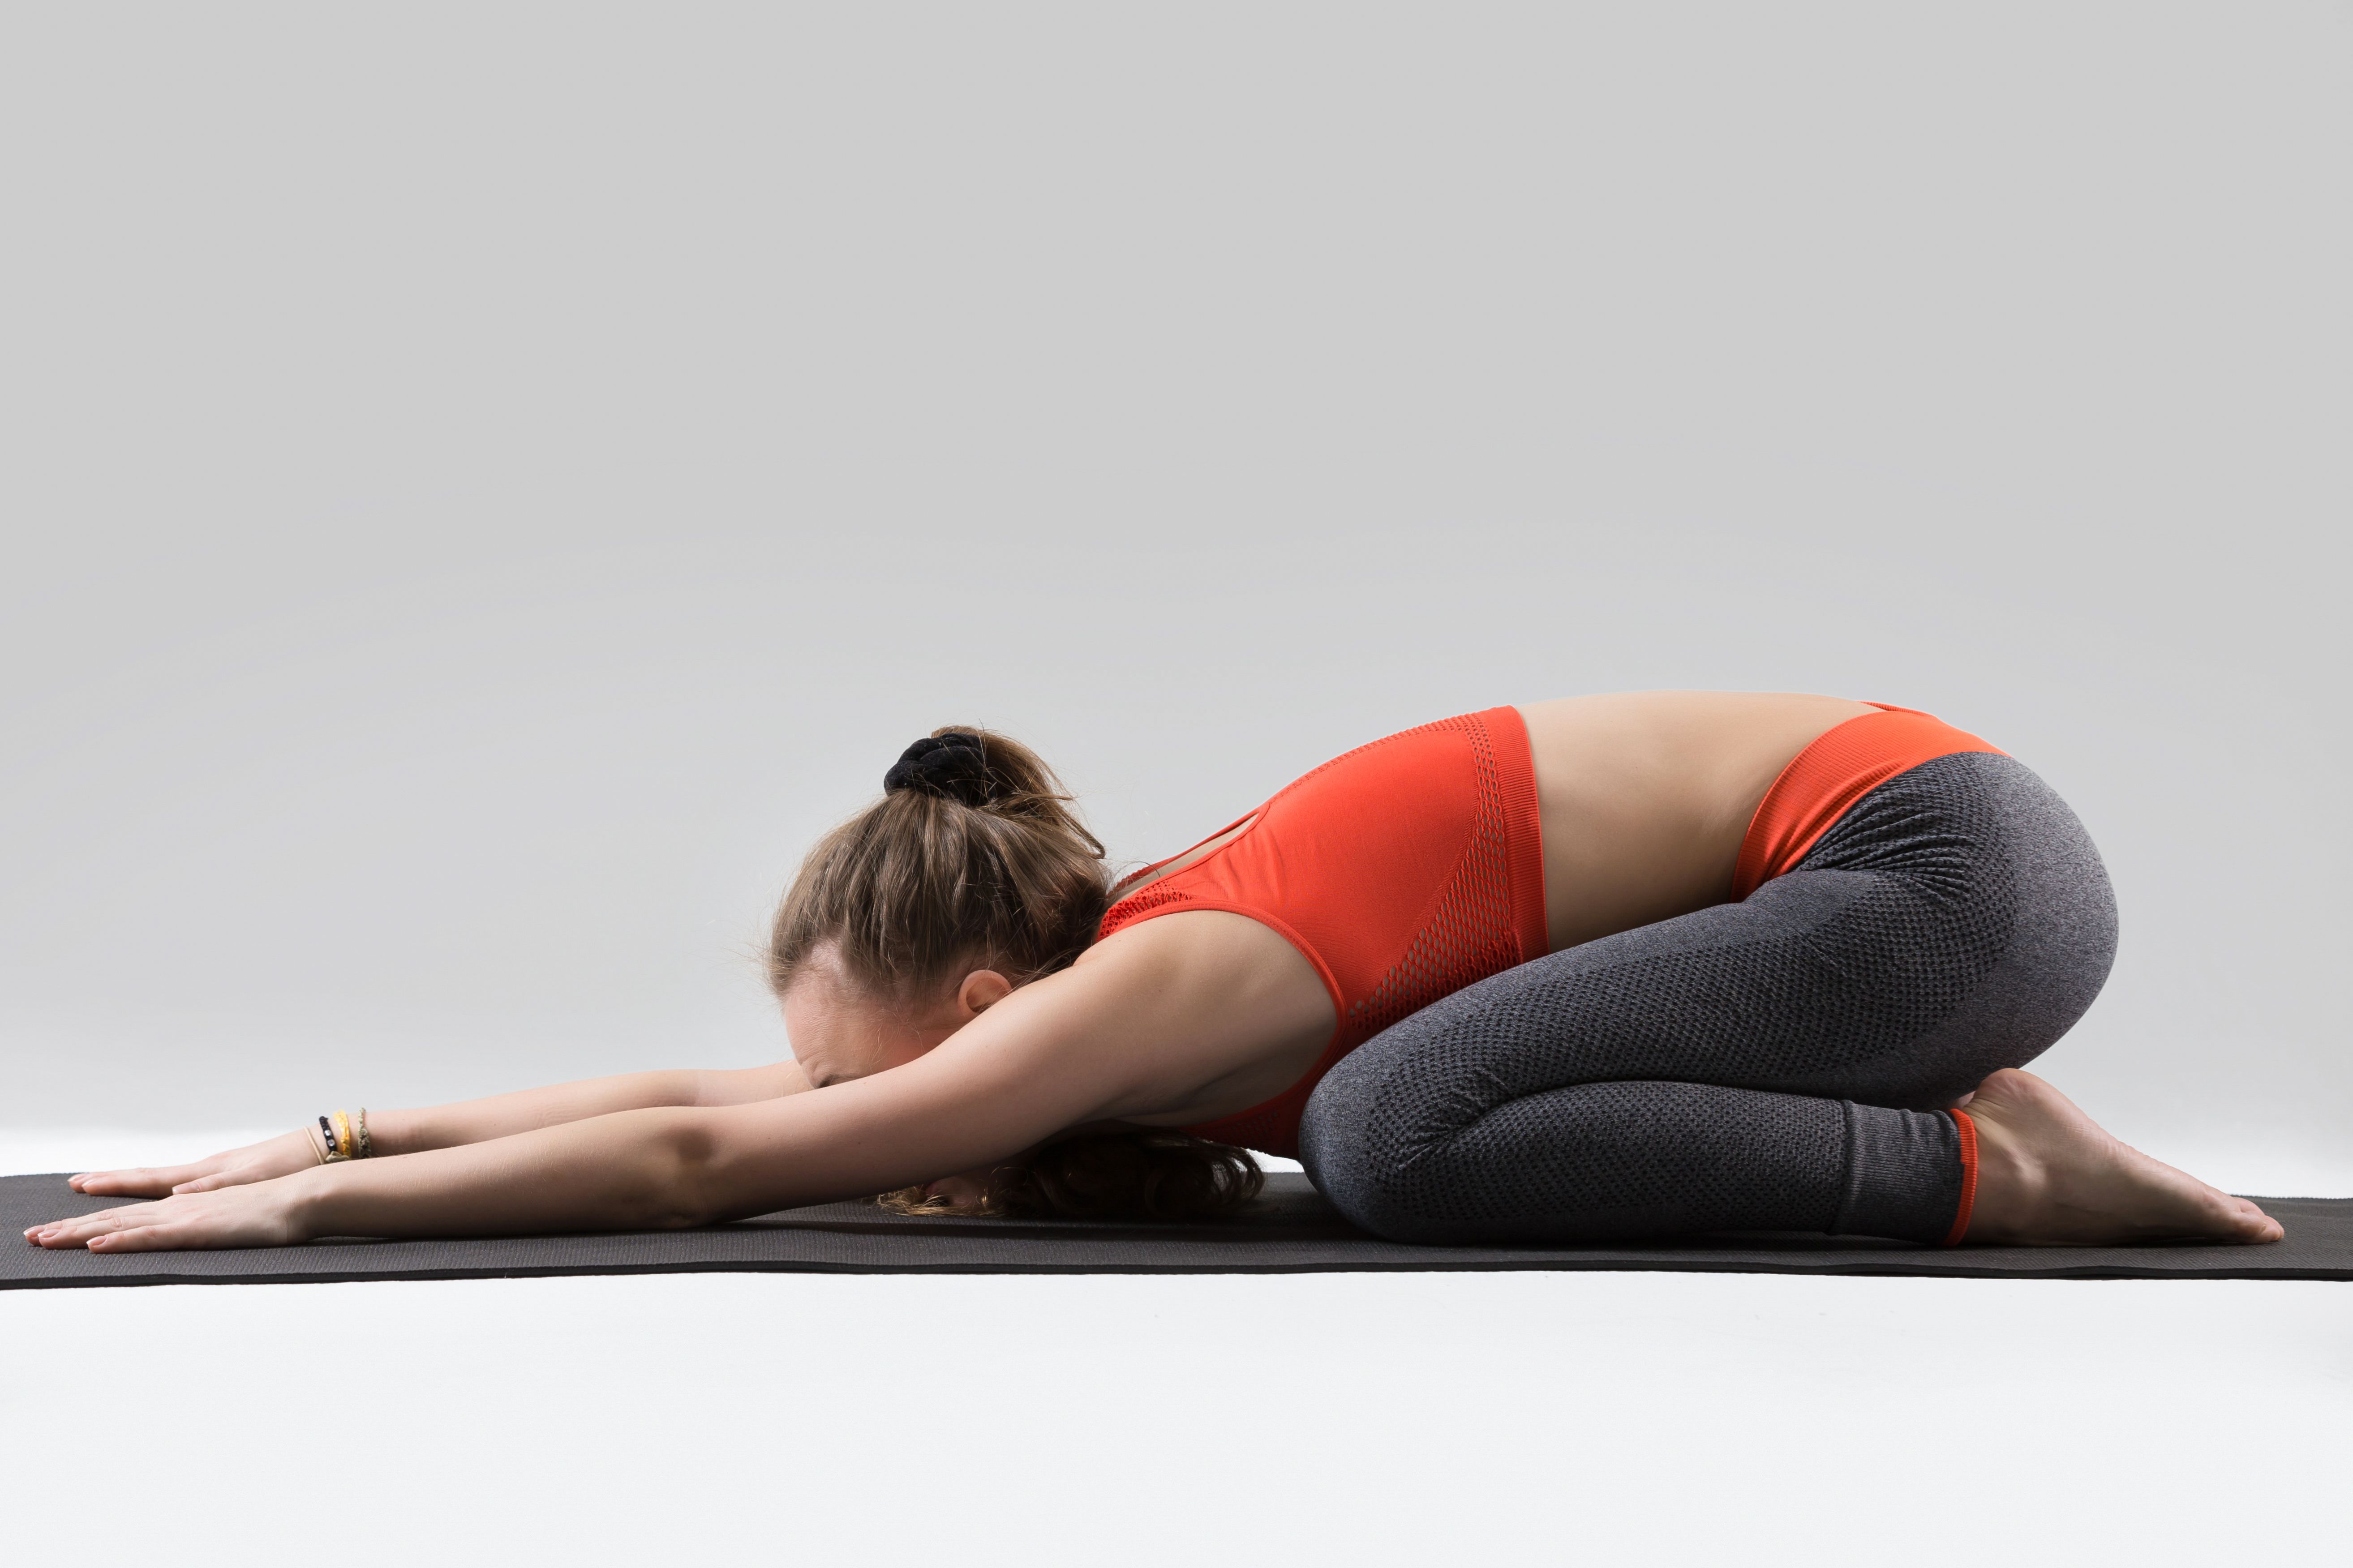
It is unnecessary to exert any added effort to accomplish this yoga pose. So, just relax and allow yourself to sink in, releasing all of that tension around your lower back and spine.
2. Uttana Shishosana (Puppy Dog Pose): With your body on your knees, raise your upper body and walk forward, positioning your arms in front of you. Ensure your spine is as high as possible towards the ceiling, and your chest and chin are on the floor.
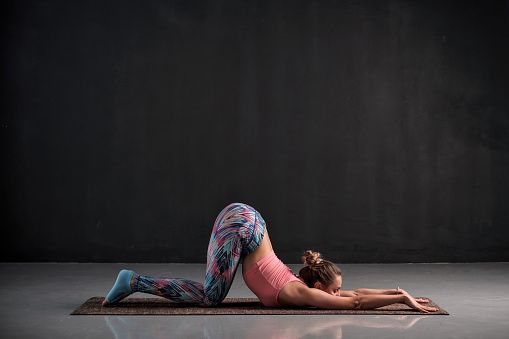
This stance relaxes the entire spine, and the shoulders and chest are also deeply relaxed in this position.
3. Supta Baddha Konasana (Reclining Bound Angle Pose): From the Puppy Dog's Pose, move your body into a reclining posture on your back. Lie down onto your back with bent knees and your feet in a Namaste position.
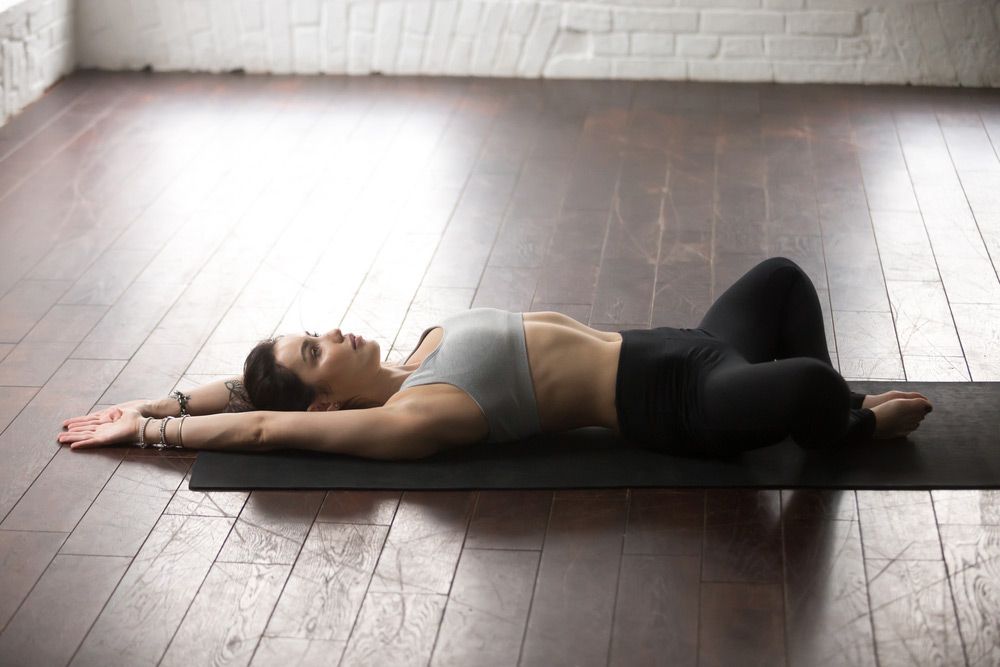
The floor supports your back in this position, and deep breathing helps your entire spine relax. With your feet at Namaste, your lower back or gluteus muscles can relax. You can place a bolster pillow below the lower back if you want deeper relaxation. This position is the final relaxation pose.
Ustrasana Variations to Consider
Everyone has varying abilities to perform any given yoga pose. So, if you feel more comfortable leaning backward with your head dropped and lower back completely flexed, you can try a few of these minor posture variations listed below:
1. Half Camel Pose Variation Head Up: Get into the camel pose and open up your chest. Slowly inhale and raise one of your arms and try to lengthen the entire upper body towards the ceiling.

Now, exhale deeply and try to gaze up while you're lengthening the body. Ensure your other arm holds one of your ankles firmly by tightly engaging the hips and core.
2. Half Camel Pose with Raised Toe: Once you have gained more strength in the previous head-up variation, continue flexing in the same posture for a few seconds. Inhale and lift one leg up by holding onto the toes.
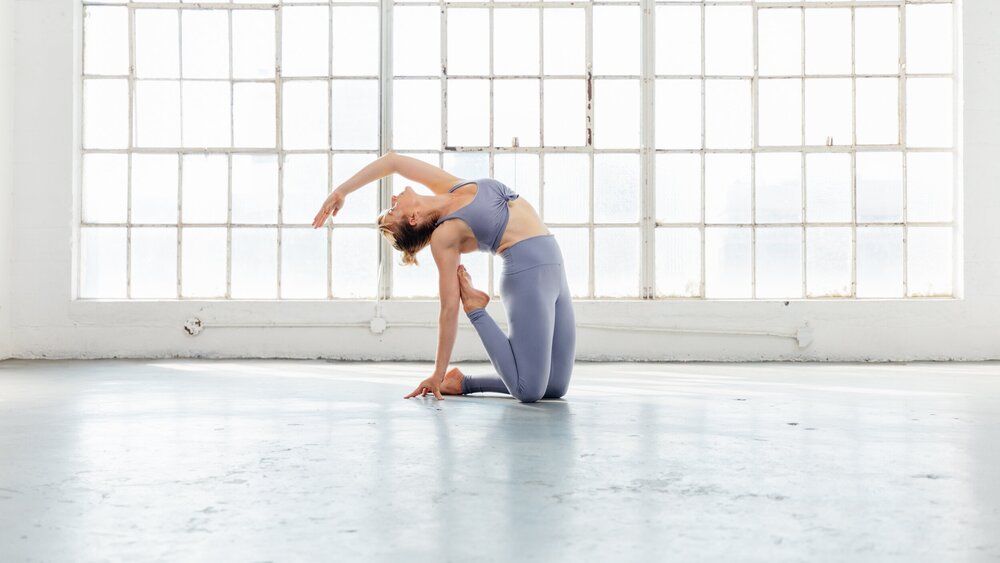
Keep breathing slowly and continuously as you hold the toes with your palms for a few seconds. Now, let go of the hand holding the toe and just place the palm on the ground. If you feel strong, keep your toe pointing up by supporting the same leg with your arm placed back on the floor.
3. Camel Pose with Eagle Arms:
Simply get into the full camel pose and slowly let go of your arms. Inhale deep and clasp both arms up together in Eagle arms formation. Lean back, hold the pose for a few seconds while you feel a deeper stretch in the lower back and front thighs.

This variation requires a lot of lower back strength because your hands are not involved for extra support–either from the ground or any props. So, try this variation only when you are confident enough to flawlessly execute every other camel variation.
Enjoy a Free 1-on-1 Session with a Coach!
Receive personalized guidance tailored to your unique fitness goals, live with a dedicated coach—no credit card required.
Frequently Asked Questions about Ustrasana
The following are some of the health benefits of Ustrasana:
- Aids in weight loss.
- Stretches the abdomen.
- Strengthens the core and neck muscles.
- Increases blood flow in the throat and root chakras.
- Releases tension around the neck and lower back.
The following are a few easy steps to perform Ustrasana or Camel Pose:
- Kneel on the yoga mat and stand tall with your upper body.
- Place bent arms on the lower back and start to inhale deeply.
- Shift your head slowly towards the ceiling while leaning back with your upper body.
- Drop your neck back, open your chest and feel a deep stretch around your core and lower back.
- Hold the pose here for a few seconds and then deeply exhale while coming back slowly into the kneeling stance.
Here is a list of different types of Ustrasana preparatory poses:
- Cobra pose is very nice for opening the lower back muscles.
- Locust pose is helpful in opening tight glutes and thighs.
- Bow pose focuses primarily on the abdomen and the entire back muscle activation.
- Upwards-Facing Dog will help you increase muscle strength around the spine and shoulders.
It is not recommended for beginners to perform Ustrasana, as they may find it challenging to keep the posture well-aligned due to weakness in the core. Still, if beginners want to reap its benefits and create a strong foundation, they can practice camel pose with wall support at first, and then slowly progress over time to its variations.
For beginners, the duration for holding Ustrasana is 20 to 60 seconds; repeating these for three to four rounds with added relaxed poses holds between 10 to 15 seconds. Advanced yogis may extend holding this pose over 1 to 3 minutes easily.
Generally, patients with low or high blood pressure, heart patines, pregnant women, and people with chronic lower back or neck pain should avoid camel pose practice. Women on their menstruation cycle should not do camel pose, especially if suffering from lower back pain or cramps.


.webp)
%20(7).jpg)
