What is Utthita Parsvakonasana (Extended Side Angle Pose)?

Extending your arms, legs, and upper body is the focus of Utthita Parsvakonasana (Extended Side Angle Pose). This is an excellent asana for stretching your sides while strengthening your lower body.
The Extended Side Angle Pose strengthens your core muscles and increases shoulder flexibility. It encourages both mindfulness and physical engagement of significant muscle groups.
Overview & Etymology
Overview
The name Utthita Parsvakonasana is derived from Sanskrit words "Utthita" which means "Extended," "Parsva" which means "Side”, "Kona" which means "Angle," and "Asana" which means "Posture or Seat."
Body extended on one side with the legs at an angle together with the side body is the meaning of Utthita Parsvakonasana. This standing stance is combined with Utthita Trikonasana and Virabhadrasana II to create a standing yoga flow practice.
In medieval Hatha yoga books, the extended side angle position is not described. It first appears in the 20th century in Krishnamacharya's Mysore yoga system and the teachings of his students Pattabhi Jois and B. K. S. Iyengar, among other asanas with names that illustrate the position of the body and its limbs.
Sanskrit Name: उत्थित पार्श्वकोणासन Pronunciation: Utt-thi-t Paar-saav-kon-aahs-uh-nuh
Pose Type: Standing Pose Also known as: Extended Side Angle Pose
Strengthens: Knee, Leg, Ankle & Core Stretches: Knee, Vertebral column, Thorax, Ankle, Shoulder, Leg, Abdomen, & Lungs
Health Benefits of Utthita Parsvakonasana:
Reduces backache.
Strengthens the legs.
Reduces menstrual discomfort.
Can help with sciatica symptoms.
Helps athletes tone their calves and hamstrings.
Helps in expanding the chest, arms, and shoulder muscles.
This improves respiration and offers the entire body a burst of energy.
This posture promotes joint flexibility with an increased range of motion.
The abdominal organs are stimulated in this pose, which improves digestion.
When to Avoid Performing Utthita Parsvakonasana:
Avoid during migraine.
Avoid during high blood pressure.
Avoid if you have weak joints or joint pain.
Avoid if you experience nervous system disorders.
Avoid if you have recently been injured or undergone surgery.
How to do Utthita Parsvakonasana (Extended Side Angle Pose)?
How to do Utthita Parsvakonasana (Extended Side Angle Pose)?
The complete process of performing Utthita Parsvakonasana is divided into four parts: warm-up, the posing practice, things to keep in mind, and relaxation. So, let’s dive in straight and learn how this practice can be started.
Part 1 - Preparatory Poses for Utthita Parsvakonasana
To start your Utthita Parsvakonasana practice- first, warm up your whole body and get your blood moving. Given below is the series of preparatory poses to do prior to the practice of the Extended Side Angle Pose:
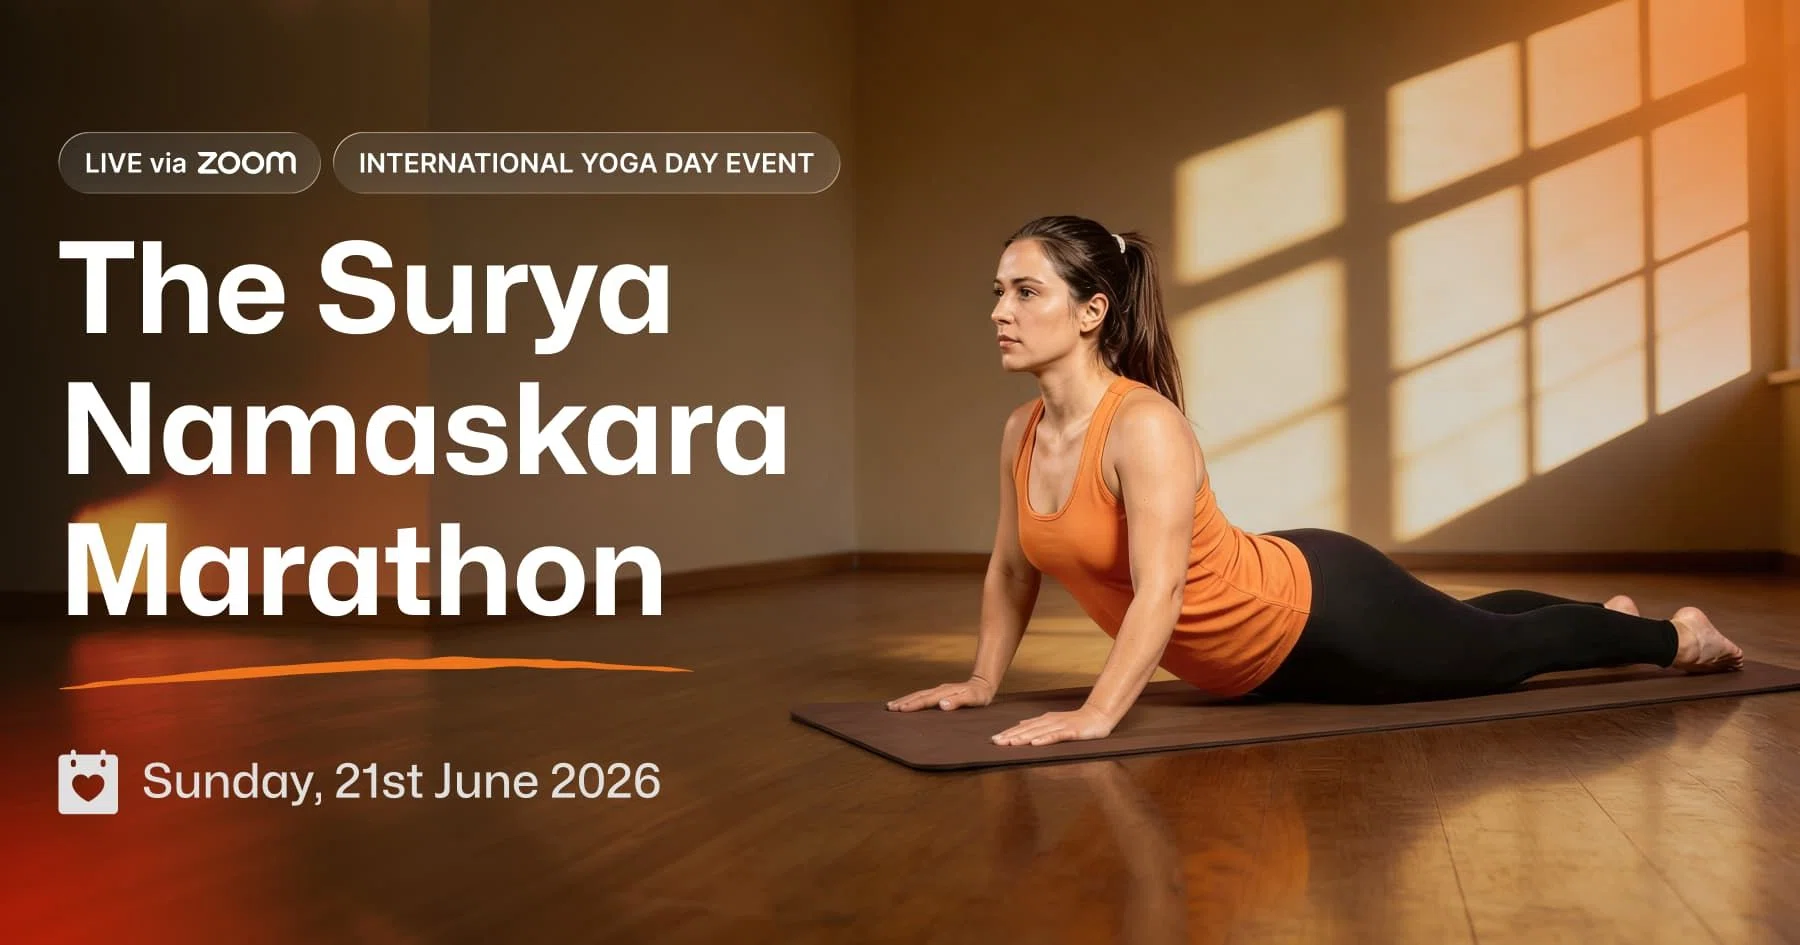
1. Suryanamaskar (Sun Salutations) - A couple of rounds of the 12 steps sun salutation will significantly loosen up the calves, shoulders, and lower back. This yoga flow keeps the body warm, which reduces the risk of injury while performing any asana. One can perform six to twelve rounds of sun salutations, depending on the individual's physical capability.

2. Vrksasana (Tree Pose) - It's all about balance and concentration in this stance. While standing in Tadasana, raise the right leg, bend the right knee, and place the right foot on the insides of the left thigh.
Raise your arms over your head and make a Namaste sign with your palms. Raise the chest and torso upwards while holding the abdominal muscles, gazing with the eyes forward.

Release and repeat on the left leg, bending at the knee and tucking the left foot between the right leg's inner thighs. With each leg, hold this stance for at least eight breaths.
3. Prasarita Padottanasana (Intense Leg Stretch Pose) - Face the long side of the mat while standing in the center of the mat. Place your feet apart more than your hip-width, with your feet facing forward toward the mat's long side.
Exhale and extend your body forward, first parallel to the floor, then gently lowering and reaching for the floor with your head dropped in between both legs and your hands holding the big toes.

Maintain this position by pulling in your abdomen and extending with each breath. This pose provides a deep stretch by opening the hips and the entire leg. After a few repetitions of this pose, the hips become more flexible, which is necessary for an Extended Side Angle Pose.
4. Utthita Trikonasana (Extended Triangle Pose) - Make sure your chest and hips face the long side of the mat. Continue standing with your feet apart as you move out from Prasarita Padottanasana.
Bring the arms out sideways at shoulder level, place the left foot outside at 90 degrees and the right foot inside at 45 degrees, move the torso to the left, flexing the hips a little, and reaching for the left foot with the left hand.
Now, bring the arms out sideways at shoulder level, place the left foot outside at 90 degrees and the right foot inside at 45 degrees, move the torso to the left, flexing the hips a little, and bend forward while reaching down for the left foot.

Then stretch your right arm up to your right palm. The hips, entire legs, shoulders, and arms are stretched intensely, opening your joints. Release and continue the practice on the right leg. Hold for about eight breaths with each leg.
5. Virabhadrasana II (Warrior Pose II) - Come to Five Pointed Star Pose from Extended Triangle Pose. Keep the right knee above the right ankle while bending the right foot.
Exhale and stretch your arms out parallel to the floor, while your left leg is extended behind you and your right knee is bent forward, with the right foot turned 90 degrees and the left foot at 45 degrees.

This deep stretch at the knee and foot assists the practitioner with hip opening. Stay here for at least six breaths and then slowly exhale. Return to Five Pointed Star Pose, repeat the same on the other side, and feel your legs flexing.
Part 2: Step-by-Step Instructions to Perform Utthita Parsvakonasana
Step 1- Begin with Tadasana (Mountain Pose). Keep your legs around 4 feet apart. Extend your arms in a "T" shape, palms down, then extend out via your fingertips as if dragged in opposite directions.
Step 2- With your left foot, make a 90-degree turn, and with your right foot, make a small inward turn. Lift through your spine on both sides, keeping your torso elongated.
Step 3- Press your right outside foot and heel to the floor as you bend your left knee to a 90-degree angle with your left thigh parallel to the floor. Adjust your stance here to establish a sturdy foundation.
Step 4- Leaning toward your left knee and hinging at the hips, bring your left arm to the floor. For support, place your left fingertips on the ground or a yoga block, and move your left armpit close to the outside left knee, paralleling your arm and shin.
Step 5- Lift your right arm, palm facing the ground, above your right ear. To make a straight line from your right ankle to your head, turn your body towards your raised arm and press your right hip against the floor.
Step 6- Remove your attention from your right thumb. Take a deep breath and hold this pose in the same position.
Step 7- Release the posture by inhaling and reaching up, straightening your left leg, and extending your torso up. Do the same on the opposite side.
Breath Awareness: Breathing the wrong way can lead your practice towards unwanted tension and stress in the muscles, so consider the below-listed points carefully:
Exhale and rotate the right foot 90 degrees and the left foot 45 degrees.
Inhale and exhale, as the arms are stretched out, bring the chest forward, bending over the right leg, and placing the right palm on the floor near the right foot.
Inhale to ease and relax the body, then exhale to lower the torso.
Inhale to release the right arm and place it on the right thigh as you exhale.
Inhale as you raise the torso while letting go of your left arm.
Exhale to return to Five Pointed Star Pose after complete relaxation.
When your left foot is at a 90-degree angle, and your right foot is at a 45-degree angle, exhale.
Inhale to bend your torso to the left as you go through the motions above.
Exhale and return to Tadasana by completely relaxing the body.
Performance Duration for Beginners: Hold the pose for 30-60 seconds.
Performance Duration for Advanced: Hold the pose for 2 to 5 minutes.
Part 3: Things to Keep in Mind
These cues will prevent beginners from injury while also allowing them to reap the most benefits out of this pose:
It's all about space in this position - To provide room for your torso to open, and lengthen both sides of your body. To prepare for this opening, fully extend your upper arm and press your supporting hand to the floor or a yoga block. You should feel a gap between your collarbones and your chest.
Be mindful about the lower body- As you bend, keep your knees engaged and tight for a deep stretch. The inner thighs are lengthened, the gluteal muscles are stable, and the outer leg muscles are engaged.
Part 4: Relaxing Poses Utthita Parsvakonasana
A few positions are required to allow the muscles for relaxation after the strenuous practice of Utthita Parsvakonasana. Below is a list of them:
1. Baddha Konasana (Bound Angle Pose): This pose helps to relieve tension in the hips and feet by relaxing the entire lower body.

2. Prasarita Balasana (Wide Child's Pose): This pose allows the shoulders, chest, and inner thighs to relax. For added support, a bolster can be placed below the forehead. Remain in this position while loosening your entire upper body.

3. Advasana (Reverse Corpse Position): This pose allows the entire body to rest. It also enables breathing to return to a normal and controlled pace, allowing the whole body to relax. Stay here for around 14 deep breaths, paying attention to how the spine moves as you breathe.

Image Credits: indiatoday.in
Utthita Parsvakonasana Variations to Consider
Extended Side Angle Pose can be performed with multiple variations, and you can practice any of them depending on your body's needs and capabilities. Here's a list of a few:
1. Extended Side Angle Pose Variation Elbow Arm: Variation of Utthita Parsvakonasana Elbow Arm is a beginner's version of the Utthita Parsvakonasana, which includes the hip opening, spine twisting, and lateral extension. The support around elbows in this variation helps improve the much-needed strength, flexibility, and core balance for achieving the final posture.

Image Credits: yogateket.com
2. Extended Side Angle Pose Variation Namaste Hands: Variation of Utthita Parsvakonasana with hands touching together is also known as the namaste variation. Simply, find the balance in your core muscles as you perform namaste in the extended side angle pose.

3. Bound Extended Side Angle Pose (Bent Knee): In this pose, the "bind" refers to the way your arms wrap around your torso. "Bound Side Angle Pose," is another name for Baddha Utthita Parsvakonasana. It also serves as a warm-up for standing balance poses such as Full Bound Extended Side Angle Pose.


Enjoy a Free 1-on-1 Session with a Coach!
Receive personalized guidance tailored to your unique fitness goals, live with a dedicated coach—no credit card required.
Frequently Asked Questions about Utthita Parsvakonasana
Standing poses and their advantages are extensively performed to keep our bodies and minds in top shape and are building blocks of Yoga. The majority of standing yoga postures have been clinically demonstrated to improve immunity, agility, physical strength, and reduce tension and anxiety.
Following are the steps to perform extended side angle pose:
- Stand with your legs approximately a meter and a half apart and your back straight.
- Exhale and spread your arms to both sides.
- Turn your right foot to the right side while inhaling, bending your leg at the knee joint and moving sideways till your right hand hits the ground outside your right foot; stretch your left hand straight to make a right angle.Take a look up at the elbow.
- Return to the upright position after five to ten deep breaths or roughly thirty seconds in the pose. Repeat on the opposite side.
The side angle pose prepares you to keep your legs firm while opening and stretching the sides of your rib cage, strengthening the muscles that aid inefficient breathing.
It also tones the muscles on your sides, from your outer heel to your outer hip, through your chest, and up to your outer arm.
This strength provides the structural stability you need to raise and flex your spine. As a result, Side Angle Position is an important pose to practice daily.
Utthita parsvakonasana and parivrtta parsvakonasana, both part of Ashtanga yoga's fundamental series and key components of other yoga systems, are combined in parsvakonasana.
The Sanskrit terms parsva, meaning "side or flank," kona, meaning "angle," and asana, meaning "posture" make up the word parsva.
Although the symbolic number of standing asanas is 84, different books identify different options, sometimes mentioning their names but not explaining them.
Here are five famous standing yoga poses you can practice:
- Mountain Pose
- Forward Fold
- Warrior Pose
- Chair Pose
- Triangle Pose
Extended side angle bend pose is a side-stretching, standing yoga posture that necessitates balance and flexibility. This stance has a number of physical advantages, but it's also known to help with mental and emotional stress.
The practitioner begins in a lunge position. The lead arm rests on the lead leg or reaches towards the ground, while the other arm extends upwards and forward to stretch the side of the body. The head raises up to look at the sky.
Related Articles on Padmasana

Yin vs Restorative Yoga: What’s the Difference?
Yin vs Restorative Yoga explained. Compare intensity, hold times, props, and benefits. Learn the key differences and choose the right slow yoga style for you.
.webp)
Detox Yoga Sequence: Refresh and Renew After Holiday Indulgence
Refresh and renew after holiday indulgence with this 12-pose detox yoga sequence. Gentle twists and mindful stretches for digestion, circulation, and energy.
%20(7).webp)
Yoga for Gut Health: How This Ancient Practice Heals Your Gut-Brain Connection
Discover how yoga improves gut health through the gut-brain connection. Learn 8 poses to balance microbiomes, reduce inflammation, and heal your digestive system.