What is Trikonasana (Triangle Pose)?

Trikonasana, Triangle pose, or Utthita Trikonasana, are the names of the same standing yoga posture. It is a fundamental standing yoga asana that is mandatory to master for a strong side core and hamstrings.
This lateral-facing standing yoga asana opens your glutes and shoulder muscles. Performing these movements can also lengthen your torso and help build balance and strength in your legs.
Overview & Etymology
The name is derived from the Sanskrit words Trikona, which means "Triangle Shape," and Asana, which means "Posture" or "Seat."
This beginner-friendly yoga posture was first described in the 20th Century in the teachings of the 1934 book Yoga Makaranda by Tirumalai Krishnamacharya – who was a famous Indian yoga teacher, scholar, and ayurvedic healer.
As per Hindu Mythology, the power of the trinity or Tridevas - Brahma (The Creator), Vishnu (The Preserver), Mahesha (The Destroyer) is what balances this whole universe. Similarly, the Trikonasana practice also represents the identical balance in our entire body.
Apart from this, number three has many popular references, associations, and meanings within ancient Vedic literature. For example, there are only three crucial Nadi channels in the human body (Pingala, Sushumna, and Ida), there are three doshas in the human body (Vata, Pitha, and Kapha), and there are three audible sounds in the sacred energy mantra OM (A-U-M).
Sanskrit Name: त्रिकोणासन Pronunciation: Tree-kone-nah-sah-nah
Pose Type: Standing Also known as: Triangle Pose, Utthita Trikonasana
Strengthens: Thigh, Ankle, Calf, Side Abdomen
Stretches: Shoulder, Side Abdomen, Lower Back, Spine, Glutes, and Hamstrings
Health Benefits of Trikonasana
Stimulates abdominal organs and improves digestion.
Activates the core muscles, which aids in core balance and overall core stability.
Unlocks and opens the legs making movement easier while walking or running.
Stretches and lengthens the spine, which helps to reduce stiffness in the back muscles and results in increased flexibility.
Reduces tension around the neck and shoulders, which aids in releasing anxiety and stress.
When to Avoid Performing Trikonasana
Avoid if you’ve had a recent spine/neck/back/leg surgery.
Avoid if you have any severe pain around the lower back/neck/shoulder/legs.
Avoid during the third trimester of pregnancy if you are experiencing backaches and sore feet.
Avoid if you have high blood pressure or heart-related health problems.
How to do Trikonasana (Triangle Pose)
The whole process of practicing the Triangle pose requires a warm-up routine, a step-by-step guide, a relax routine, and finally, some important cues to keep in mind. So, let’s dive in.
Part 1 - Preparatory Poses for Trikonasana
Since Trikonasana is a standing yoga posture, it's good to start the practice with some static standing yoga postures. Below is a list of warm-up poses that will help get your blood circulating for better control during the triangle pose practice.
1. Utthita Tadasana (Five Pointed Star Pose) - Just like the name suggests, this pose is shaped like a five-point star. This pose is a foundational balancing pose that prepares the whole body for the triangle pose.

Beginning from Tadsasna, feel your entire legs and upper body stretched out with your feet spread out more than hip-distance apart, and arms extended out parallel to the ground.
2. Prasarita Padottanasana (Wide Stance Forward Bend) - This is a modern standing yoga pose that requires you to engage all of your abdominal muscles. Bend down forward with wide legs, dropping your head to touch the mat.
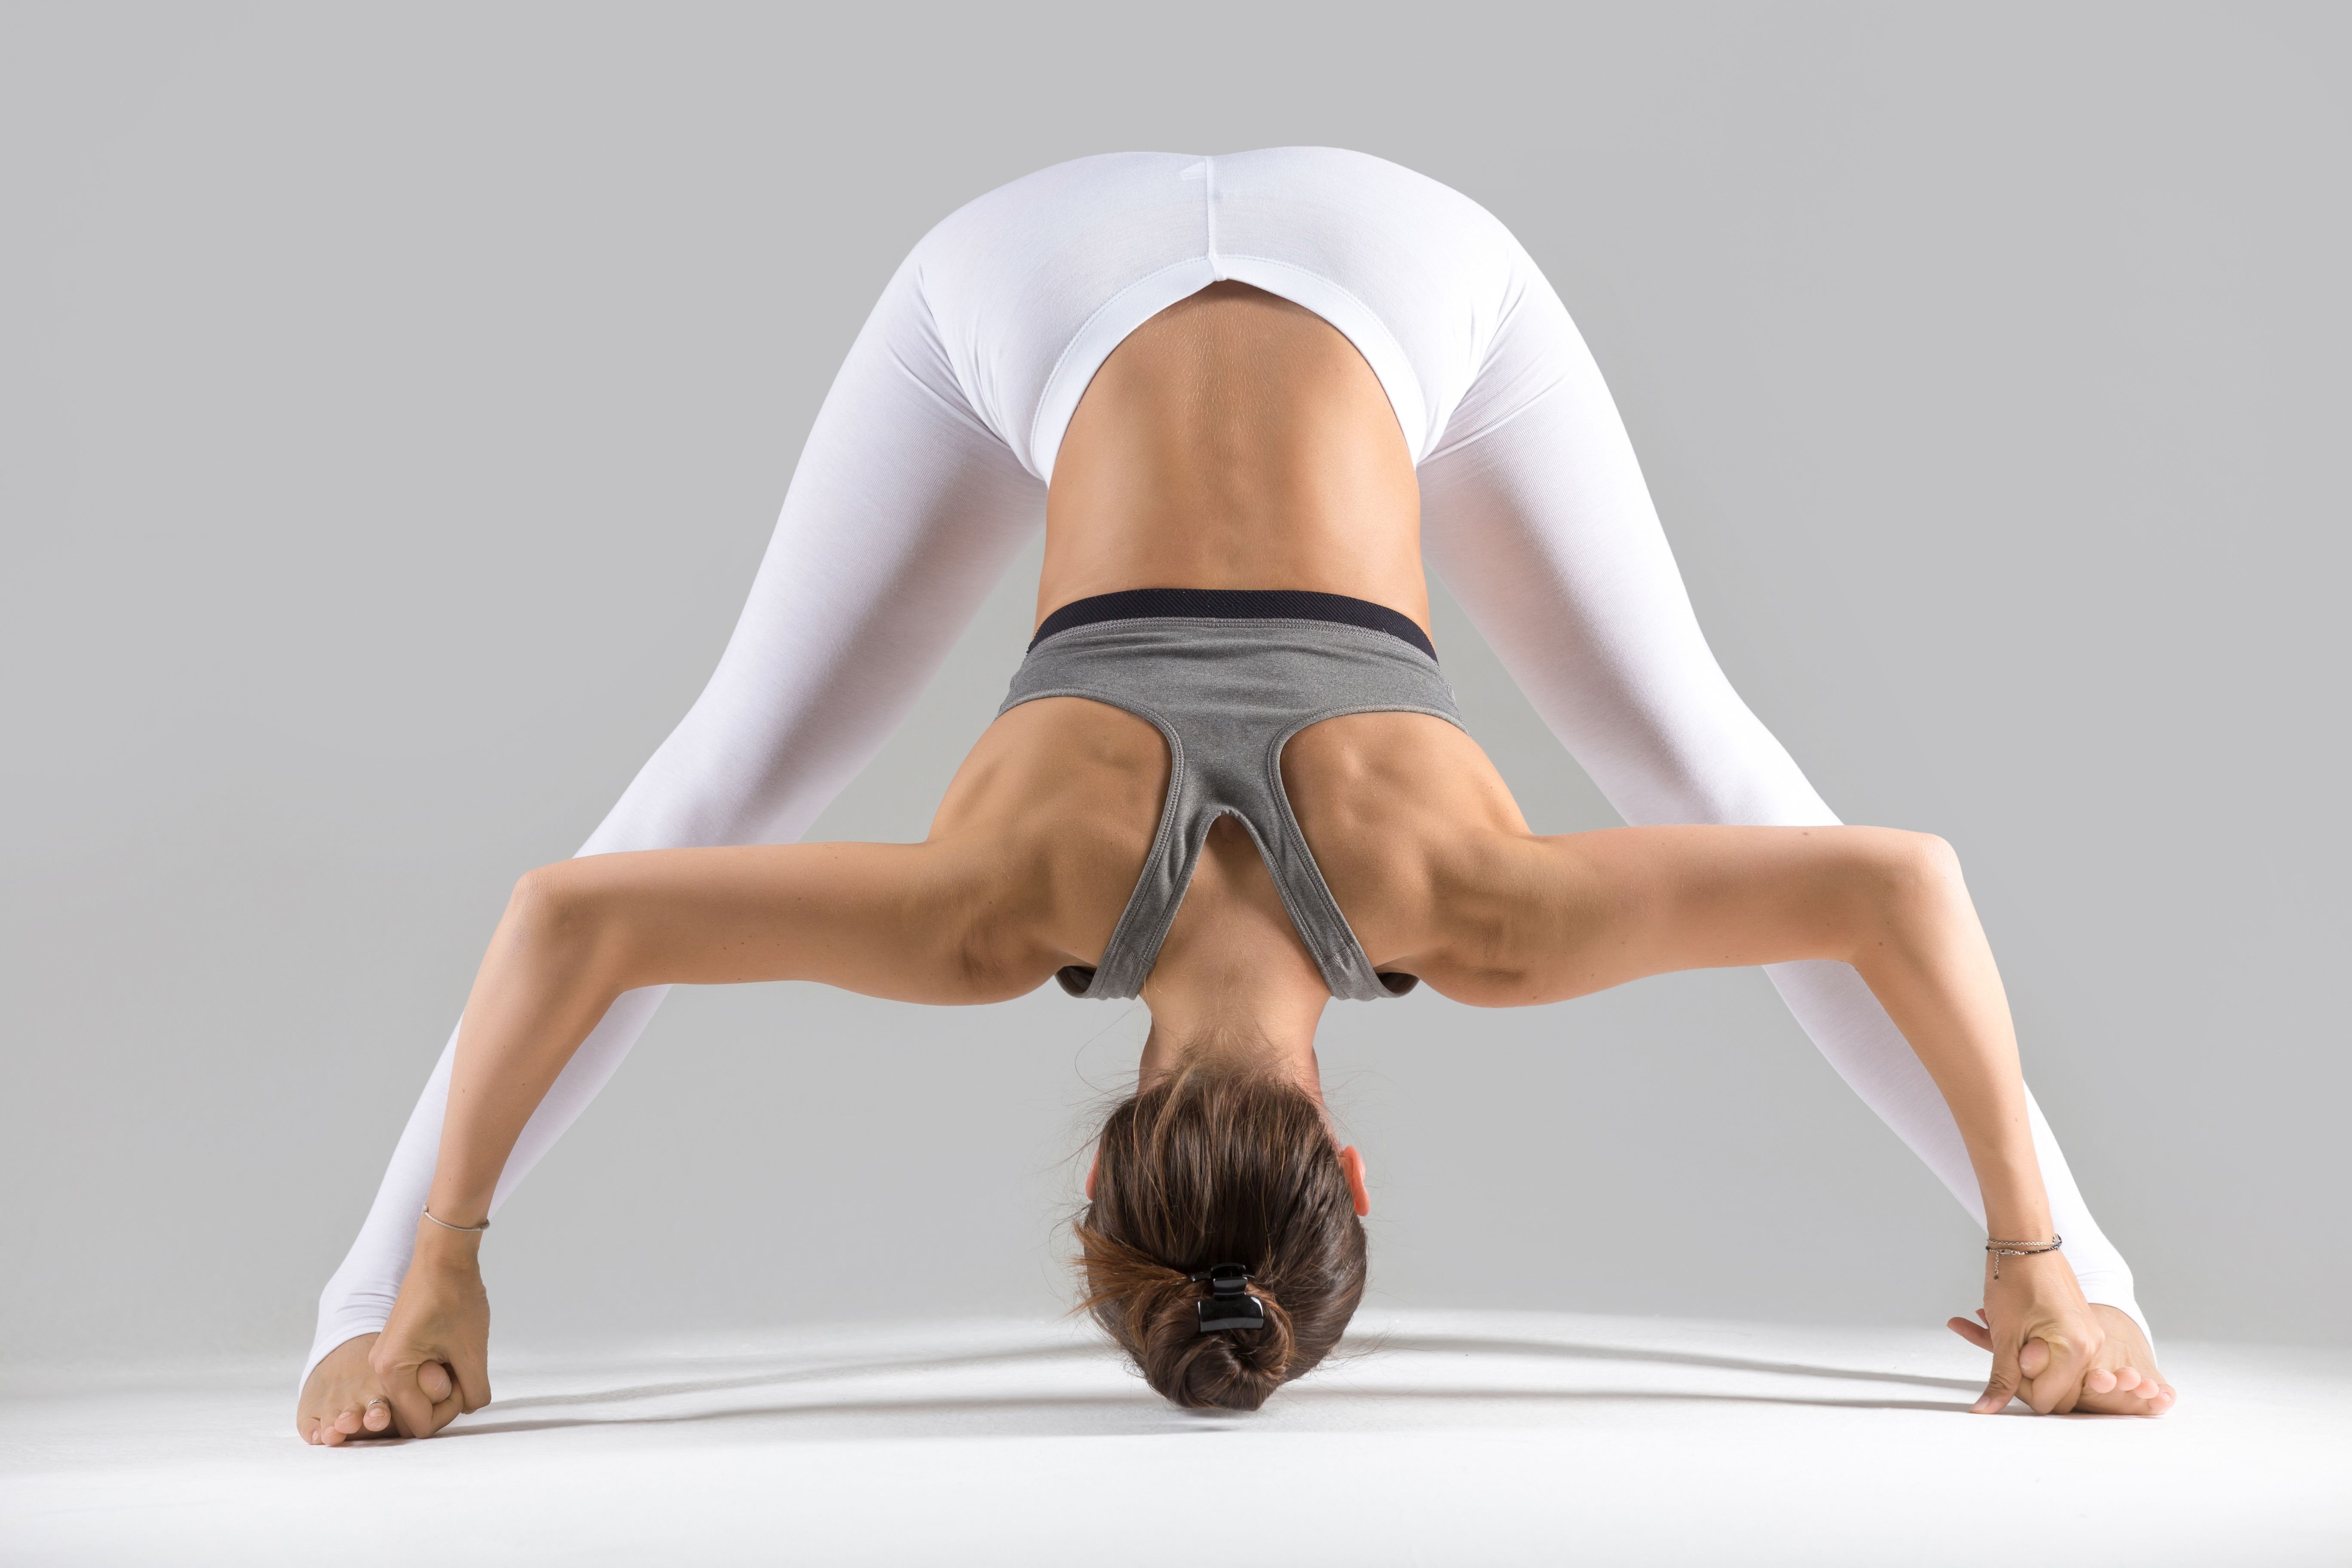
This pose will activate your core, hamstrings, and spine before the final practice of Trikonasana, and create more space for a deeper stretch in these same muscle groups.
3. Parsvottanasana (Pyramid Pose): From Prasarita Padottanasana, move onto your side to flex your hips, hamstrings, and obliques at a deeper level, with a shape that closely resembles Trikonasana.
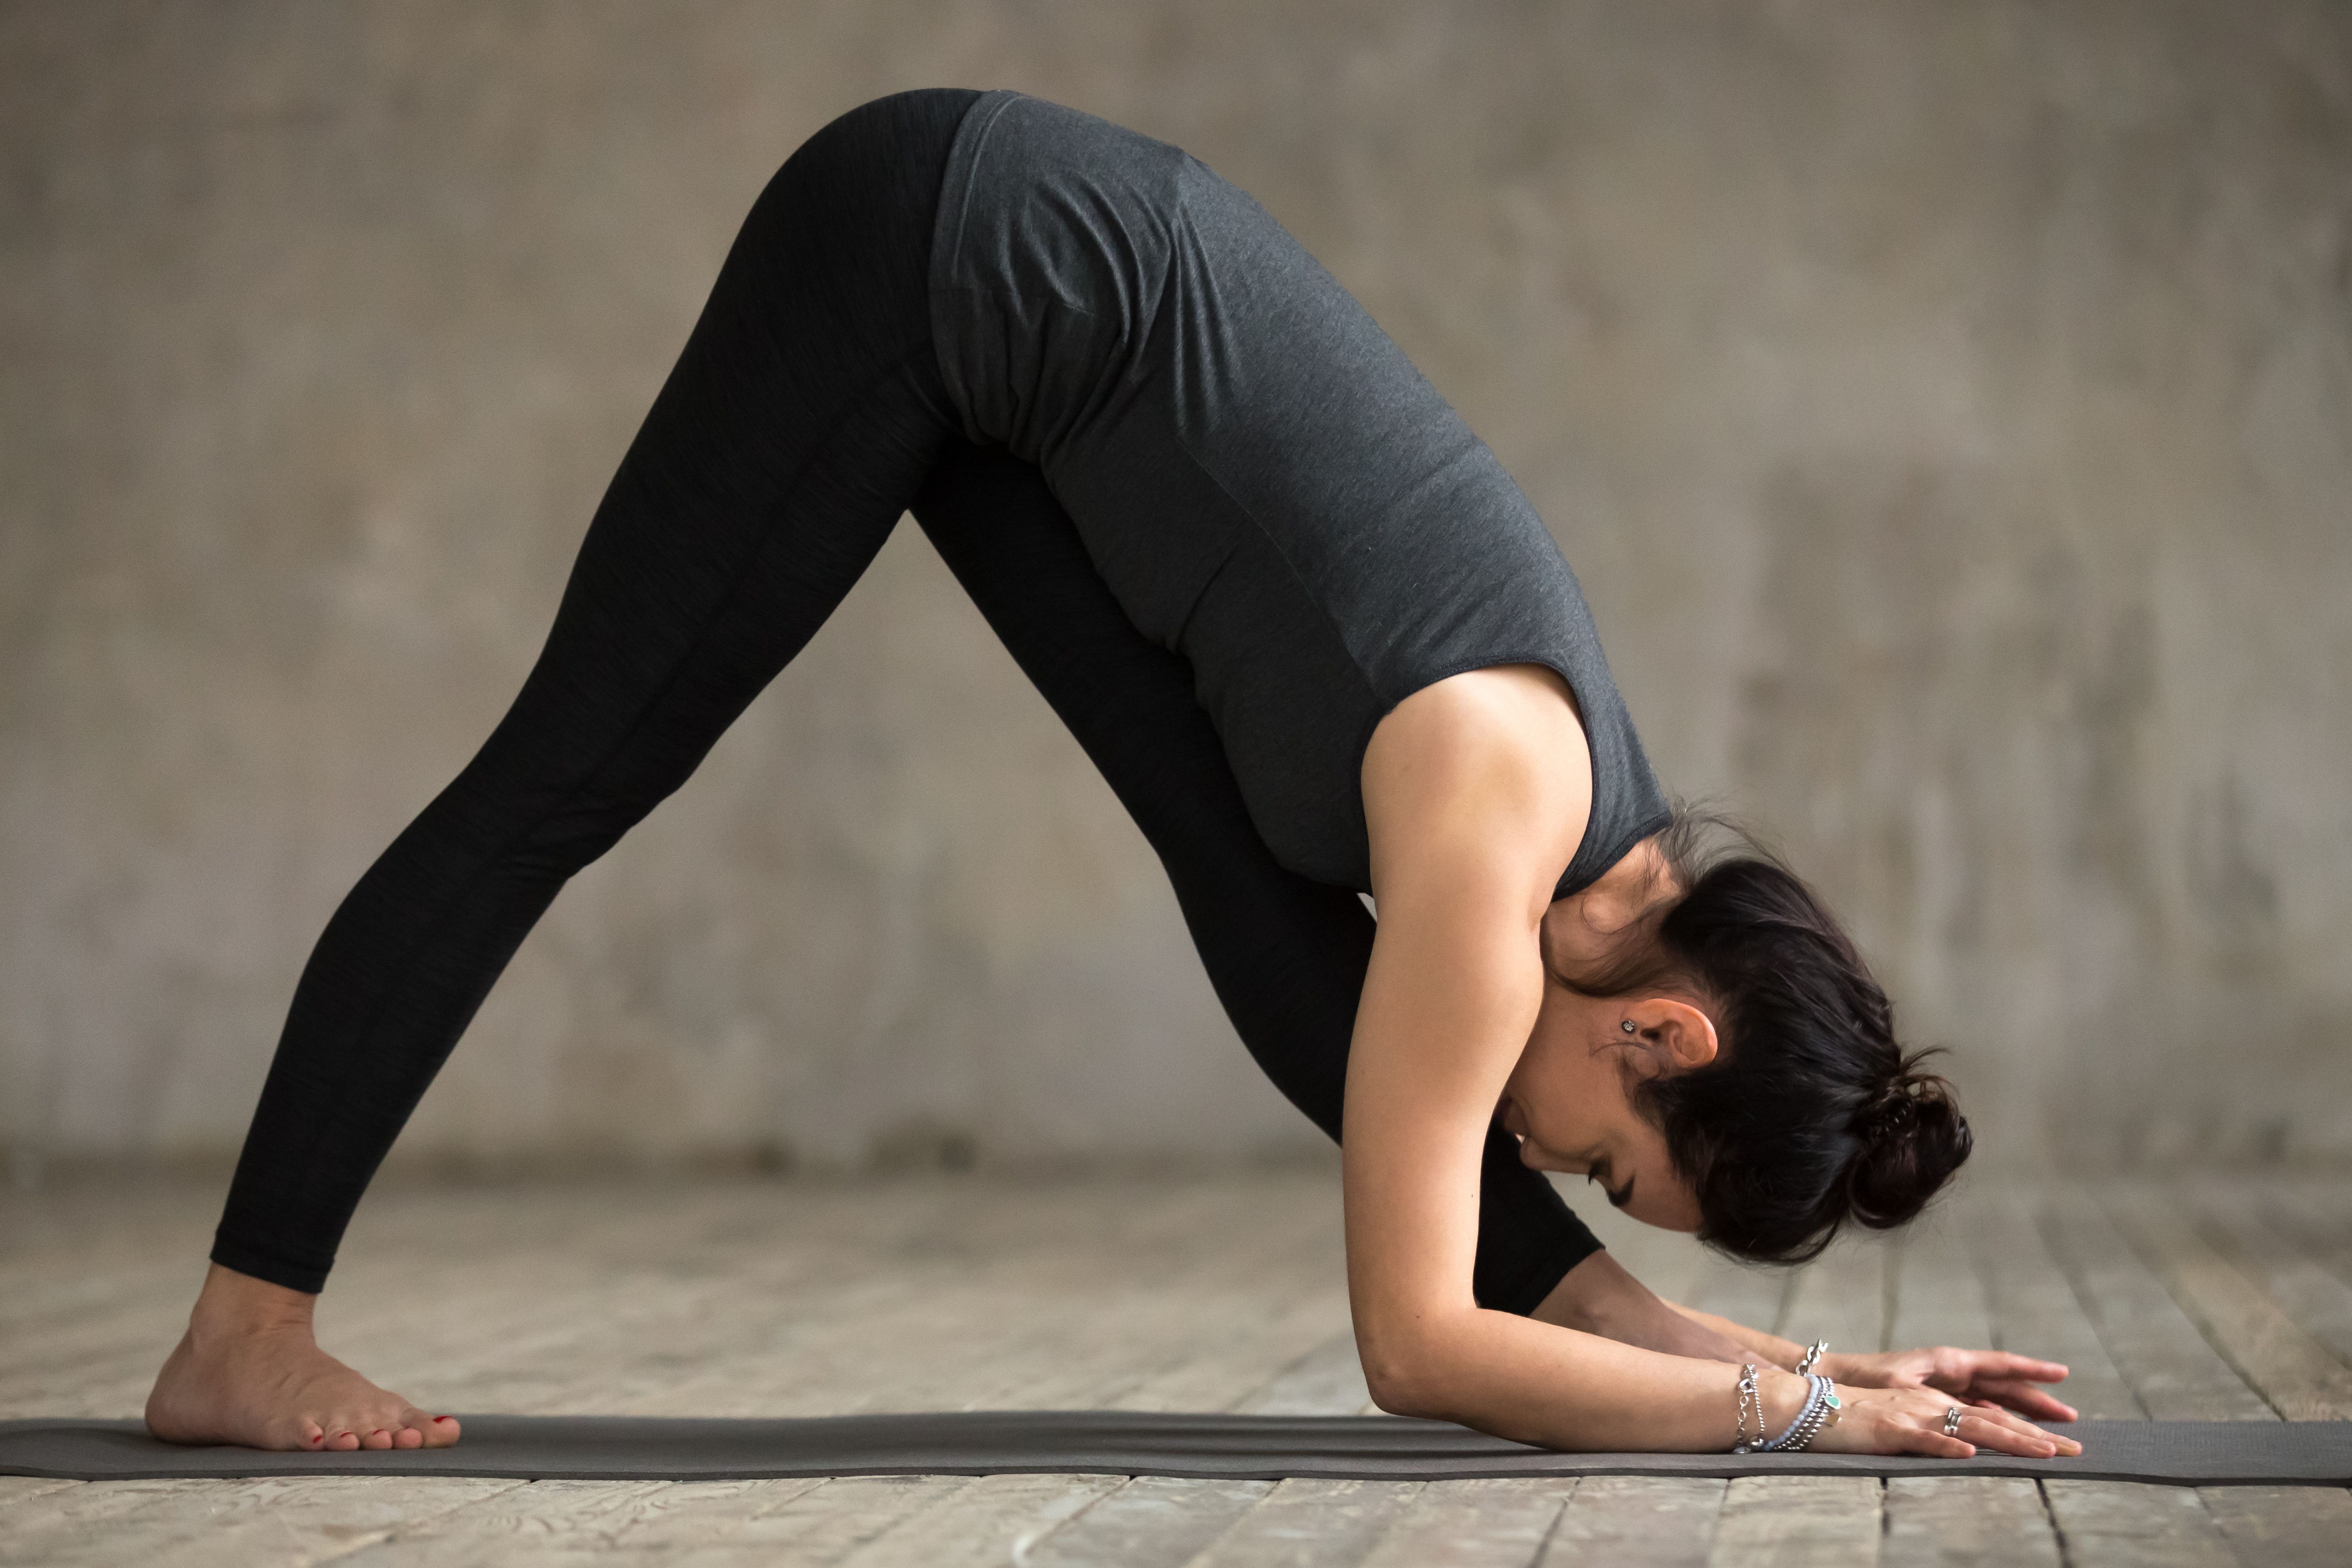
Hold the pose on each side for 1 to 2 minutes before starting the final Triangle pose practice.
Part 2: Step-by-Step Instructions to Perform Trikonasana
The following are steps to perform Trikonasana or Triangle pose:
Step 1- Stand at the top of the mat in Tadasana, with your weight balanced equally between your feet, and arms relaxed on your sides.
Step 2- Keep your back and neck aligned upright and slowly move one leg to the back of the mat for a wide leg stance.
Step 3- Now, inhale and stretch out both your arms so they are parallel to the ground; here, the posture shape is very similar to Warrior I.
Step 4- Make sure that your shoulders are engaged and your neck is relaxed.
Step 5- Balancing your weight between your feet, keep your legs engaged and make sure there is a slight bend in your knees.
Step 6- Place your back foot parallel with the edge of the mat and keep your forward foot pointing forward in the same direction you are looking.
Step 7- Now, exhale while bending at your hip and place the fingertips of your forward-pointing arm at the outside of your forward-pointing foot.
Step 8- Slowly rotate your torso and extend your back arm upright until aligned with your left arm is in a straight line.
Step 9- Hold this position for 3 to 5 complete breaths. Release this pose by first coming into Prasarita Padottanasana, inhale-exhale here deeply.
Step 10- Now, slowly lift back up into Tadasana formation, take a few deep breaths, and repeat these steps on the other side.
Inhalation: Inhale while holding the hands up parallel to the ground.
Exhalation: Exhale while bending at the side.
Performance Duration for Beginners: Hold the triangle pose for 5 to 10 deep breaths on each side.
Performance Duration for Advanced: Hold the triangle pose for 1 to 3 minutes on each side.
Part 3: Things to Keep in Mind
The Triangle pose may seem very easy to practice, but without the proper guidance, it’s possible to end up with the wrong alignment and wrong breath control. So, check out the following ways to execute the Trikonasana successfully:
1. Engage your muscles: Many people say they cannot feel anything in their body while performing the Triangle pose. This occurs because they are not engaging the core, legs, and shoulders. So, make sure you tighten up your quads, glutes, abdomen, and shoulders.
2. Do not lock your joints: Beginners are often unaware of the difference between engaging or locking the joint. As a result, they might feel pain in the joints when practicing. So, be mindful and only tighten your muscles while actively maintaining a slight bend in your knees and arms.
3. Be mindful of your bending motion: The Triangle pose is not a forward bend; it's a sideways hinge. Also, avoid rounding the spine as you bend on the side; otherwise, it can cause lower back pain.
Part 4: Relaxing Poses After Trikonasana
The best way to complete any yoga pose is to end your practice with a relaxation routine. Here are a few relaxing poses that will calm your body post-Triangle pose practice:
1. Uttanasana (Standing Forward Bend Pose) - Bend your upper body by keeping your head close to the ground and placing your legs together.
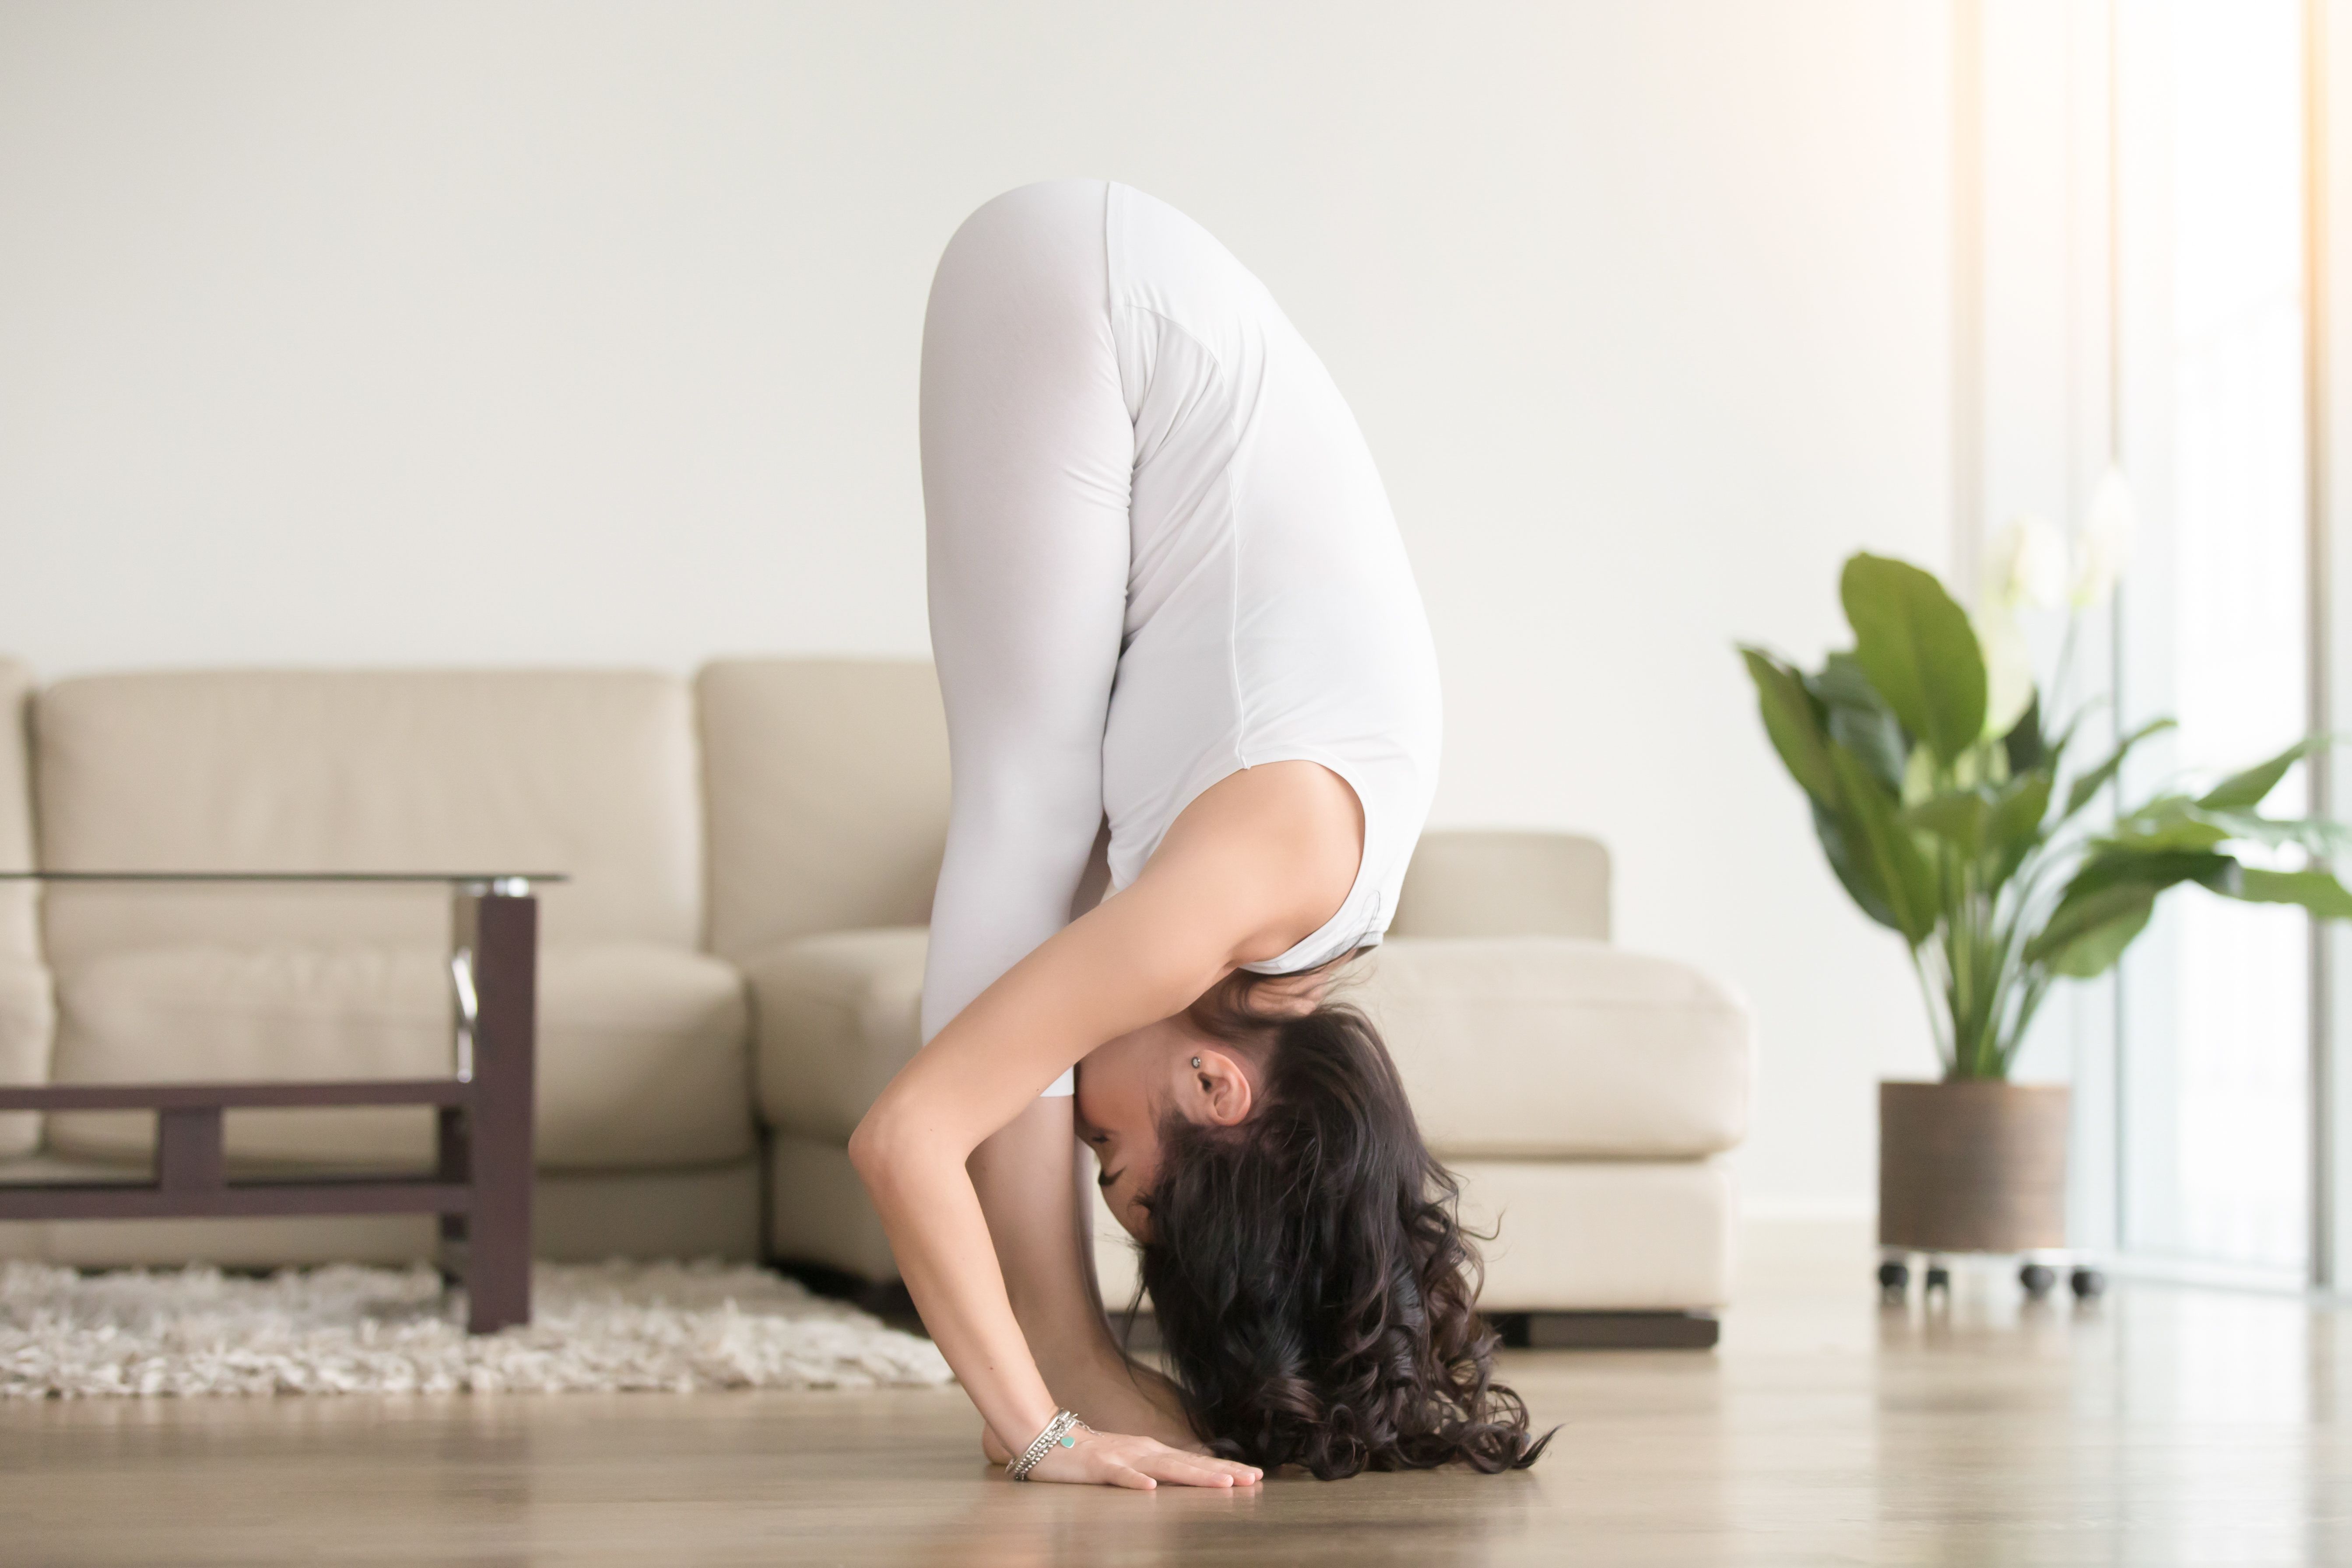
Ensure that your abdomen is tucked in and your knees are slightly bent. Hold this posture for 1 to 3 minutes and relax your whole body.
2. Tadasana (Mountain Pose) - Also known as Samasthiti, this pose is a standing-straight pose. From the previous posture, lift your upper body from your core and stand up straight like a mountain.
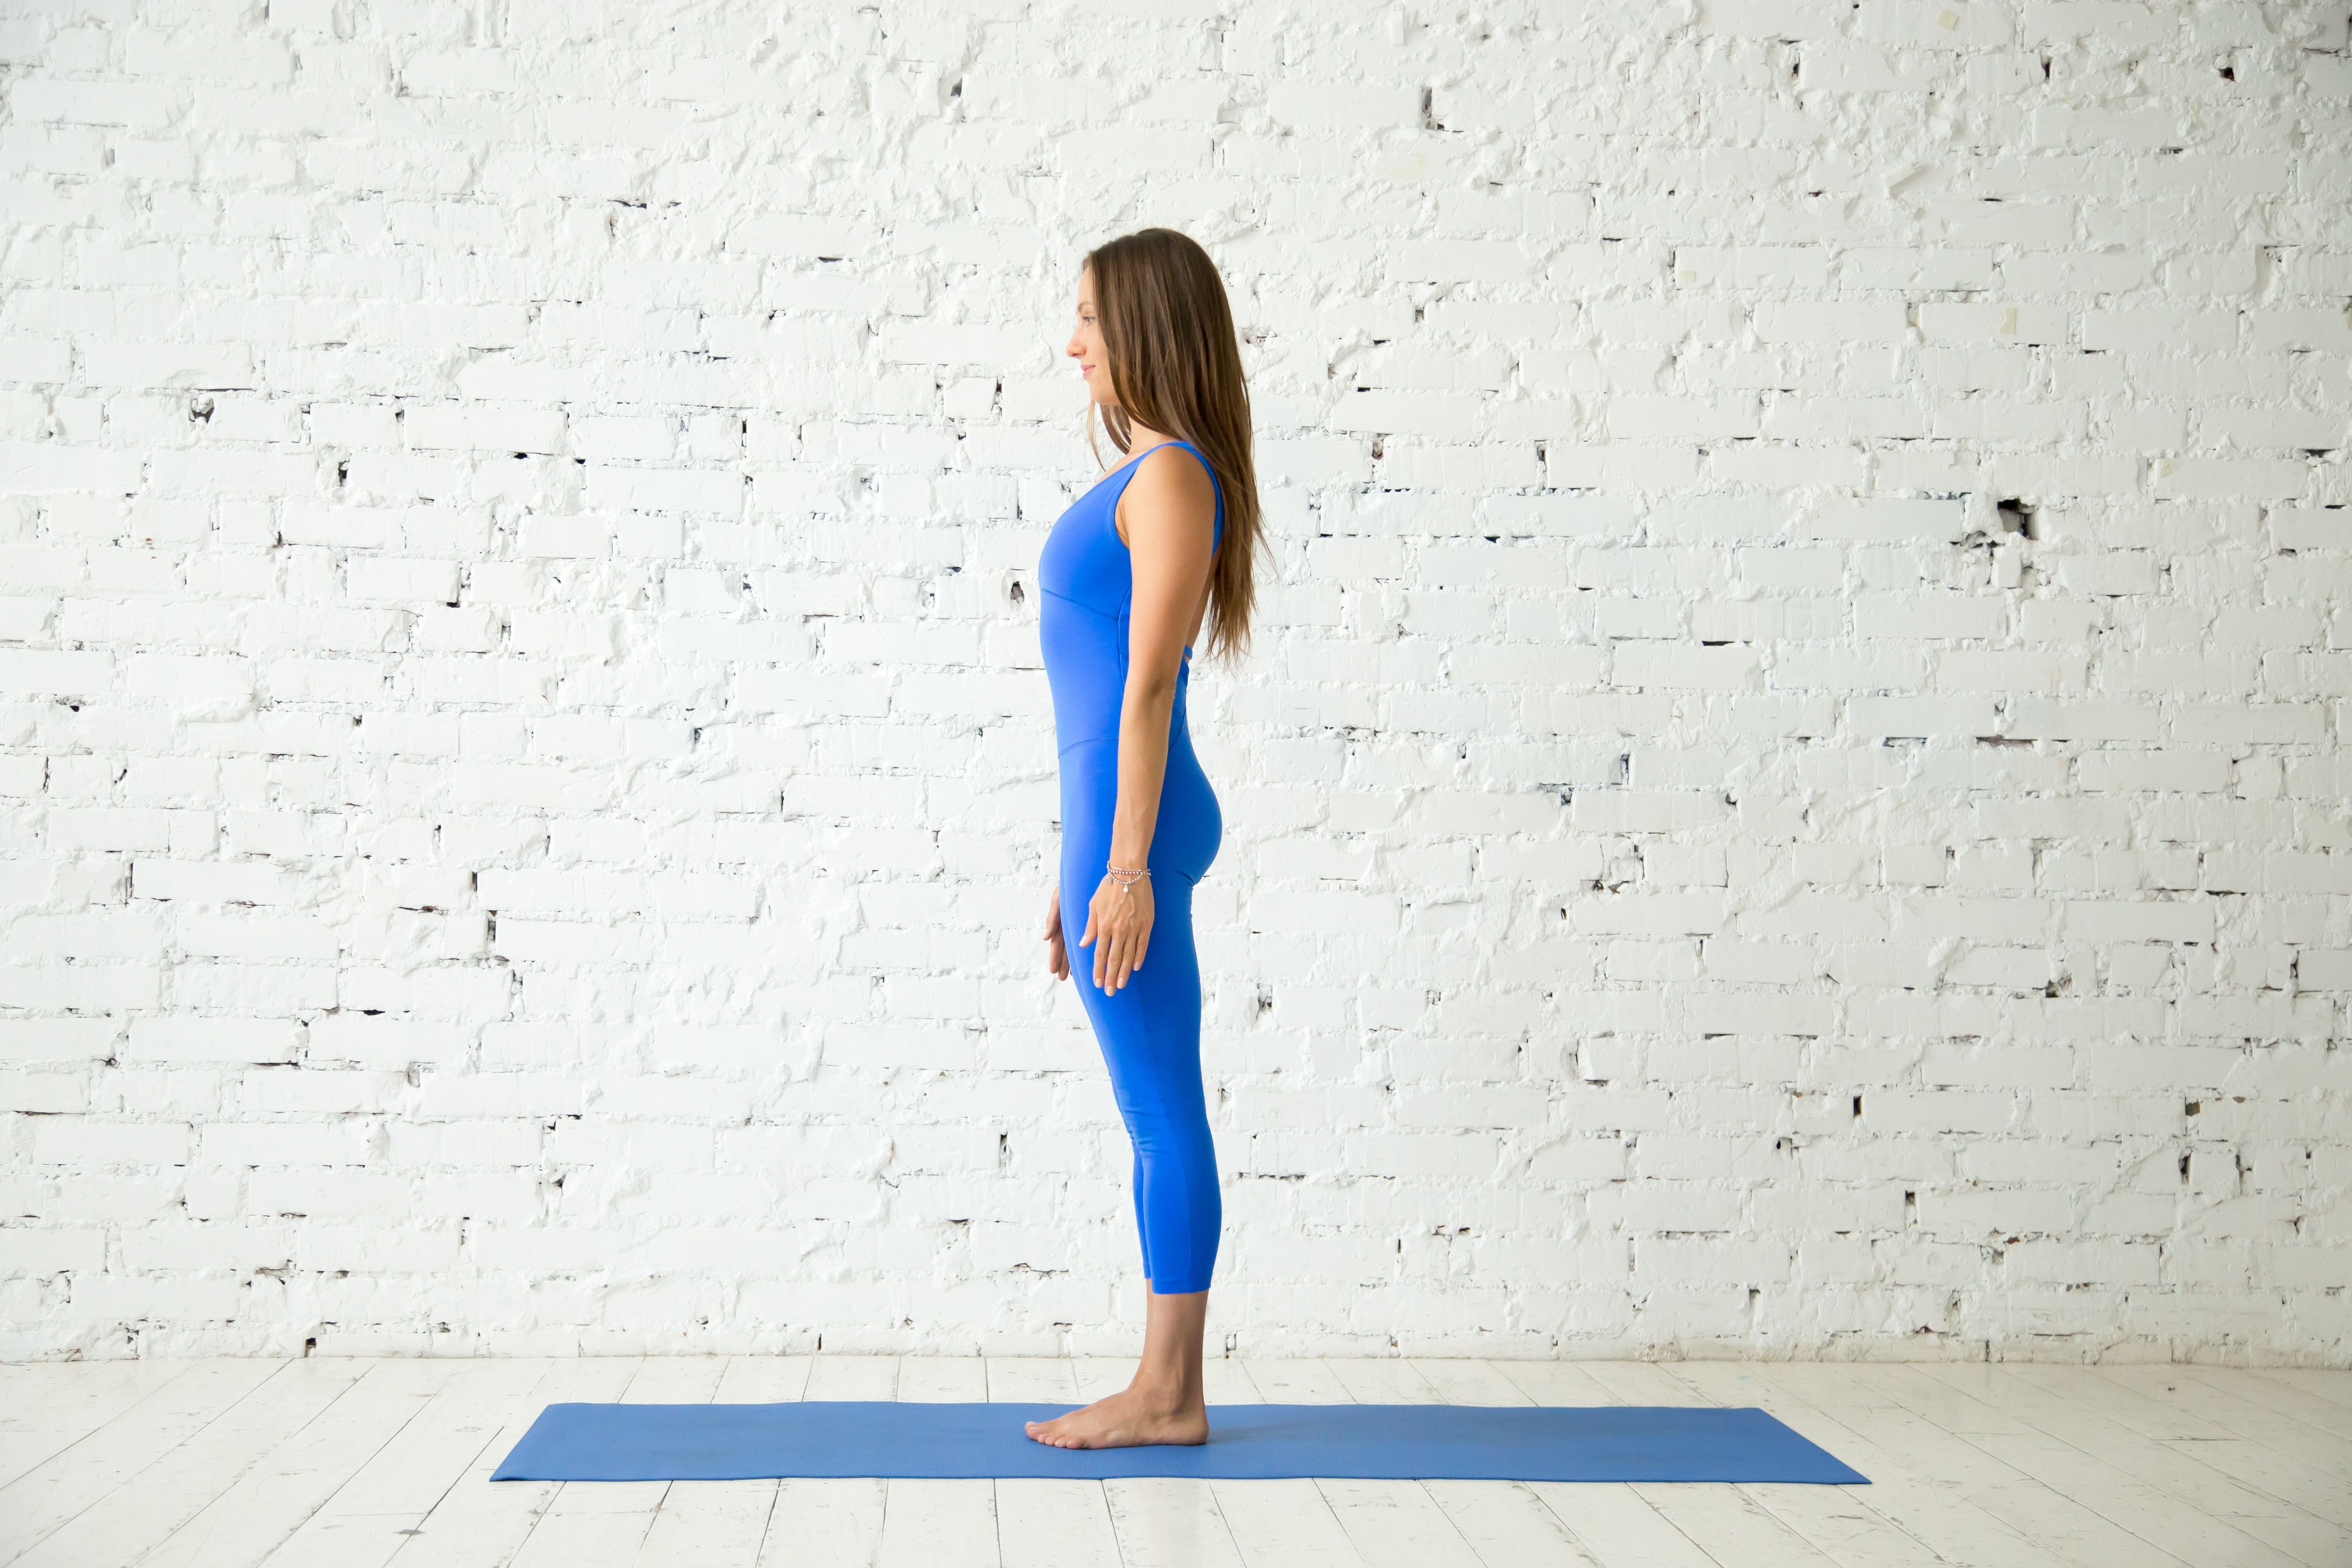
Touch both hands together in Anjali Mudra (Prayer Hands), and breath deeply in this stance for 2 to 5 minutes. This pose will help you relax by bringing the blood from your brain back to the other parts of your body.
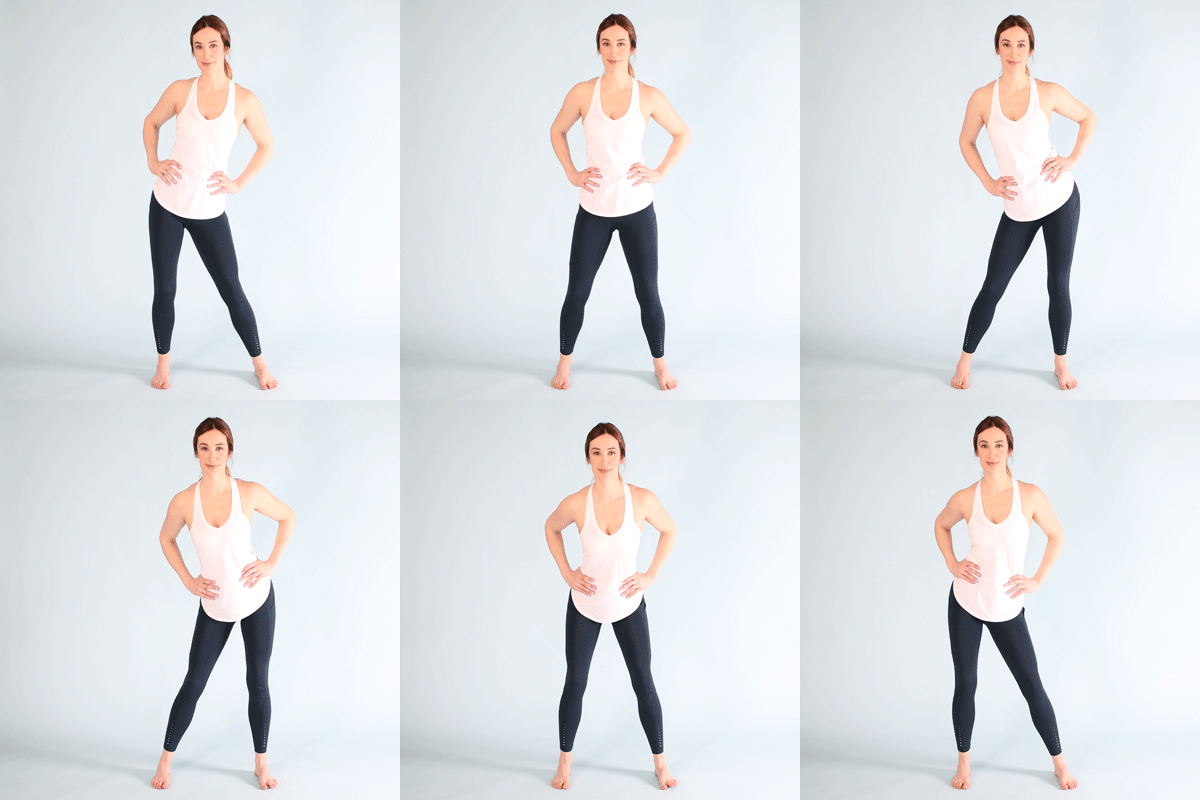
3. Others - If you feel tension around your tailbone or hips, try performing standing hip circles both clockwise and counter-clockwise.
Trikonasana Variations to Consider
If you want to increase the level of stretch a little more in your Triangle Pose practice, consider adding the following Trikonasana variations to your practice:
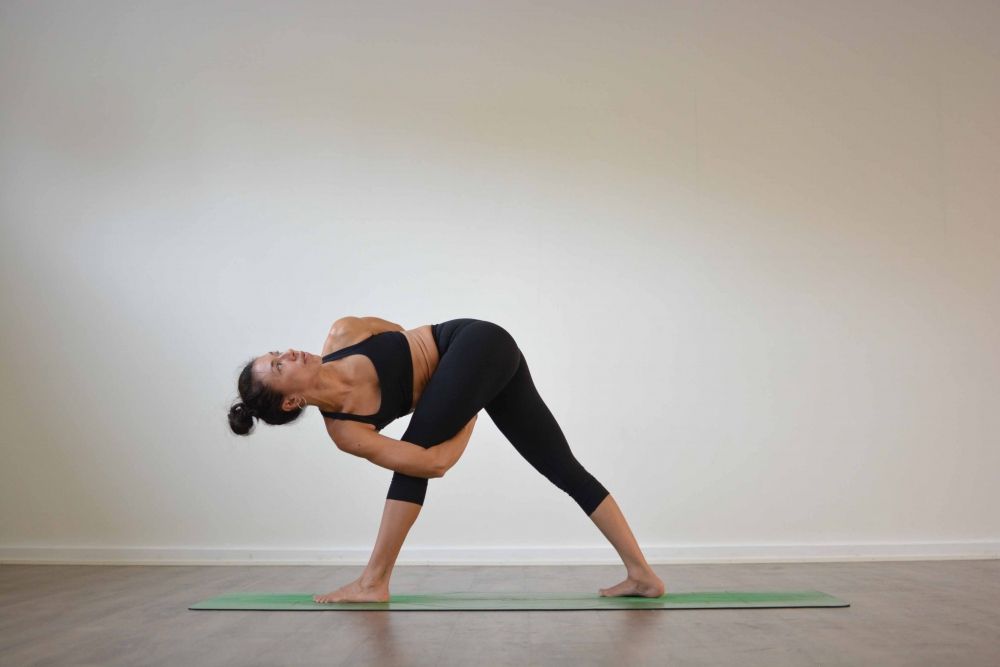
1. Parivrtta Trikonasana (Revolved Triangle Pose): This is a counter stretch for Trikonasana. This posture is suitable for both beginners and advanced yogis.

After performing the triangle stance in one direction, relax and bend your torso again by moving your alternate leg. Again, drop the same arm down on the ground, but place your hands over your forward foot this time.
2. Ardha Baddha Trikonasana (Half Bound Triangle Pose): Continue this variation from your Triangle Pose practice. Inhale, exhale deep, wrap your rear arm around your waist, and try to touch your forward leg’s thigh with your rear hand fingers.

This pose will help you open your shoulder and the shoulder blade muscles connected to your arm at the back.
3. Bandha Parvritta Trikonasana (Full Bounded Triangle Pose): In the continuation of the half-bound triangle pose, now pick up your arm that’s touching the ground and try to wrap it the same way behind.
Make sure both your arms are clasped together around your tailbone. To practice this pose without falling, try to engage your core very tightly, breathe continuously, and concentrate on your third eye.
Enjoy a Free 1-on-1 Session with a Coach!
Receive personalized guidance tailored to your unique fitness goals, live with a dedicated coach—no credit card required.
Frequently Asked Questions about Trikonasana
The most significant effects of Trikonasana can be seen around the obliques; they start to get toned and firm. Also, osteoporosis patients can often feel muscles strengthen around their knee joints, which helps ease knee pain over time.
There are many benefits of Triangle Pose, and these are only a few: increased core strength and stability, improved digestion, reduced stress, stronger legs, toned spinal column, and relief from gastritis.
Utthita Trikonasana is the other Sanskrit name for the Triangle pose. Utthita means "Extended," Trikona means "Triangle," and Asana means "Pose."
People often prefer not to use the full Sanskrit name of the Triangle pose because it is so long. There is no posture difference between Utthita Trikonasana or Trikonasana because it's not a variation.
Parivrtta Trikonasana, or revolved triangle pose, has many benefits, like helping achieve mind-body awareness, eradicating back pain, improving digestive organ function, and opening the chest – which improves breathing.
Yes, beginners can perform Trikonasana because this is a fundamental standing yoga pose for enhanced core stability and leg strength. If beginners are looking for some easy-to-perform yoga asanas, Trikonasana is a suitable pose to practice after a 5-minute full-body warm-up.


.webp)
%20(7).jpg)
