What is Virabhadrasana (Warrior Pose)
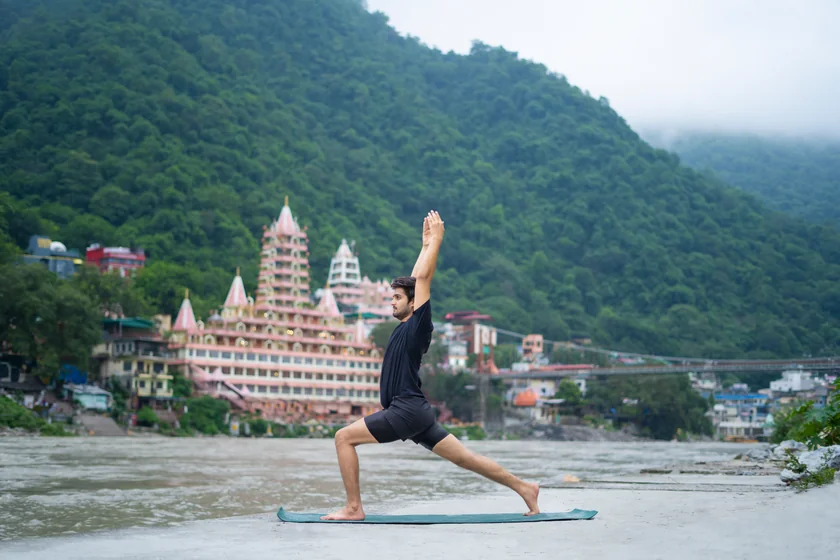
Virabhadrasana I is a foundational standing yoga pose that combines flexibility and strength in classic warrior mode. Warrior I Position has a lot of mixed alignments, and when all of them come together, this pose provides a full-body awareness with activation of entire lower body muscles. There’s hardly any body part that doesn’t benefit from Virabhadrasana I.
Overview & Etymology
Overview
Warrior Pose is a set of interrelated lunging standing asanas used in modern yoga to commemorate the deeds of Virabhadra, a mythical warrior. Although the pose’s name comes from a Hindu myth, it was not recorded in the hatha yoga tradition until the twentieth century.
Ancient cave rock sculptures at the Ellora Caves, notably caves 16 and 29, depict a warrior-Shiva figure conquering demons or wooing his lover Parvati in a position that resembles Virabhadrasana.
Early in the twentieth century, according to a European source, poses similar to Virabhadrasana was described independently of yoga, cited as Niels Bukh’s 1924 Danish text Grundgymnastik eller primitiv gymnastik.
Sanskrit Name: वीरभद्रासन Pronunciation: Veer-uh-buh-drahs-uh-nuh
Pose Type: Standing Also known as: Warrior Pose or Warrior I Pose
Strengthens: Back, Arm, Shoulder, Thigh, Ankle, Calf
Stretches: Shoulder, Thigh, Thorax, Neck, Calf, Ankle, Lung, Navel, and Inguinal region.
Health Benefits of Virabhadrasana
It helps in flexing the hips, knees, and ankles.
Improves all respiratory system functions.
Reduces stiffness around the shoulders and neck.
Helps in burning excess fat from arms and legs, keeping the muscles toned.
Stimulates the digestive and reproductive systems and enhances their functioning.
When to Avoid Performing Virabhadrasana?
Avoid if you are an arthritis patient.
Avoid if you are a high blood pressure patient.
Avoid if you have an injury in your knees or hips.
Avoid if you have difficulty balancing the body on your core.
How to do Virabhadrasana (Warrior Pose)
The process of performing warrior pose is divided into four phases- warm-up, the pose practice, things to keep in mind, and relaxation. Let’s dive in and see how to perform Virabhadrasana step-by-step:
Part 1 - Preparatory Poses for Virabhadrasana
Being a standing balancing pose, warming up the leg muscles, glutes, and shoulders is a must before you get into this practice of Warrior Pose I.
Some of the standing yoga poses, as well as core balancing poses, can be considered as a part of this warm-up. Listed below are some examples:
1. Suryanamaskar (Sun Salutations) - Surya Namaskar is a series of yoga poses that flow together, including multiple standing yoga poses. Performing this dynamic flow of stretching for five minutes will instantly help your blood rush throughout the body.
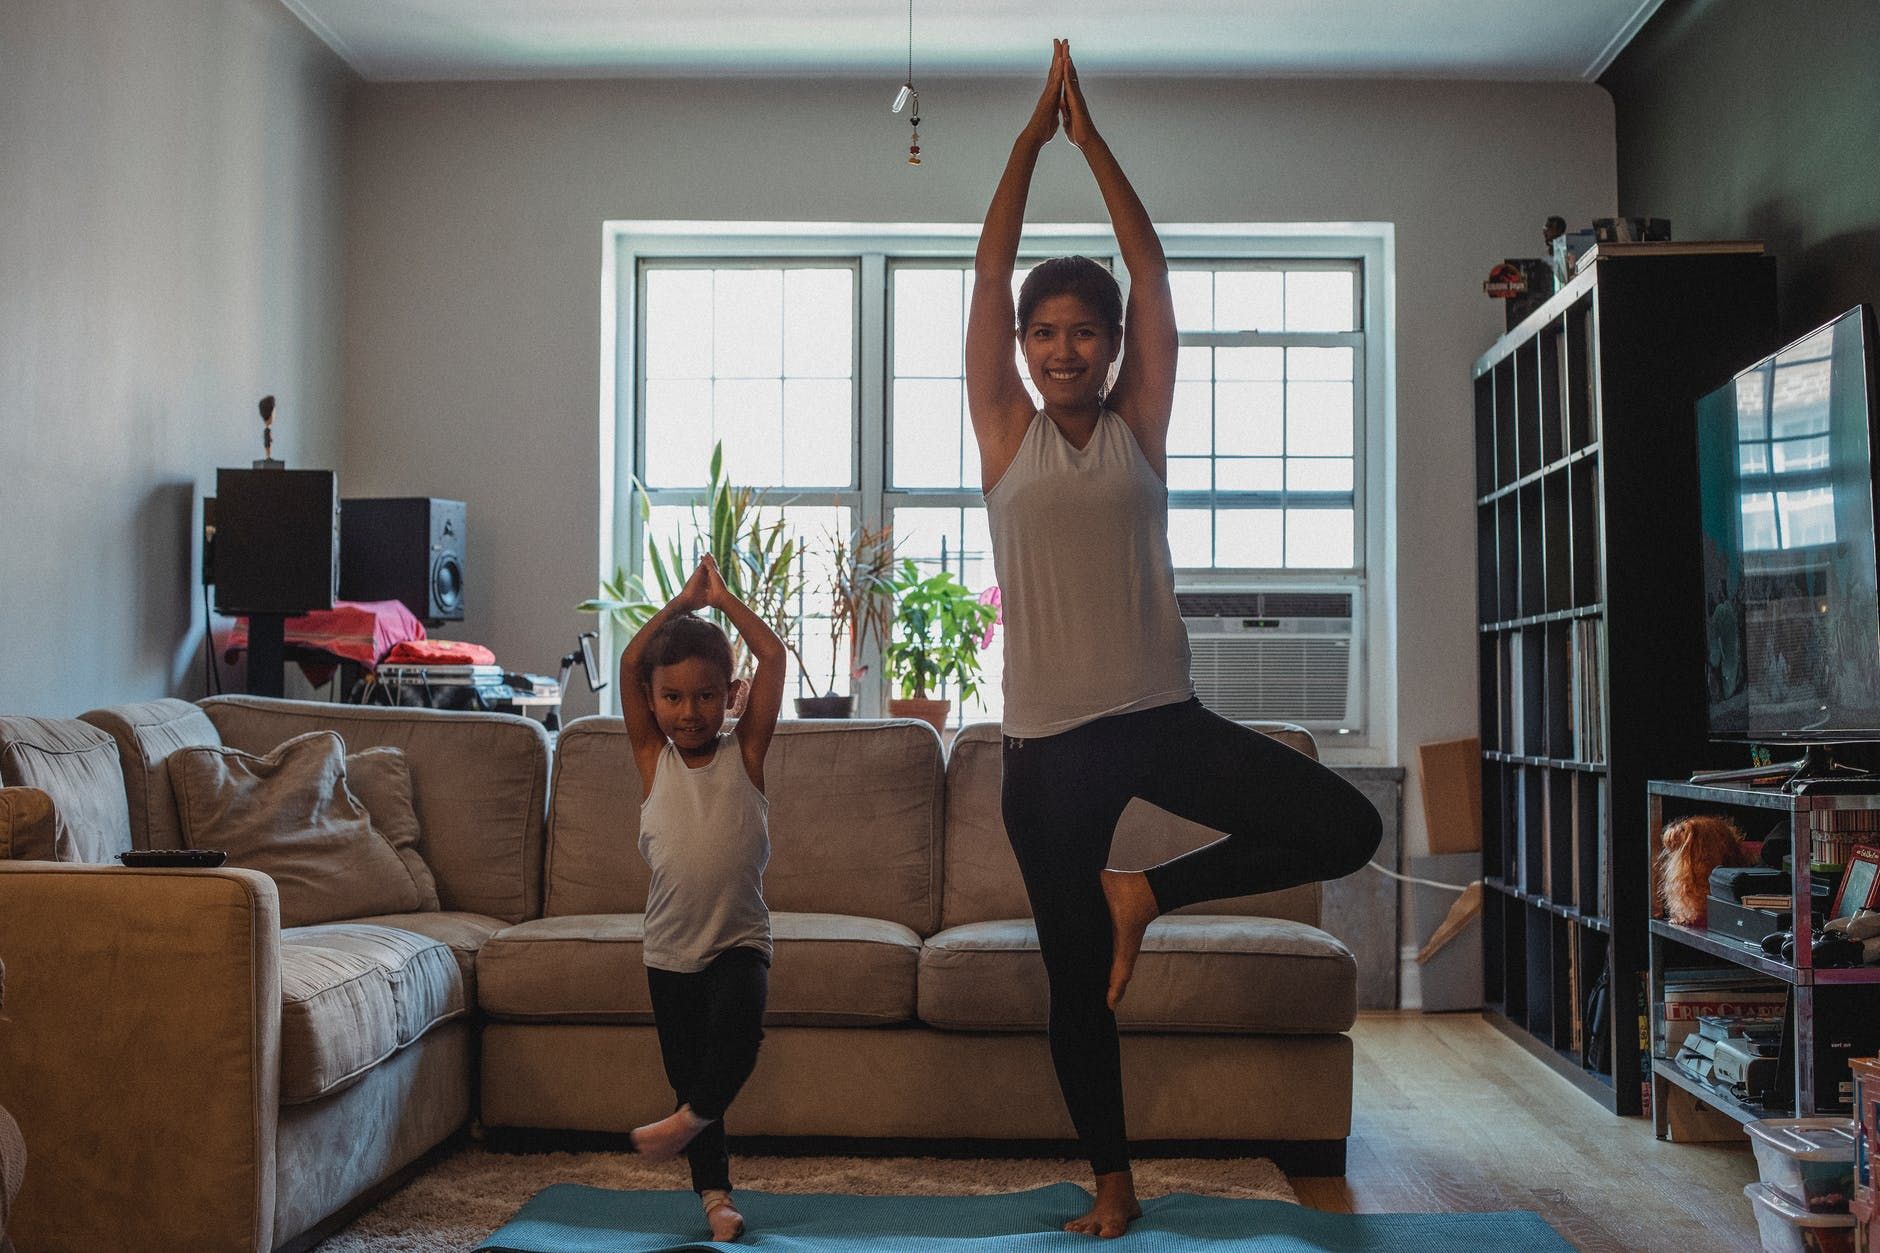
2. Vrksasana (Tree Pose) - Vrksasana is a primary standing position that helps you feel centered, solid, and grounded by establishing strength and balance. Begin with a tree pose for hip balance and core stability.
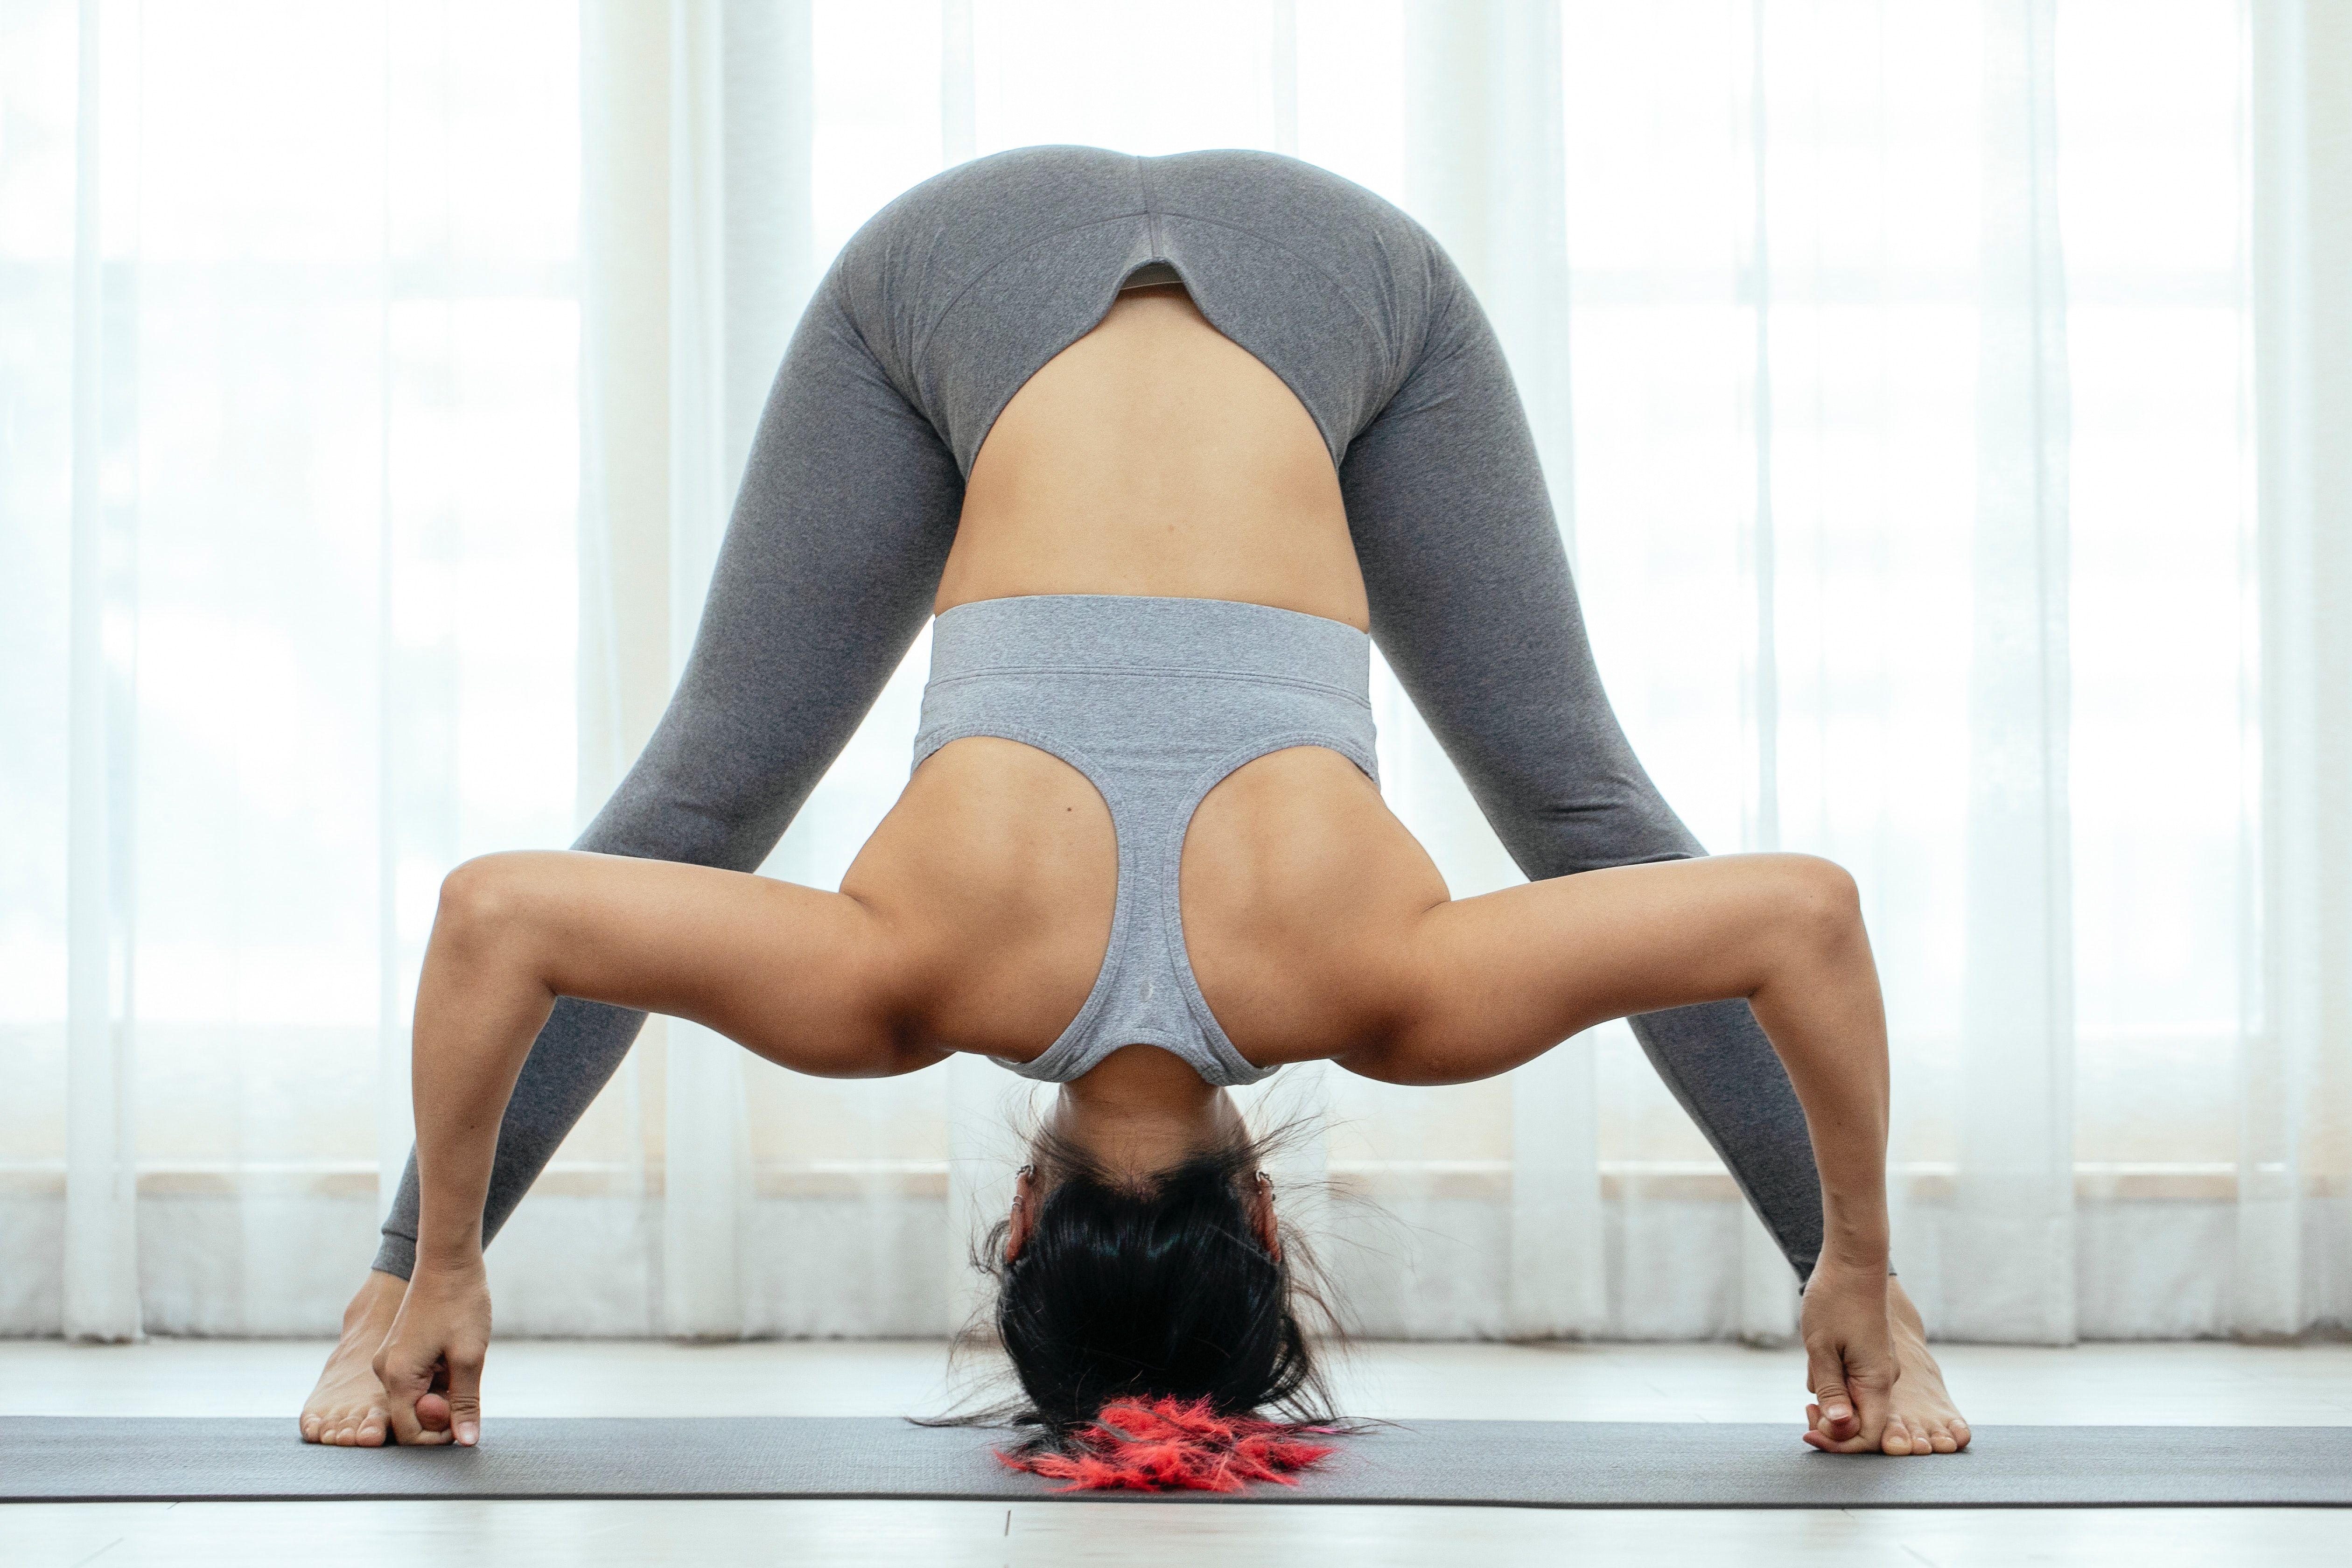
3. Prasarita Padottanasana (Intense Leg Stretch Pose) - To gain more flexibility around lower back and hamstrings, open wide into Prasarita Padottanasana. This pose will improve your hip stability, muscular leg strength, and forward fold balance.
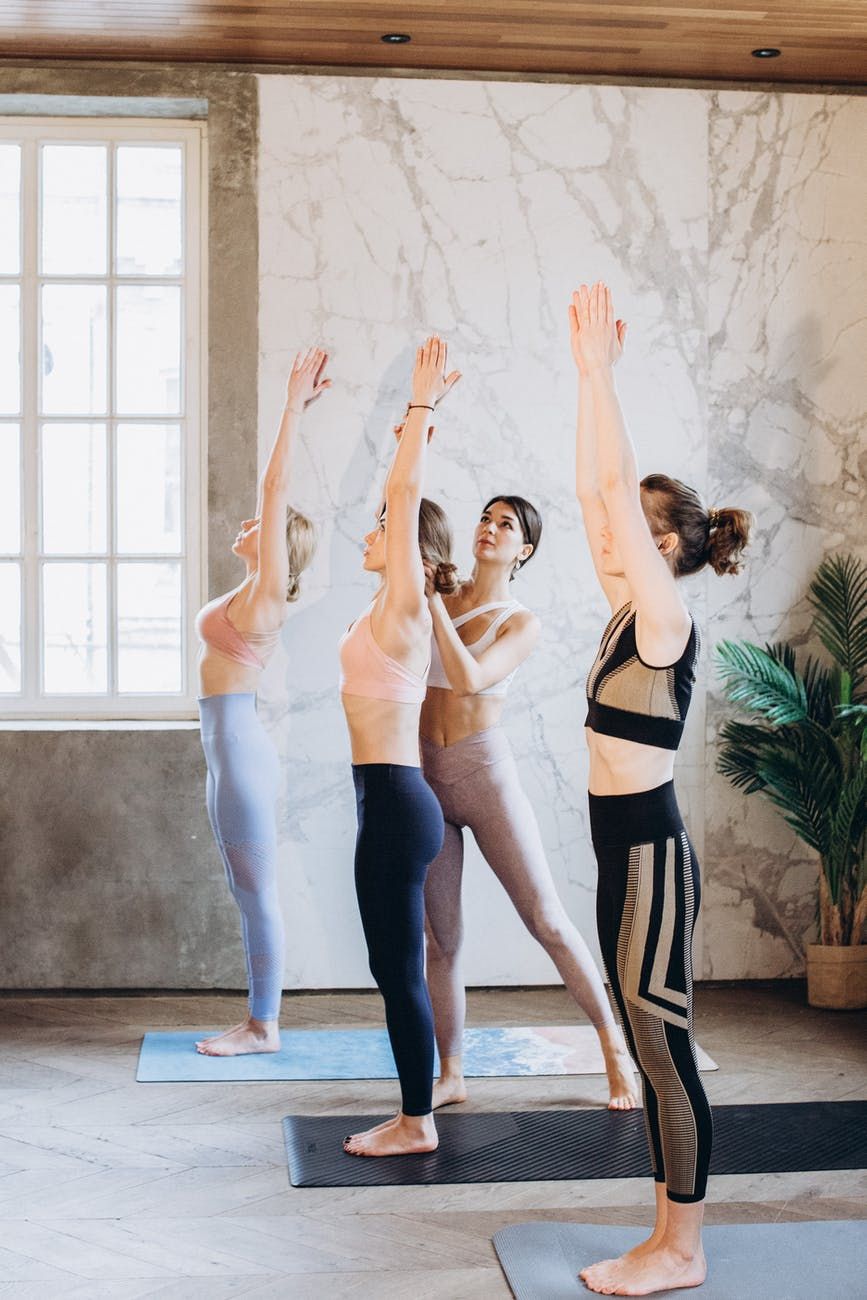
4. Urdhva Hastasana (Upward Salute Pose) - At first sight, Urdhva Hastasana appears to be one of the easiest yoga postures. Still, it demands more concentration and focus when done with variations like standing on the tiptoes.
Urdhva Hastasana is the best foundation stance for all standing poses, including Vrksasana (Tree Pose), Utkatasana (Chair Pose), and movements like Surya Namaskar, along with Tadasana (Mountain Pose).
Part 2: Step-by-Step Instructions to Perform Virabhadrasana
Warrior pose I is an excellent pose for creating strength and power in your legs. It’s part of the Warrior series of yoga poses, which can help build stability in your core.
The following are cues to follow as you start your warrior I practice.
Step 1- Stand on the mat, with your weight balanced equally between your feet, with your hands on your hips.
Step 2- Starting in Adho Mukha Svanasana (Downward-Facing Dog Pose), step your right foot forward, align your toes with your fingertips, and shift your foot slightly to the right.
Step 3- With your front legs, keep your toes angled toward the front end of the mat, and make sure your front leg knee is bent at 90 degrees, and that your front foot thigh is parallel to the mat. Also, keep your back leg flexed and engaged.
Step 4- Inhale and bring your arms above your shoulders first and then over the head in Namaste, bending the knee forward and gazing up in front of you. Completely exhale at this point.
Step 5- Slightly bend your front knee and stretch upwards with your arms, feeling the stretch across your lower abdomen.
Step 6- Stay here for 5 to 10 rounds of deep inhale and exhale, and finally relax by releasing. Now, repeat the same on the other side.
Inhalation: Inhale while holding the hands up in the air or above the head.
Exhalation: Exhale while releasing the pose.
Performance Duration for Beginners: Hold this warrior pose I for 5 to 10 deep breaths.
Performance Duration for Advanced: Hold this warrior pose I for 1 to 3 minutes.
Part 3: Things to Keep in Mind
The following are a few added tips while performing the warrior pose or its variations. These cues will help you stay mindful of your posture and keep you safe from any unnecessary strain on the lower body muscles.
Lengthen the spine - Press on the outside edge of the back foot as you elevate the pelvis off the floor and lengthen the spine upwards, maintaining your arch active and your inner left thigh muscles tight and lifted. Continue to stretch your spine upwards while keeping your chest elevated and open.
Take it easy on the arms - If you are a beginner, your hands can remain on the hips for added core stability. Over time as you feel more comfortable holding Warrior I Pose, you can stretch your arms overhead and reach through your fingertips.
The gap between your feet should not be too wide - Make sure your back heel isn’t turned too far out. When you lift your heel from the mat during Warrior Pose lunging, turn it 45–60 degrees toward your core.
Shoulder and arms placement - Make sure your shoulders and arms are in perfect alignment. Remember to keep your arms super engaged, but your shoulders should be relaxed.
Part 4: Relaxing Poses After Virabhadrasana
Warrior Pose (Virabhadrasana) is heavy on the back, legs, and shoulders. As a result, counterposes that work as calming poses should be practiced to guarantee that the muscles are returned to their natural form. Here are a few examples:
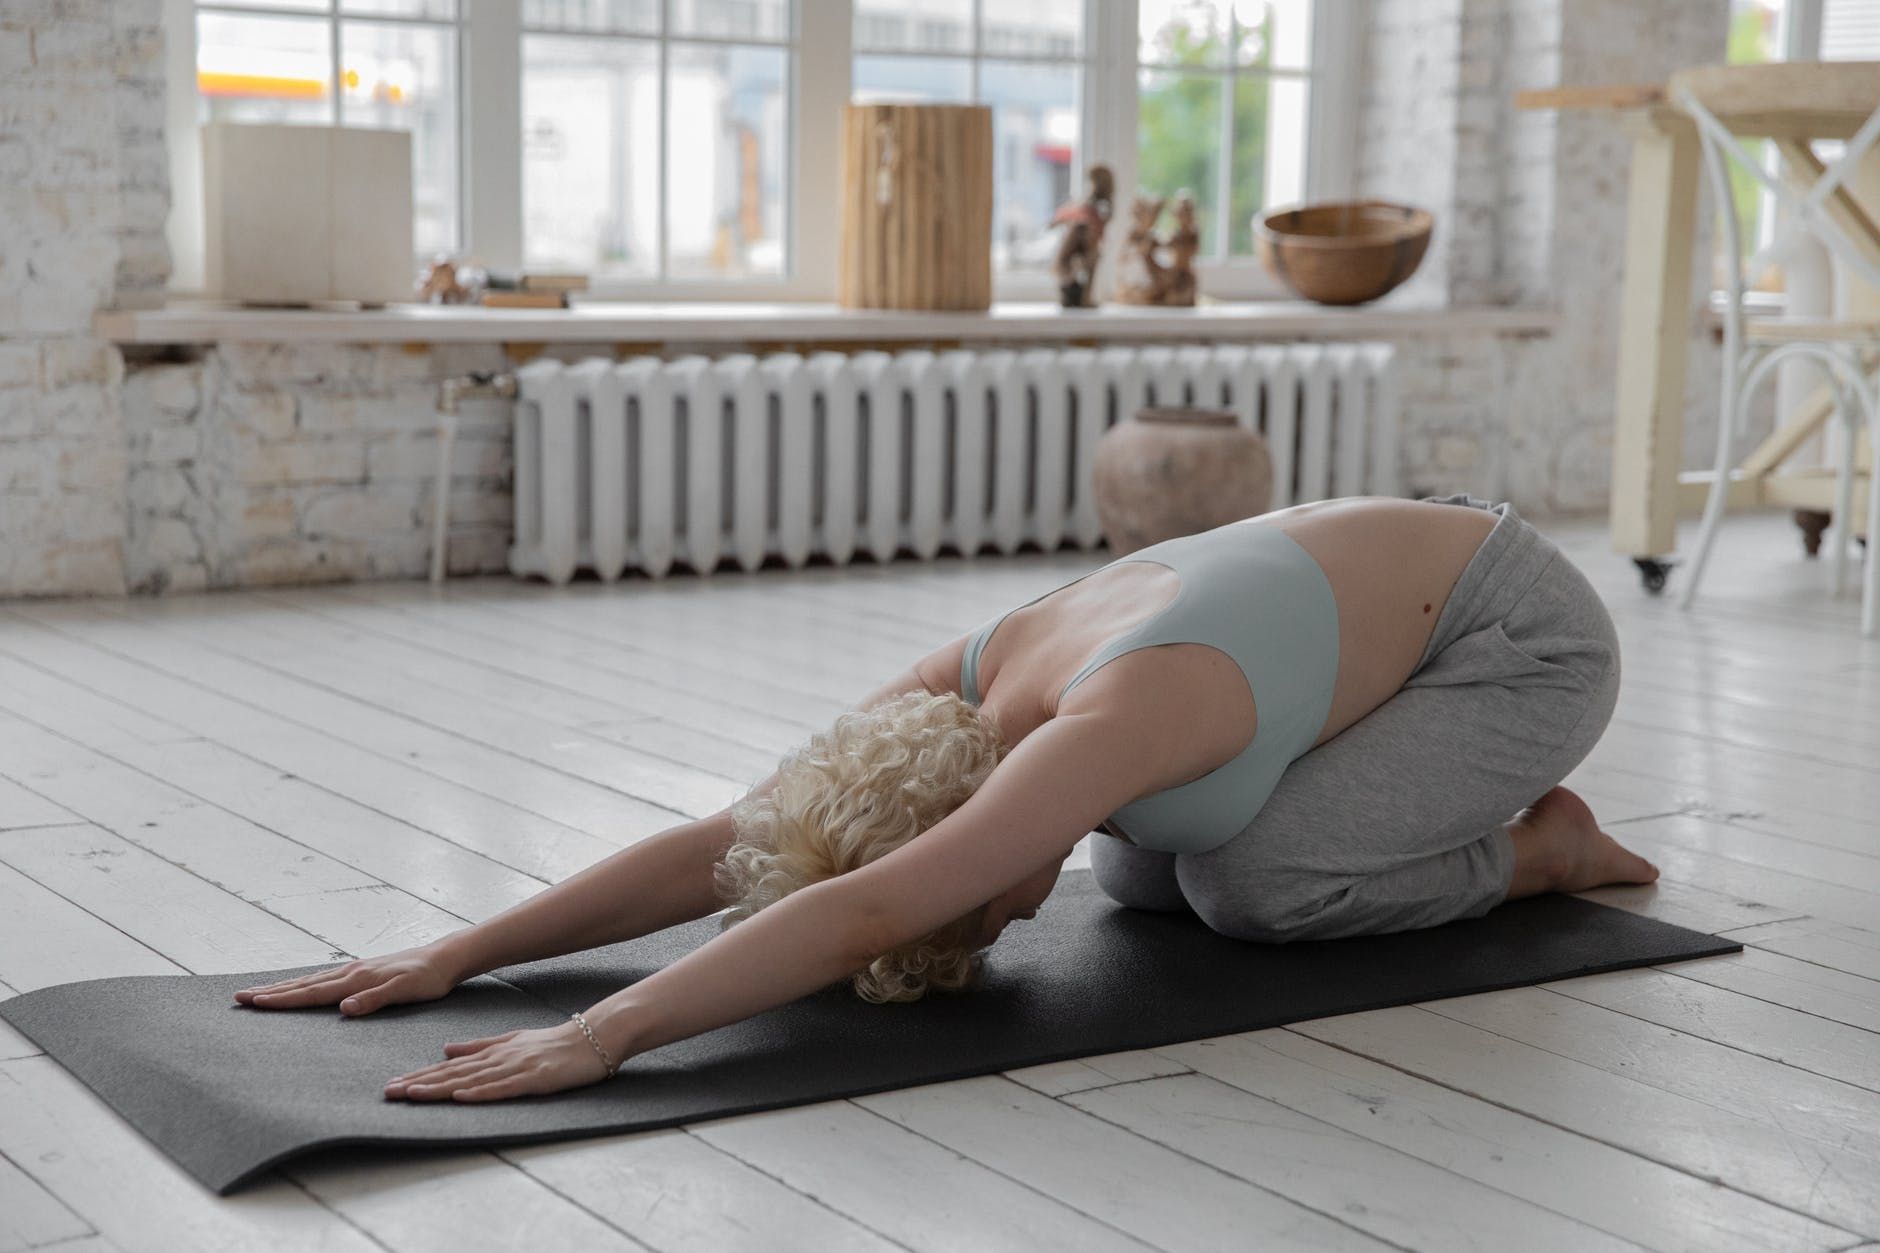
1. Balasana (Child’s Pose): Child’s pose is a mild stretch for the back, glutes, ankles, and thighs, and it can aid in the relief of back discomfort. You can add a blanket beneath you if your knees feel too painful and don't have enough support while executing the child's pose. This will assist your body in relaxing even better.
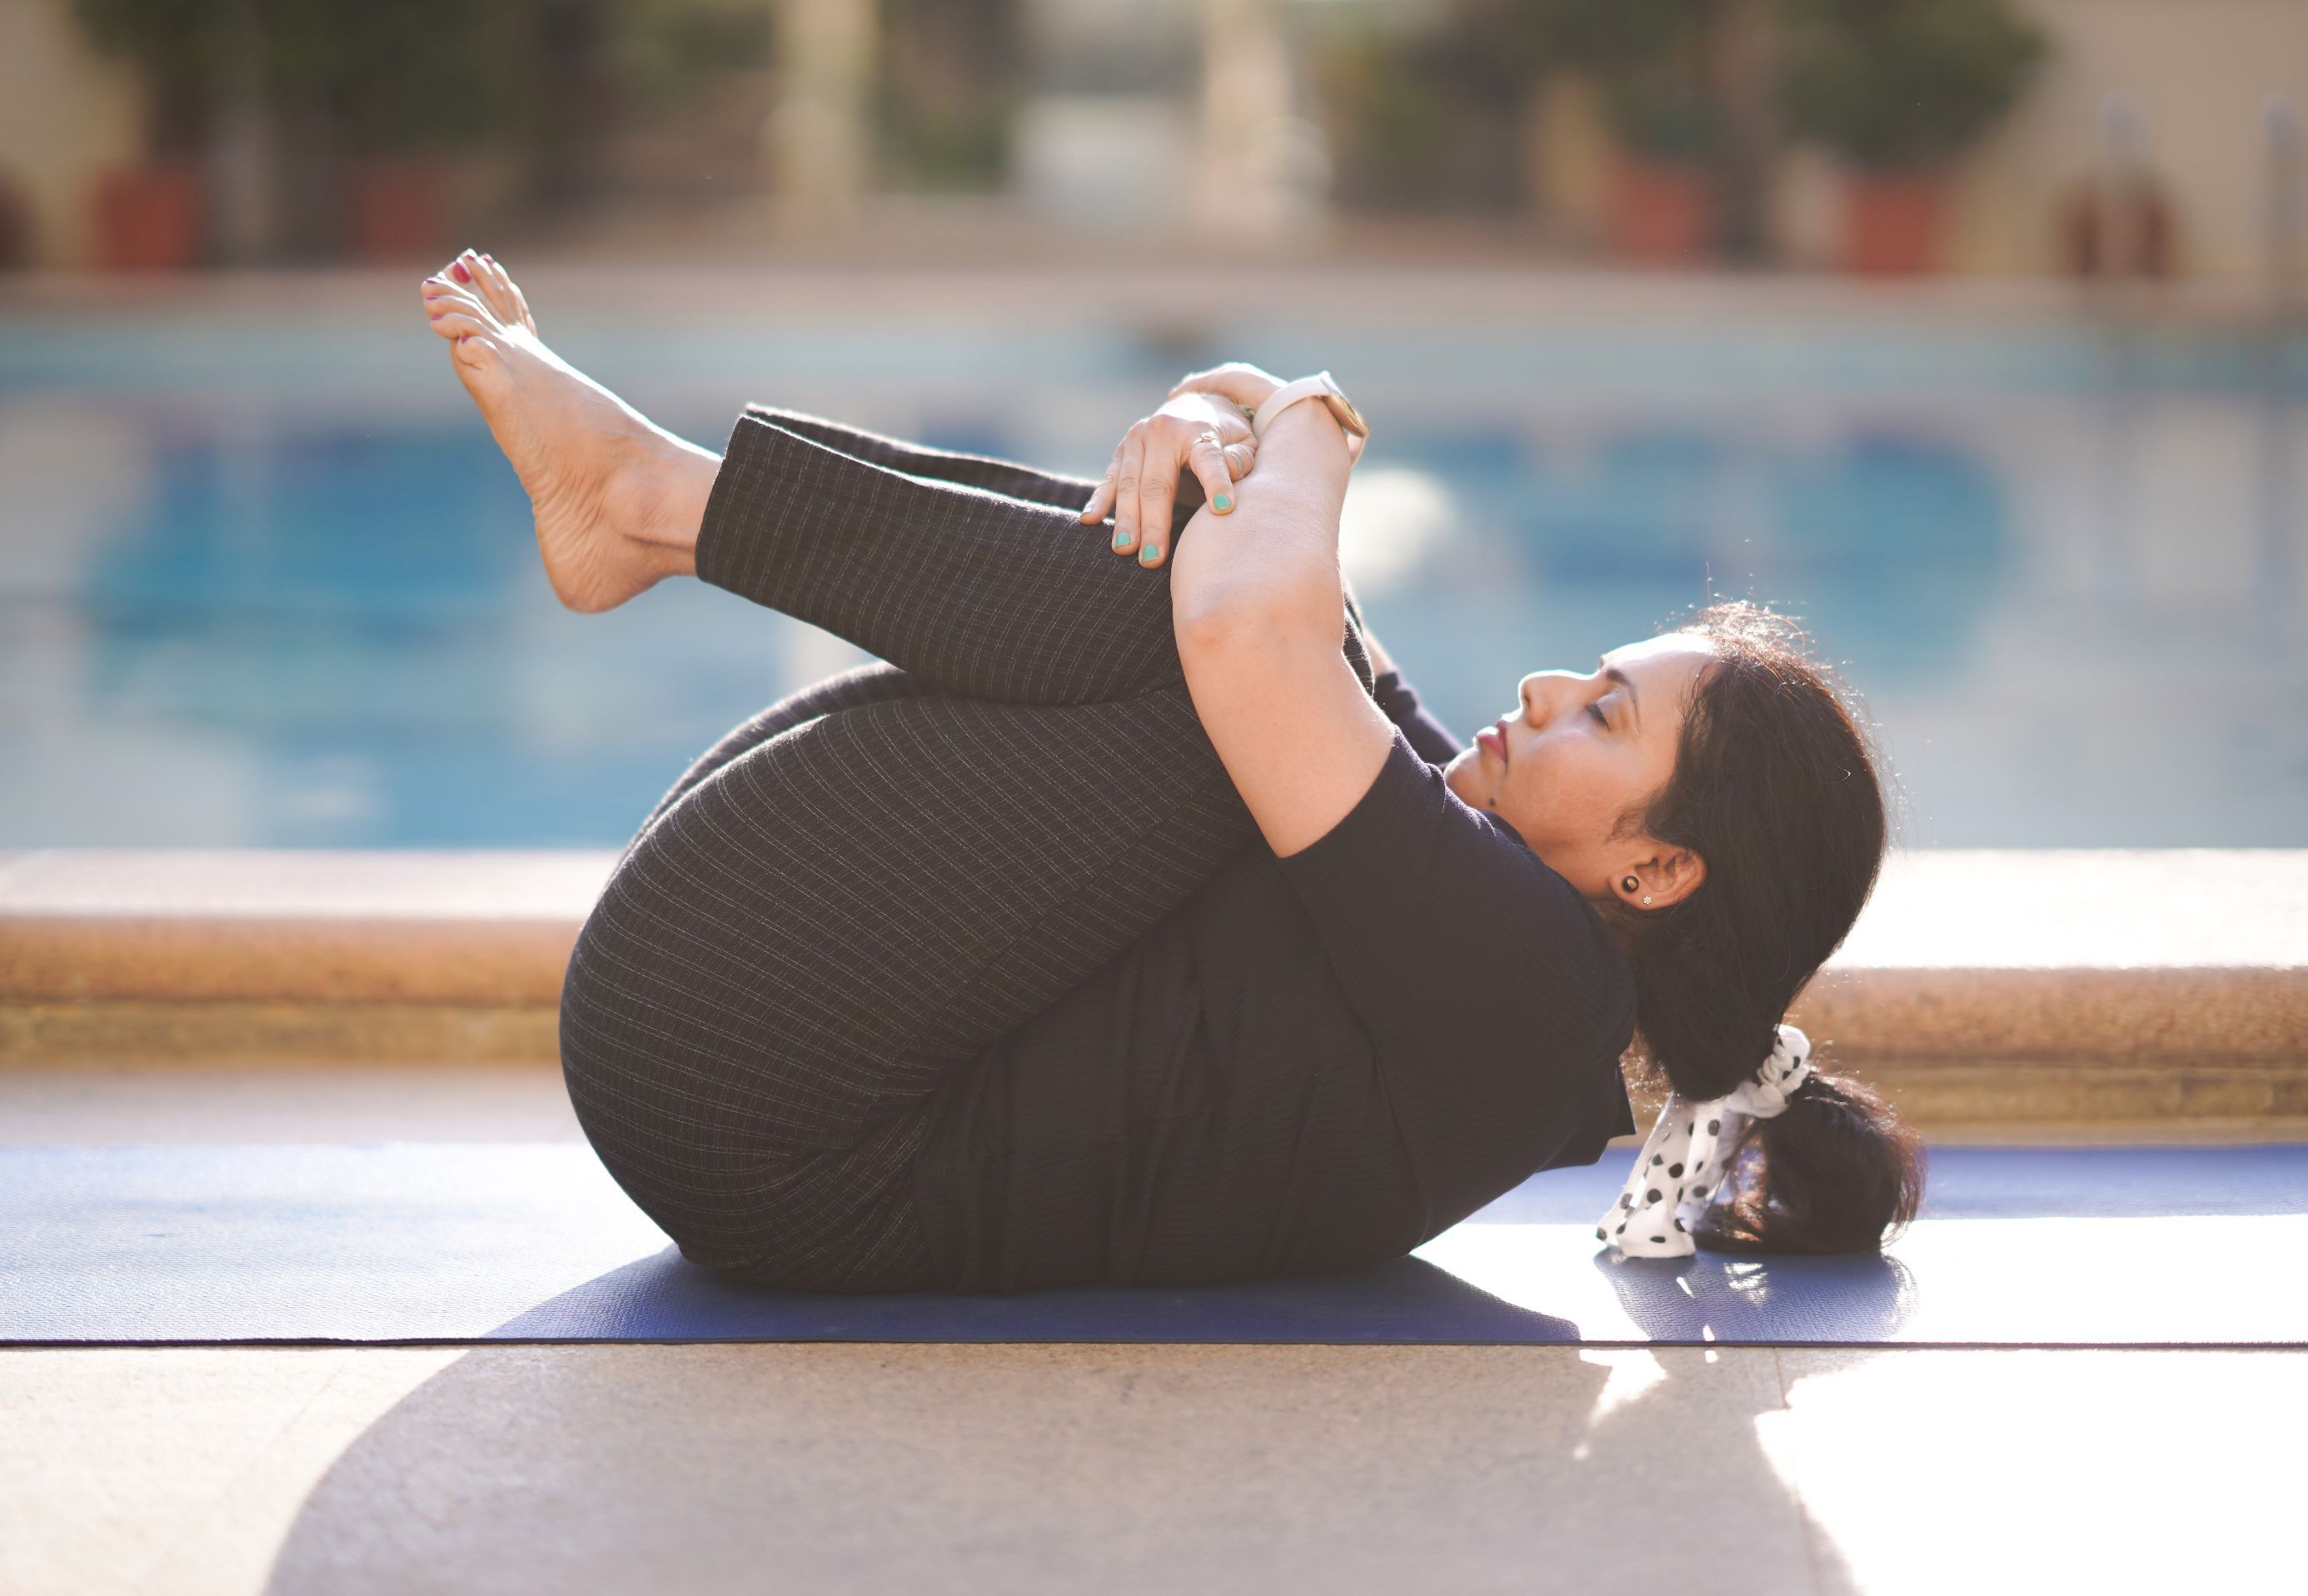
2. Pawanmuktasana (Wind Release Pose): Lie down on your back or supine with your arms beside your body. Inhale. Exhale and press your thighs into your abdomen with clinched palms, bringing your knees closer to your chest. Inhale deeply once again, then exhale deeply while relaxing all the back muscles.
Virabhadrasana Variations to Consider
Practice any of these variations depending on your body's needs and strength capabilities.
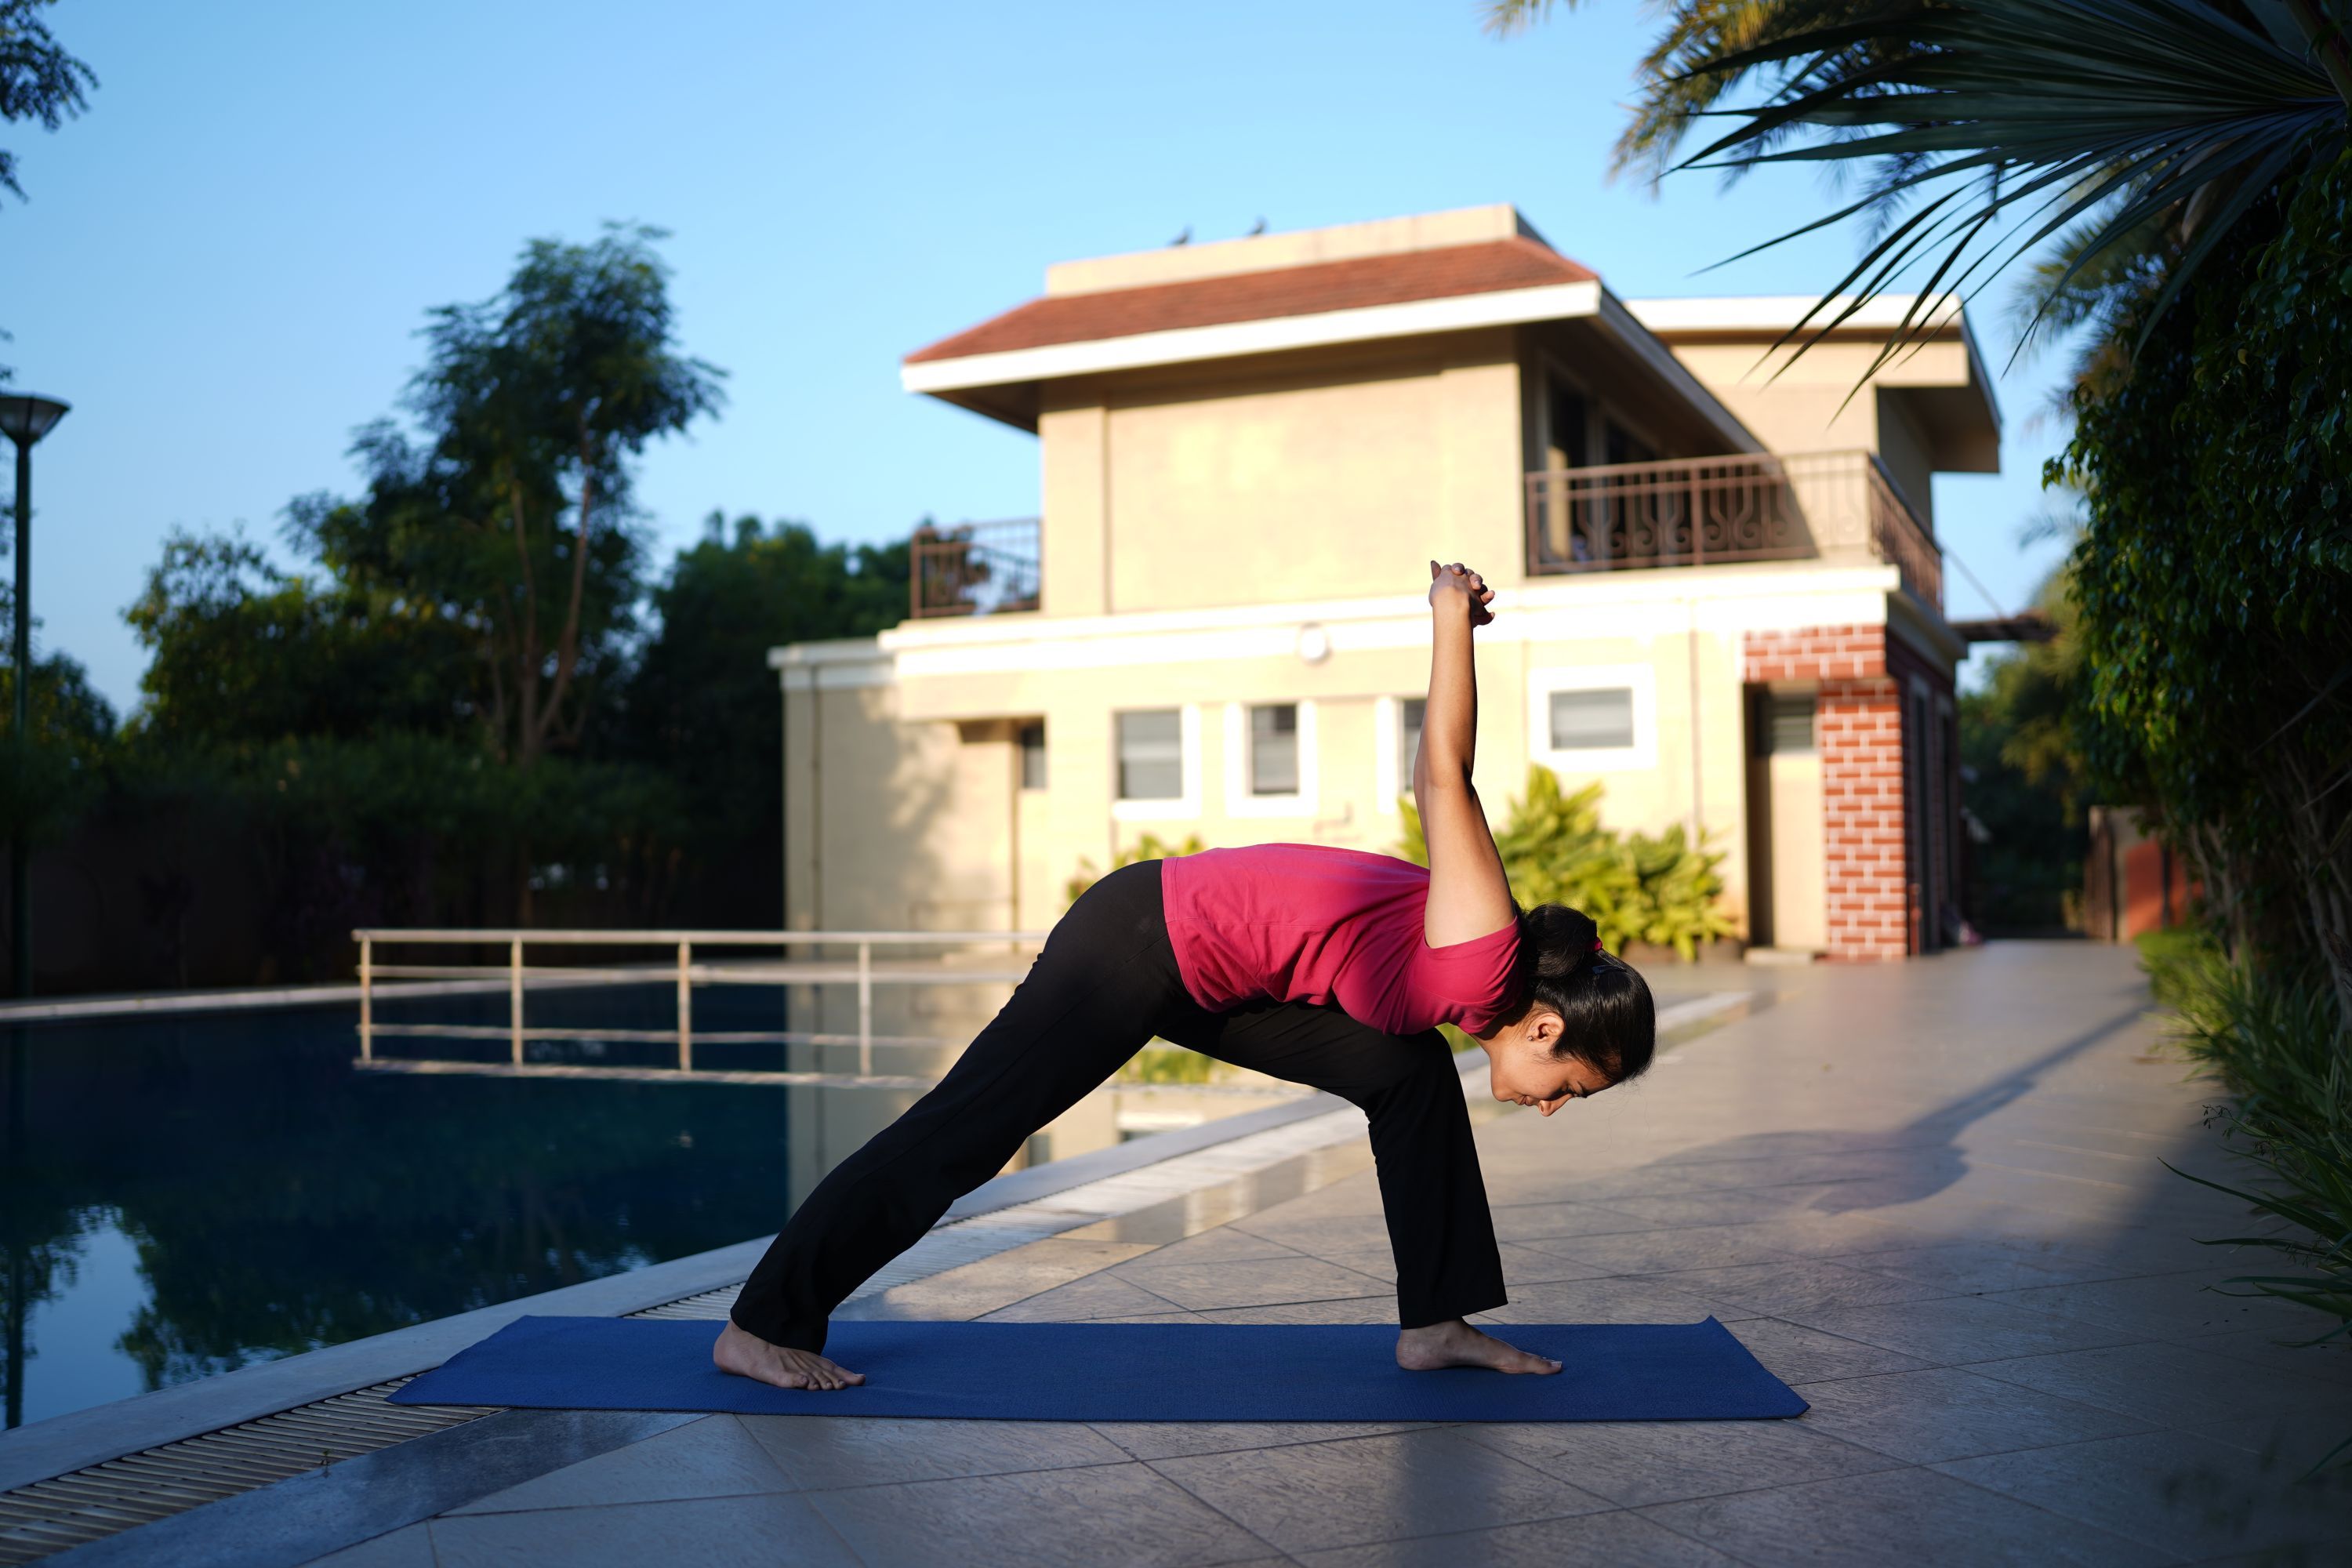
1. Humble Warrior Pose: This is a Virabhadrasana I variation in which the body is bowed down over the front leg, and the arms are lifted vertically above the back, fingers interlaced.
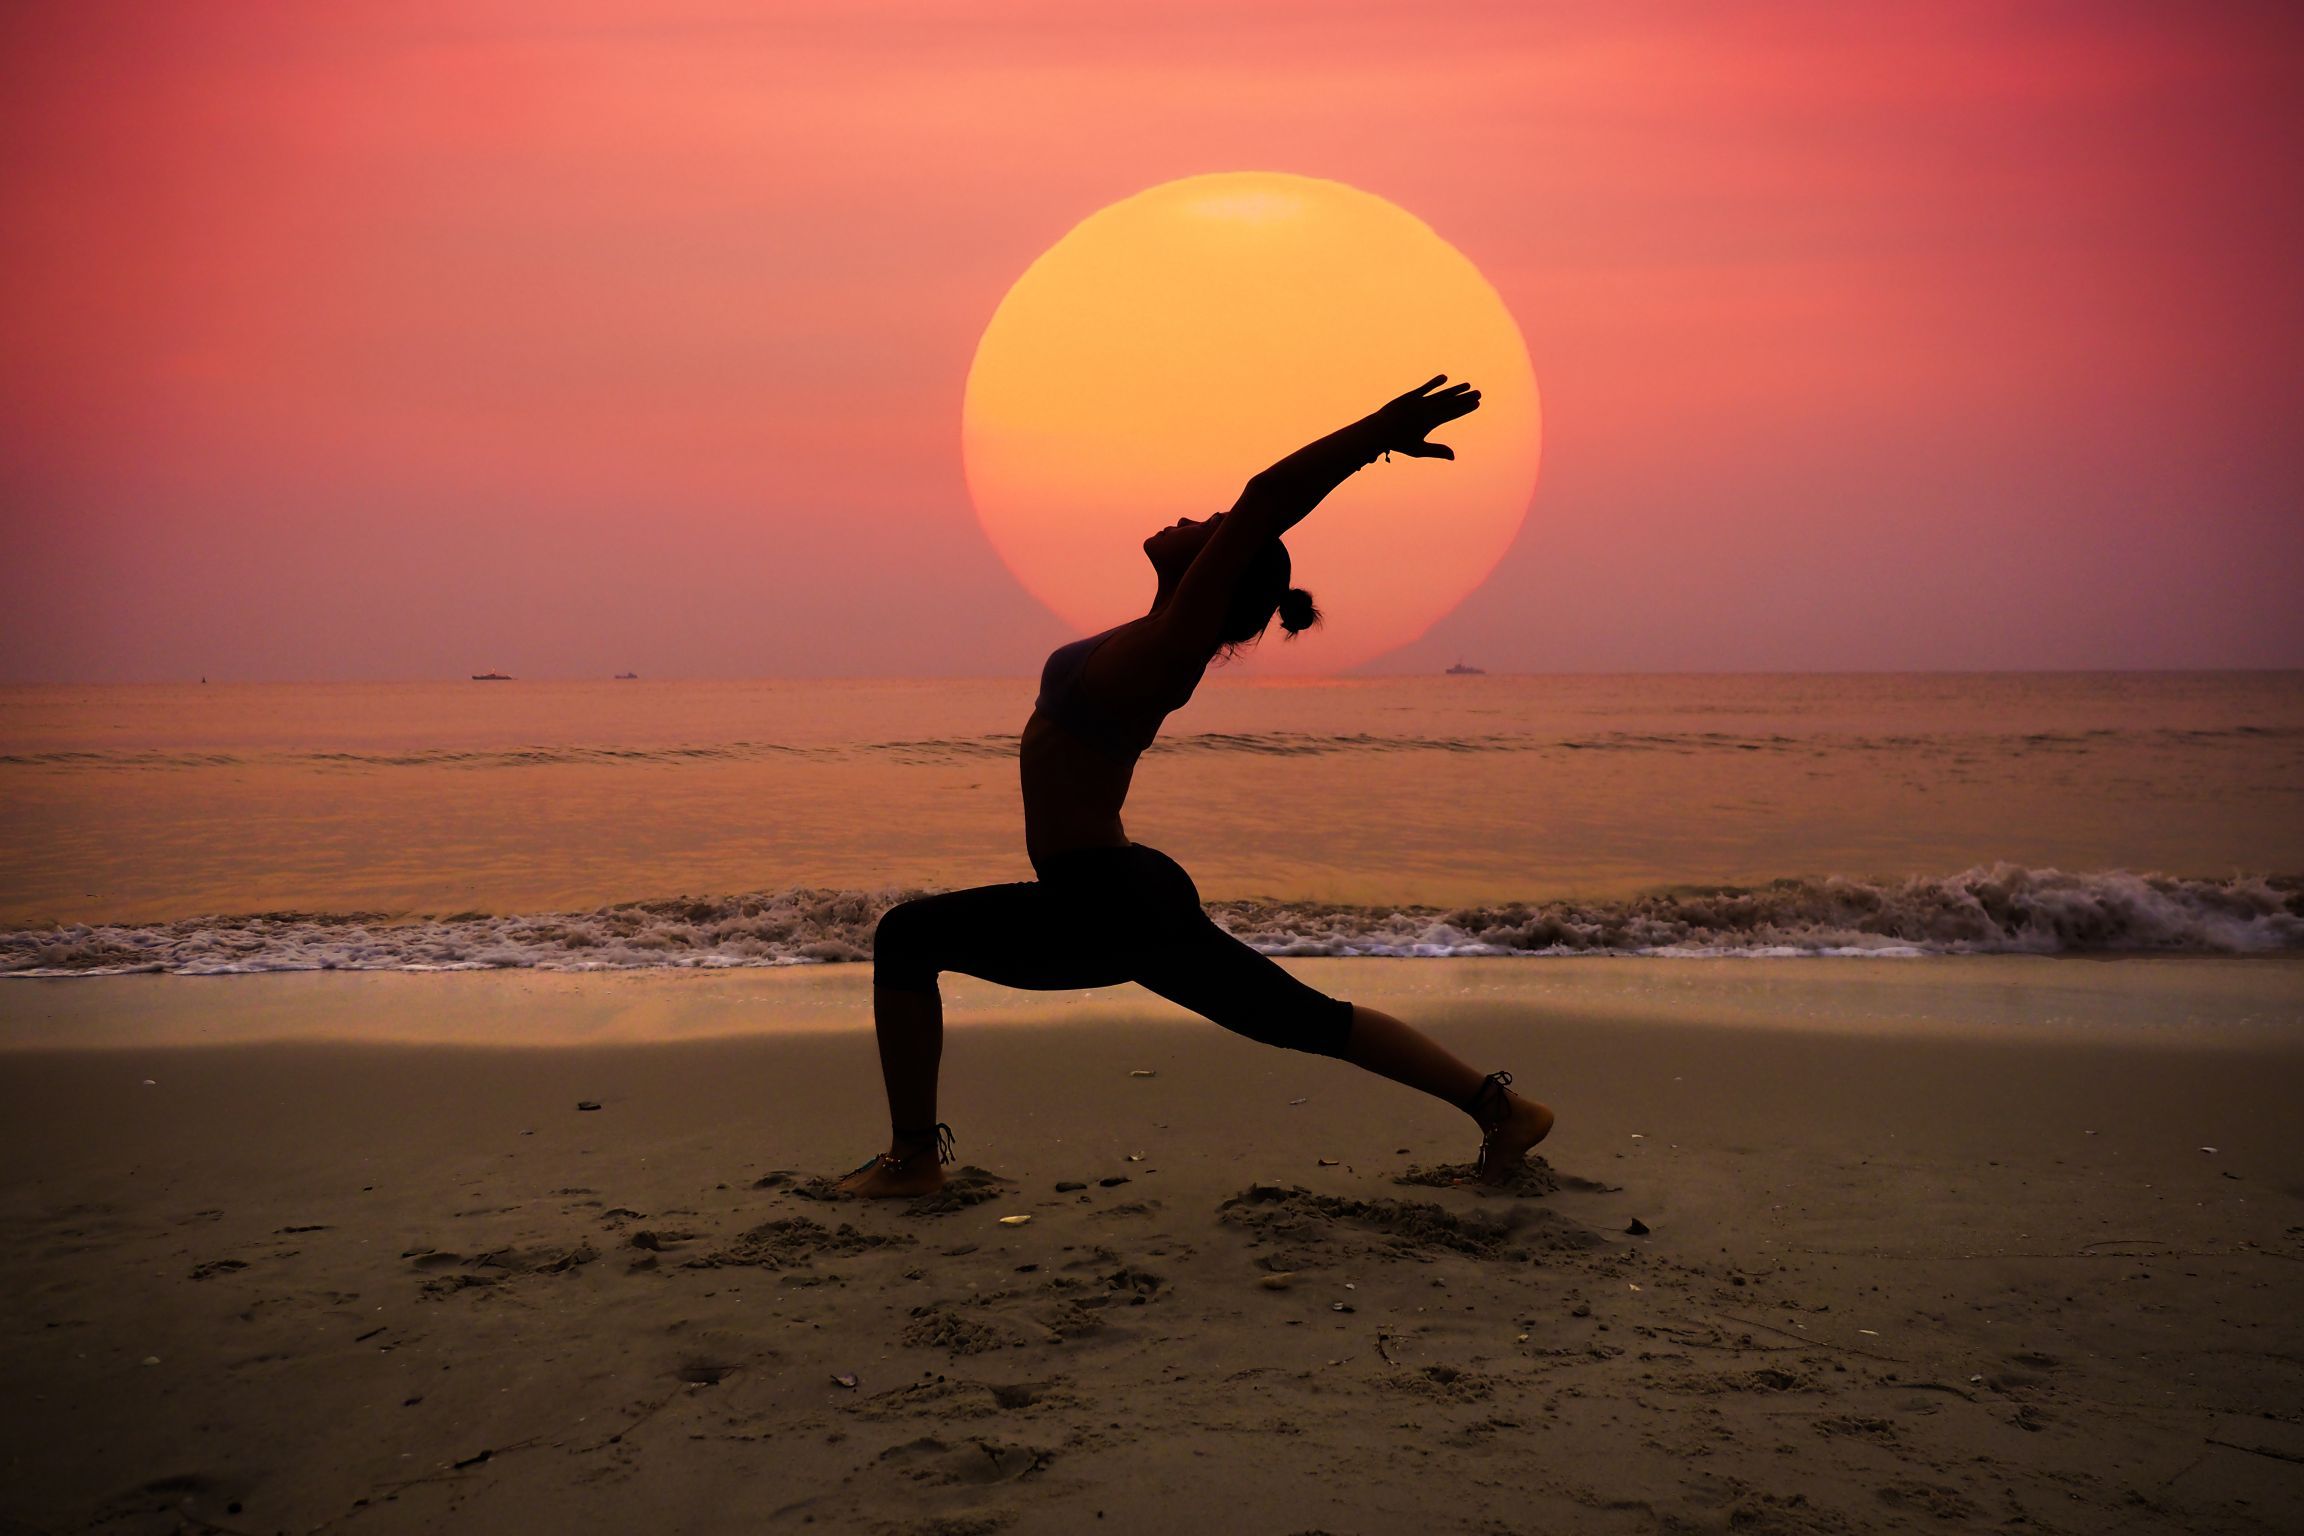
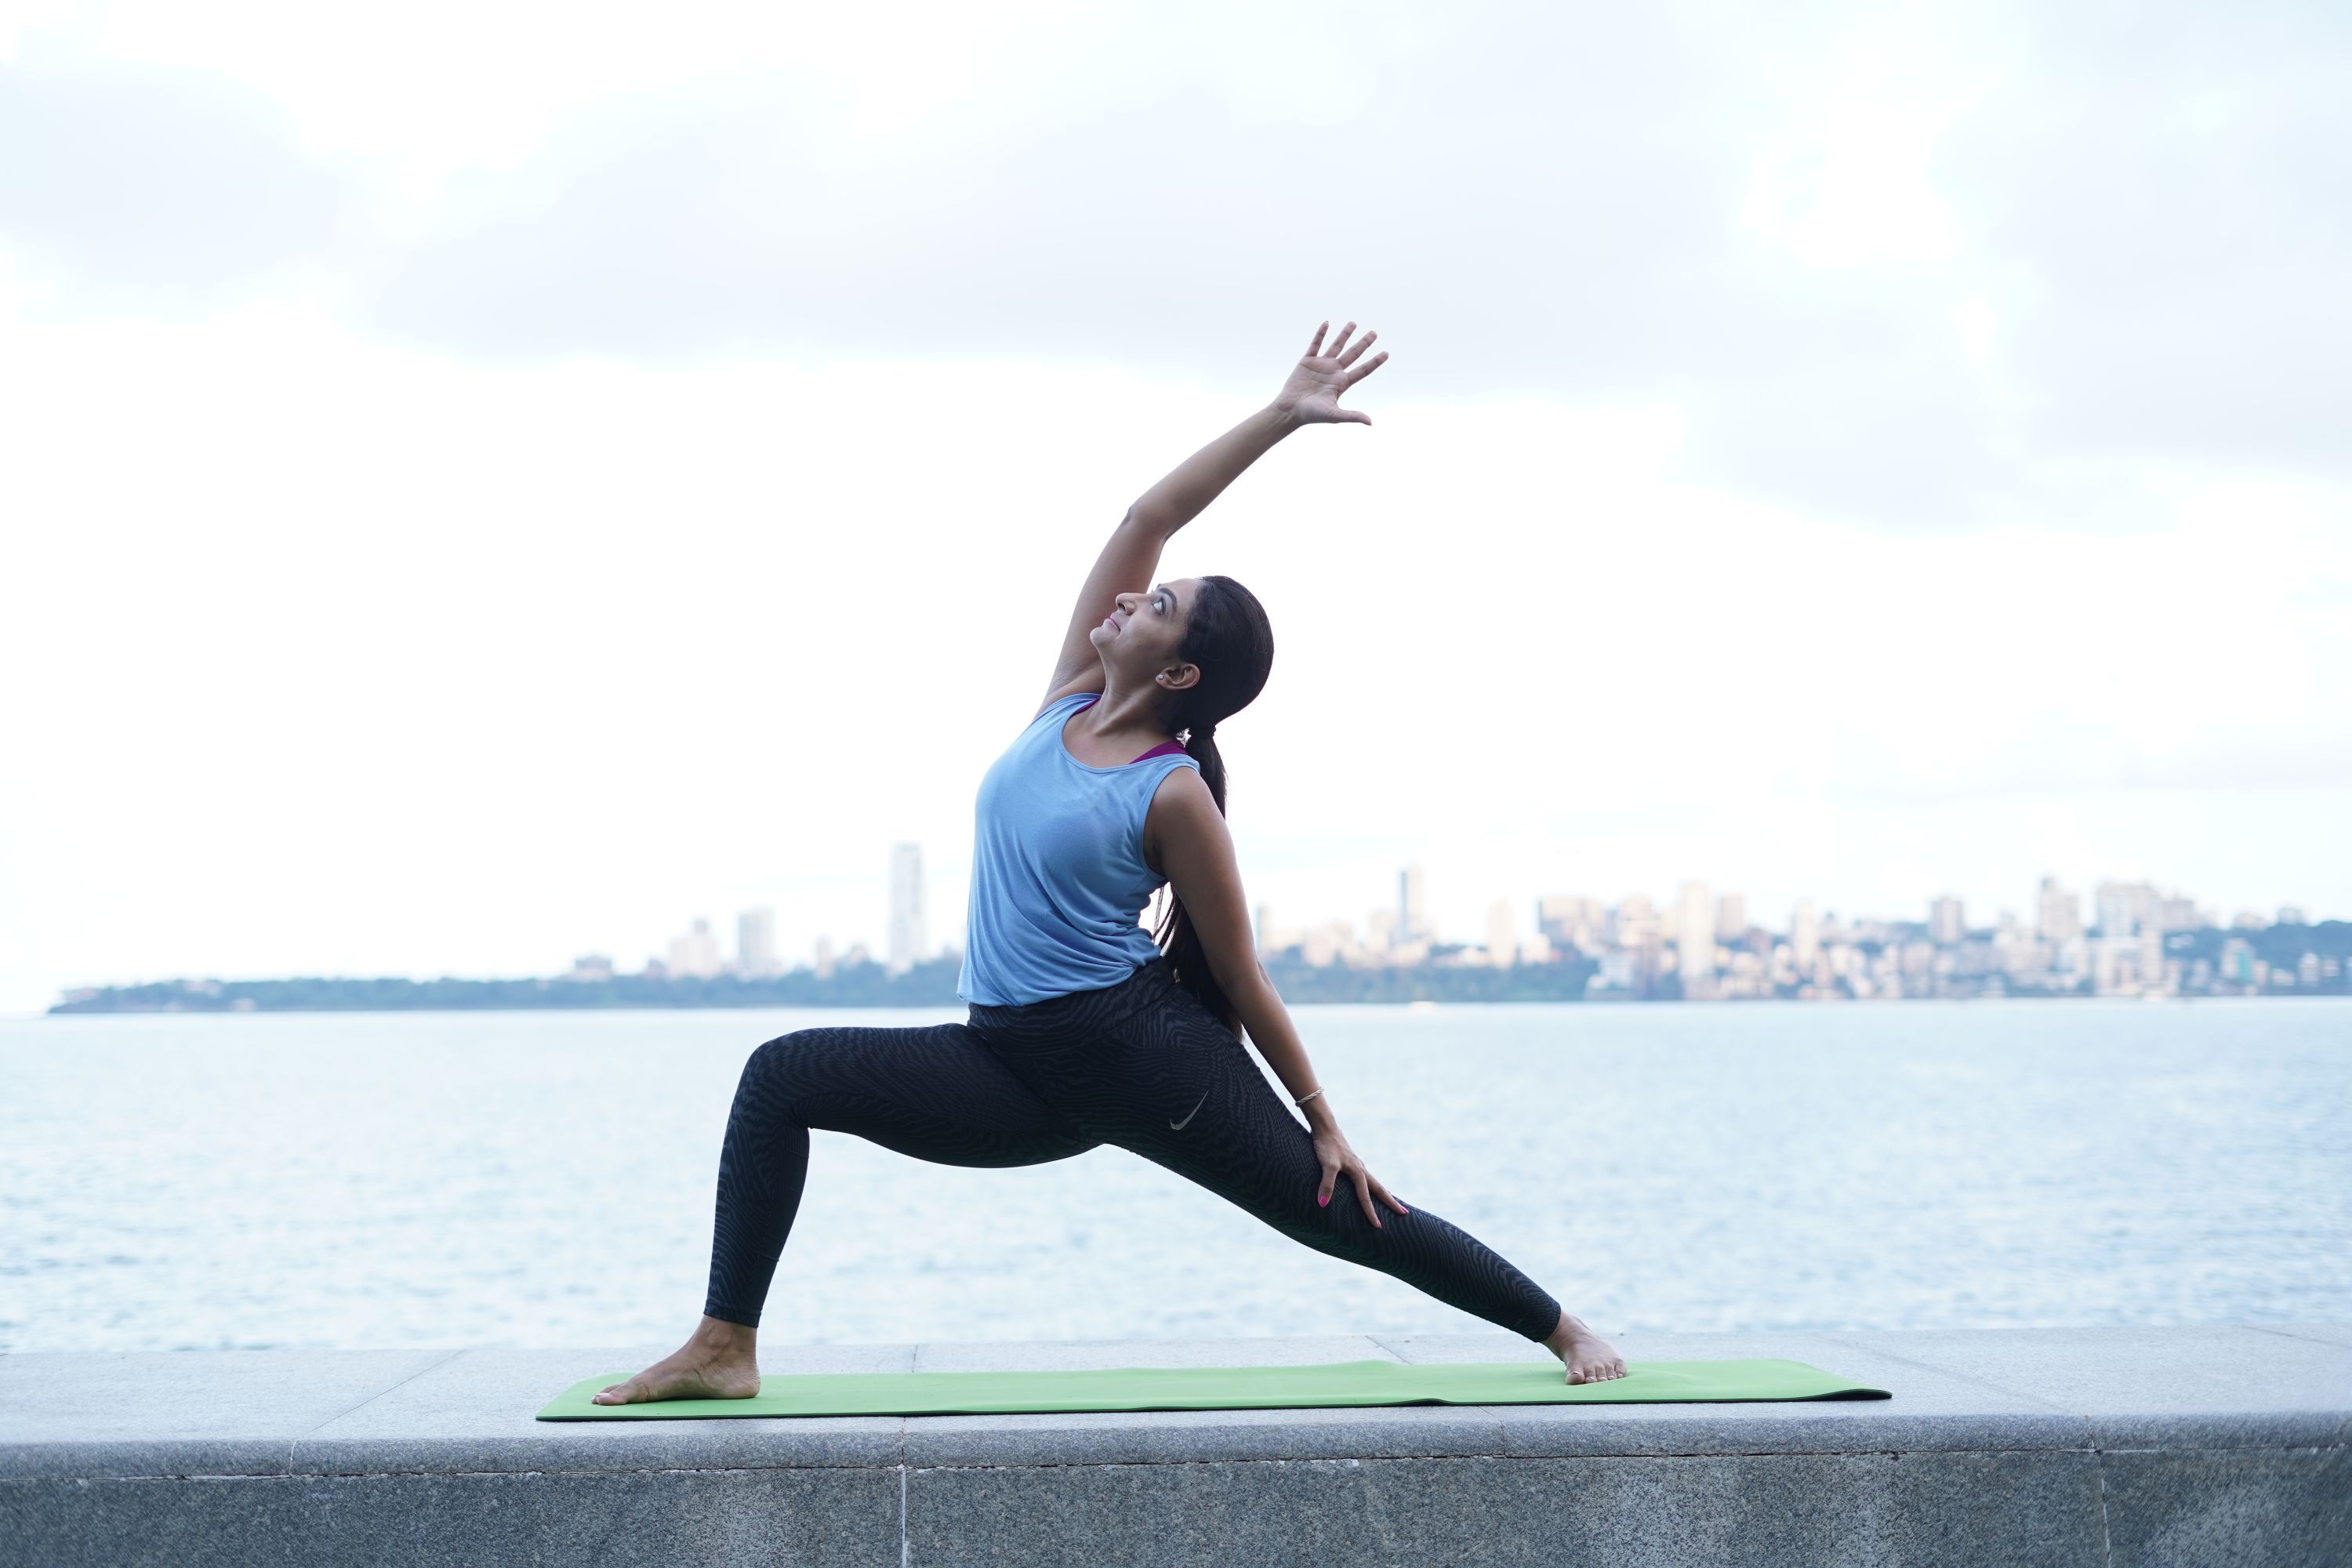
2. Reverse Warrior Pose: This is a Virabhadrasana I variation where the upper body and forward arm are together tilted backward. The lower arm can be extended down the back leg or around the back of the opposite hip.
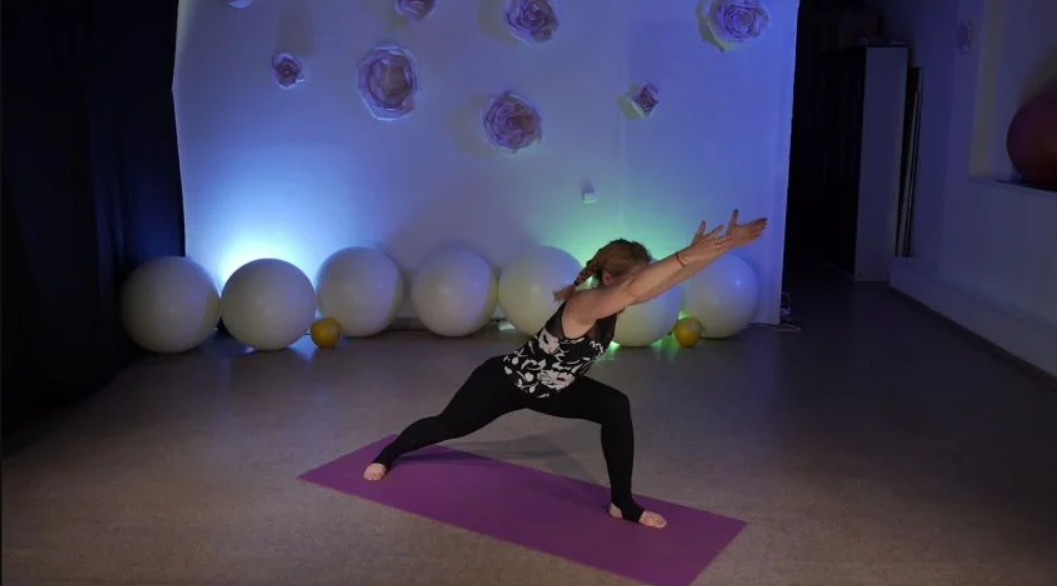
3. Half Warrior Pose: This is another Warrior I variation that focuses on keeping both hands overhead and bending the upper body slightly forward for a gentle to deep stretch around the vertebral column, shoulders, arms, and hamstrings.

Enjoy a Free 1-on-1 Session with a Coach!
Receive personalized guidance tailored to your unique fitness goals, live with a dedicated coach—no credit card required.
Frequently Asked Questions about Virabhadrasana
To start Virabhadrasana I practice, make sure your right heel is parallel to your left heel, then squeeze through your feet to activate your legs. Bring your hands on your sides, squaring your glutes and shoulders straight in front. Then, relax your shoulders and maintain a straight gaze forward. Hold this pose here for a few minutes and then repeat on the other side.
To perform Virabhadrasana II, start with your front knee bent, hips squared forward, and arms stretched over your front and rear legs, distributing your weight evenly between both legs in this pose
Legs, glutes, hips, core, chest, shoulders, and arms are all strengthened in Warrior II. Holding the stance for a prolonged period will help you build lower body strength and endurance.
Warrior 3 (also known as Virabhadrasana III in Sanskrit) is the third pose in the Warrior series and is a standing balance yoga pose. This standing Warrior sequence of yoga poses adds a balance challenge with Warrior III. The torso, arms, and leg are parallel to the ground while balancing on one leg. It’s an invigorating pose that may help you strengthen your lower body and core, and increase the mind-to-muscle connection.
The list of benefits of Virabhadrasana are as follows:
- The entire body is energized.
- Hips, chest, and lungs are all stretched out.
- Focus, balance, and stability are all improved.
- Encourages proper breathing and blood circulation.
- Shoulders, arms, legs, ankles, and back are all strengthened.
- Arms, abdomen, legs, shoulders, groin, ankles, and neck are stretched very well.
Reverse Warrior, also known as Viparita Virabhadrasana, is a standing pose popular in yoga. Its name is derived from Virabhadra, a Hindu warrior who embodies the god Shiva. In Sanskrit, the word "Viparita" signifies “backward."
This is a counter variation pose for warrior II, as one of the arms is flexing overhead in the backward direction. Reverse Warrior strengthens and stretches the legs, groin area, hips, and sides of the chest and waist. Flexibility is improved in the spine, inner thighs, ankles, and chest. It also enhances thigh, shoulder, and arm strength.


.webp)
%20(7).jpg)
