What is Halasana (Plow Pose)?

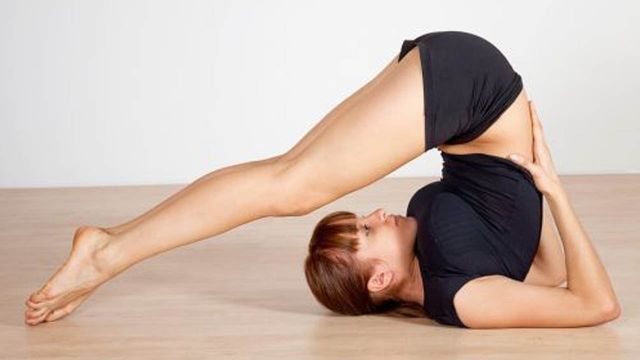
As the name suggests, Halasana (Plow Pose) leads the body and mind towards deep rejuvenation, identical to how a plow is used to dig the soil and make it fertile again. It's a full-body stretch that turns your body upside down and places your feet over your head, giving you new perspectives.
By extending the lumbar, thoracic, and cervical regions of the spine, Halasana improves blood circulation and flexibility around the spinal column. Back pain can be relieved by this posture, stretching the shoulders and lengthening the spine. When done correctly, Halasana can help relieve stress around the throat and back of the neck.
Overview & Etymology
Overview
Halasana is derived from the Sanskrit words Hala, which means "plow," and Asana, which means "posture,” or "seat." The 19th-century Sritattvanidhi describes and illustrates Lāṇgalāsana, which also means plow position in Sanskrit.
Sanskrit Name: हलासन Pronunciation: Hah-lahs-ah-nah
Pose Type: Inversion Also known as: plow Pose
Strengthens: Spine, Neck, and Shoulders Stretches: Spine, Shoulder
Health Benefits of Halasana
Aids in weight loss.
Aids in stress reduction.
Provides back pain relief.
Aids in diabetes management.
Thyroid glands are stimulated well.
Enhances digestive organs' functions.
Works as a natural treatment for leg cramps.
Promotes blood circulation in the roots of all glands.
Improves hair growth and reduces chronic hair fall.
Females can feel relive of stress from trigger areas during Menopause.
When to Avoid Performing Halasana
Avoid if you had a recent injury or surgery.
Avoid during menstruation and pregnancy.
Avoid if experiencing enlarged thyroids, spleens, or liver-related issues.
Avoid during weak digestion, migraines, high blood pressure, and breathing issues.
How to do Halasana (Plow Pose)
A plow pose is typically performed toward the end of a yoga lesson. So, to get started with your Halasana practice, there are four parts to this whole process.
Part 1 - Preparatory Poses for Halasana
The neck and shoulders muscles experience more strain in this exquisite yoga pose, so they must be strong. As the pose name implies, Halasana, or plow posture, requires strength, the same as plowing the field.
So let's focus on those yoga poses that assist the opening of the back, shoulders, and neck while also emphasizing the importance of breathing.
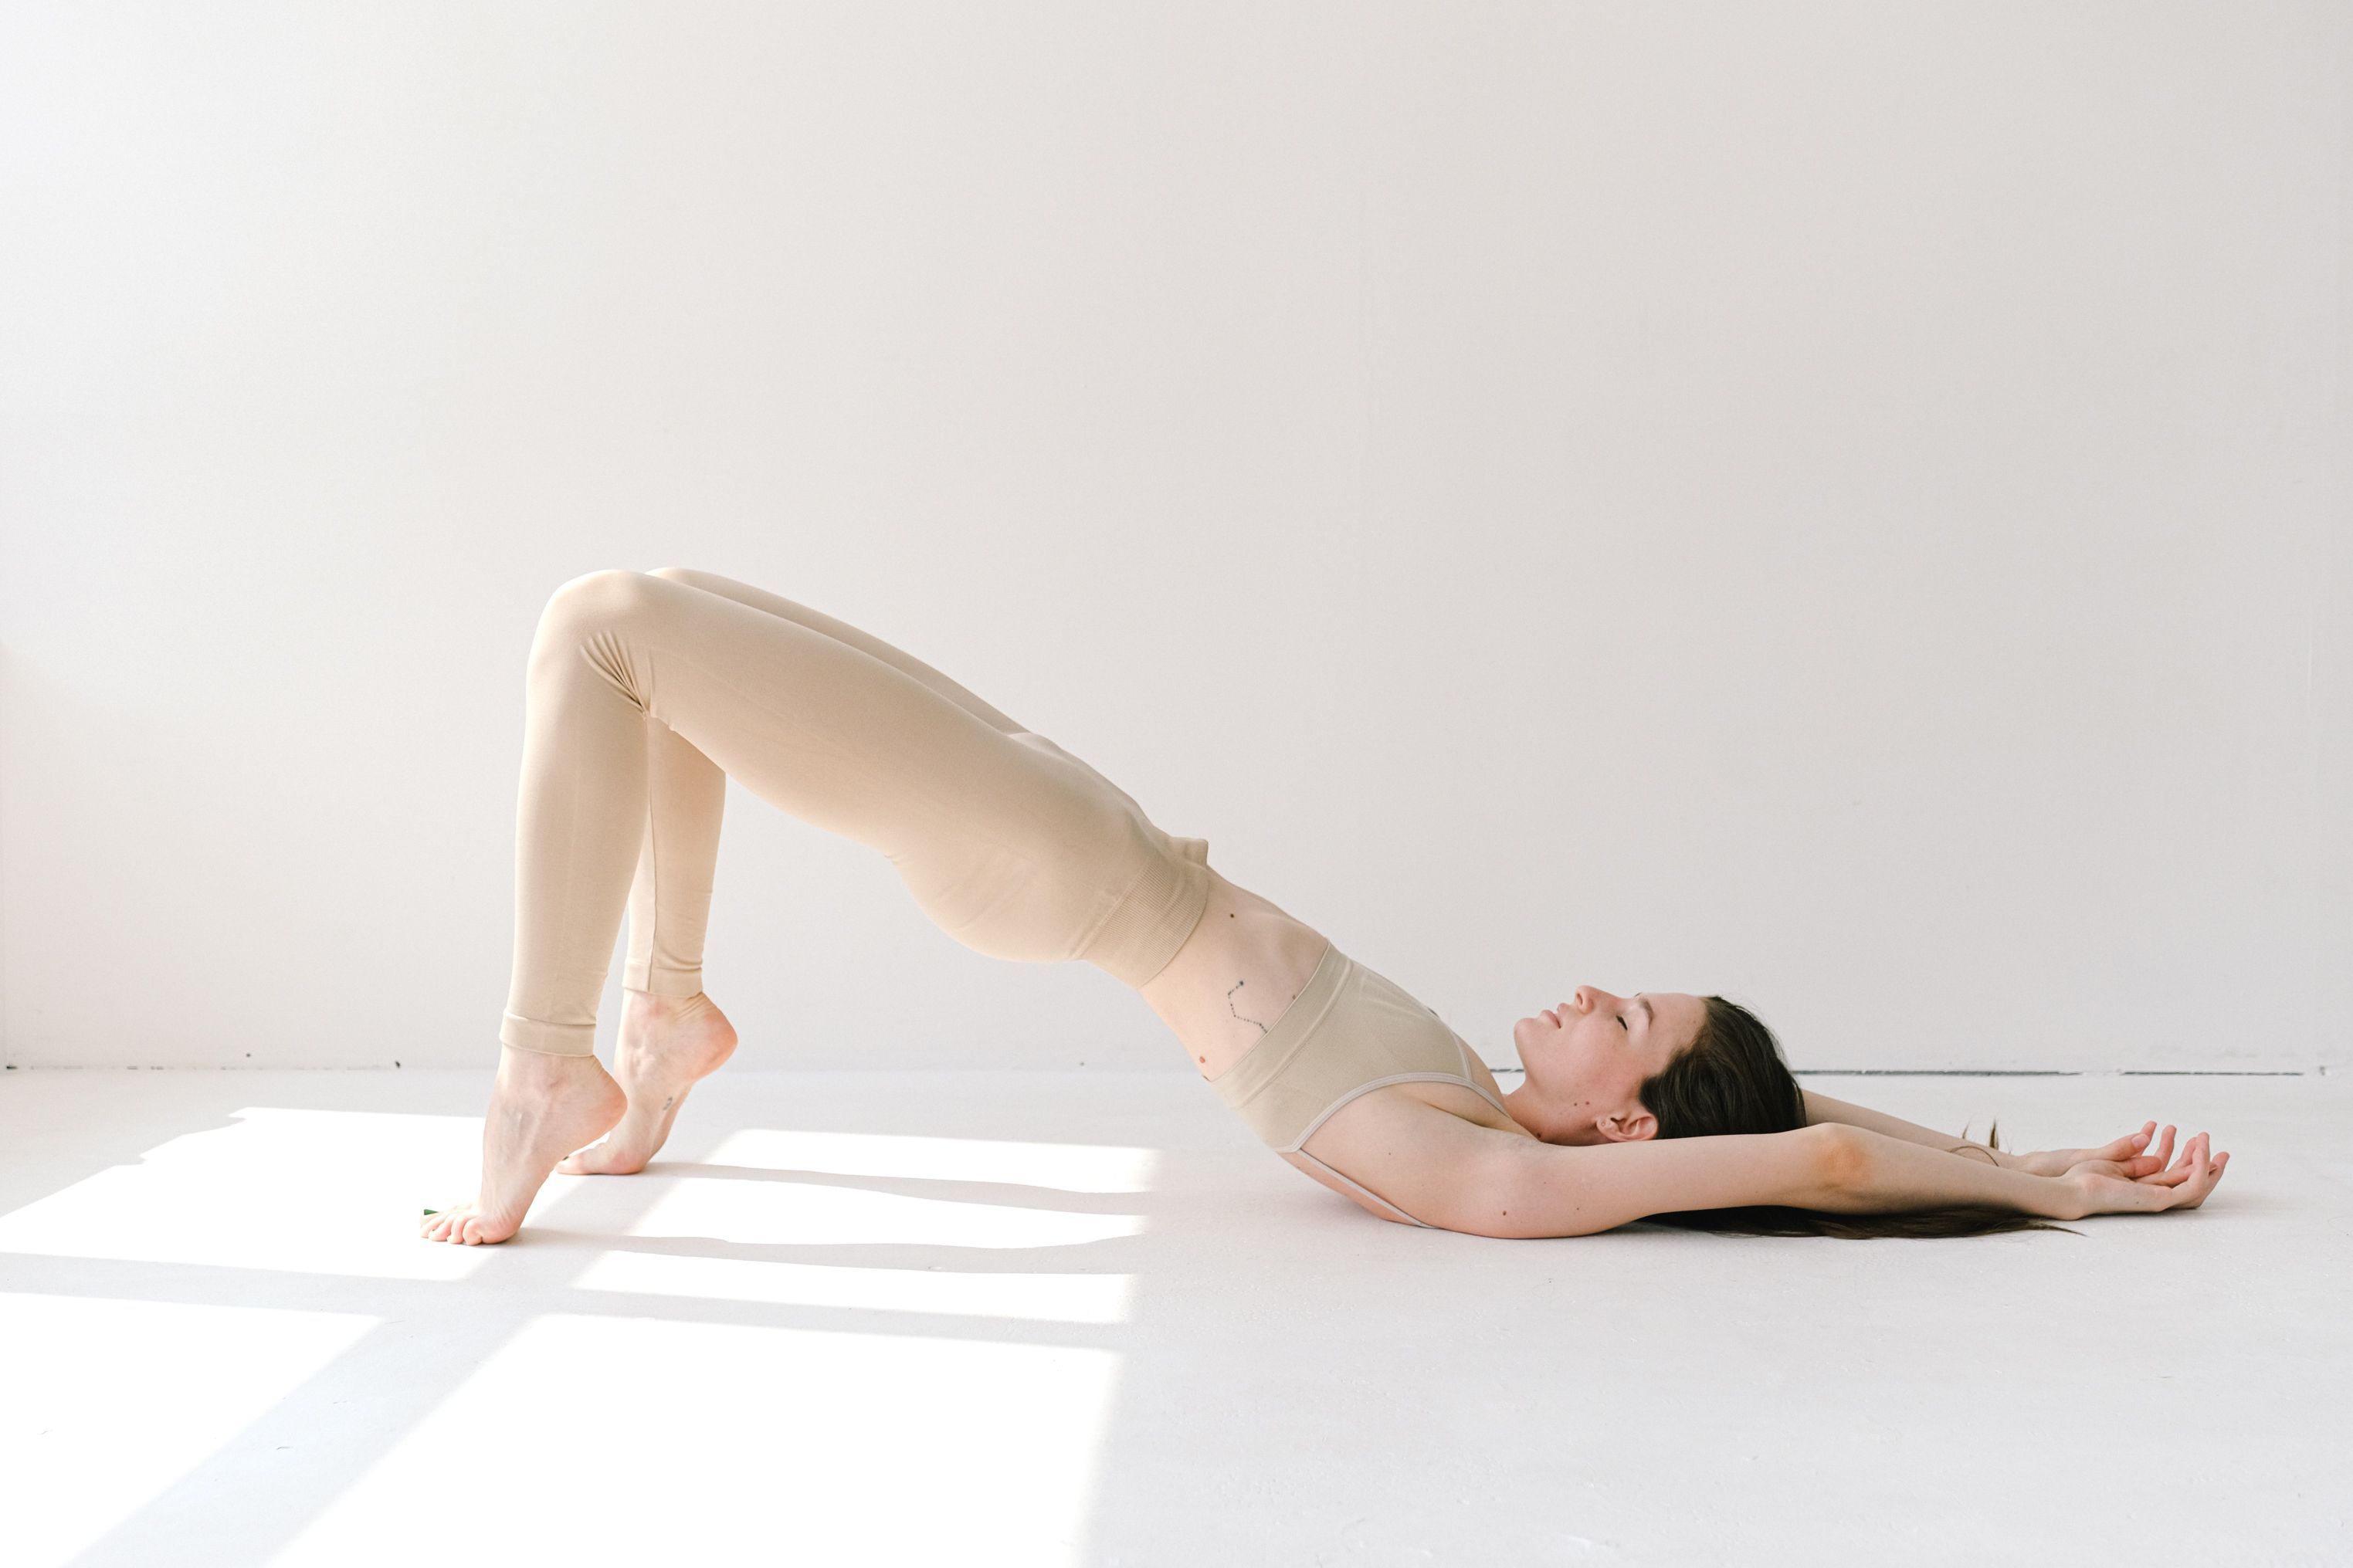
1. Setubandha Sarvangasana (Bridge Pose) - The body forms an incline bridge in Bridge Pose, enhancing and inducing flexibility into the spine. The body weight on the shoulders and neck provides the strength required to prepare these muscles for Halasana. Breathing plays an important role here as well, as it aids in sustaining the stance for an extended period.
2. Pavan Muktasana (Wind Release Pose) - This asana is regarded as the preparation pose before starting Halasana, because it prepares the body to move smoothly into Halasana by releasing any unwanted gas, air, or wind in the low belly. Raise the head and place it near the knees while pushing both bent knees close to your chest, exerting tension on the lower core muscles.
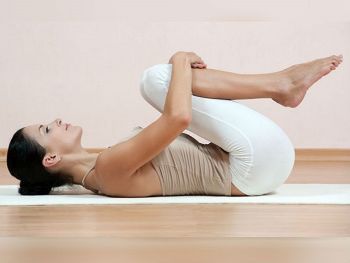
The tension in the lower belly also helps open the muscles in the low back, allowing for easier backflow in Halasana. The elevated head opens one's cervical spine and shoulder muscles, preparing the upper body for this inverted posture. To achieve Halasana, one's body must move willingly and efficiently into this wind release pose position.
3. Half Halasana Variation (Half Plow Pose) - This Half Halasana Pose is the final preparation pose. The pressure on one's legs, lower back, and entire core muscles must be concentrated, with legs raised straight up and the whole spine's support on the floor. The stronger your shoulders and abdominal muscles become, the longer you can hold this pose with controlled breathing.
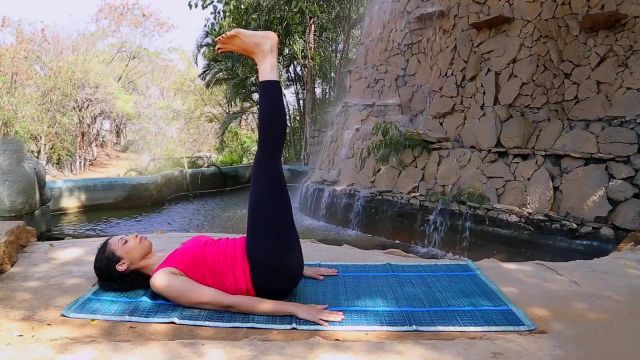
Image Credits: 101yogastudio.com
Part 2: Step-by-Step Instructions to Perform Halasana
Step 1- Begin by lying down on the floor with your feet together and your arms relaxed and close to your body. Remain here for a few moments, taking deep breaths to relax the body.
Step 2- Straighten your legs toward the ceiling after bringing your knees to your chest.
Step 3- Lift your hips off the floor and roll up until your shoulders support you, using your core strength and the support of both hands at your low or mid-back. Place your hips higher than your shoulders.
Step 4- Slowly drop your legs above your head until your toes are level with the ground behind you. Keep the feet flexed and rest your toes on the ground.
Step 5- Place your arms on the floor, palms down, or clasp your hands behind the back. To create greater lift along the spine, press down with your outside upper arms and shoulders. Hold the pose here for at least 5 deep breaths.
Step 6- To release this pose, unclasp your hands, press your arms and hands into the mat, and roll down one vertebra at a time.
Step 7- Allow the back to return to its natural contours and curves for a few moments by simply lying in the corpse pose.

Breath Awareness:
In Halasana, the chest is obstructed, as is the windpipe, which might cause distress during the practice. A smooth flow of energy is crucial, and one must learn this from a qualified yoga instructor or by following breathing cues as described below:
1. Bring your knees together and your arms close to the torso, and feel the air traveling through your body while breathing. Inhale deeply and raise your legs at a 90 degrees angle.
2. Inhale and exhale deeply by gathering up the legs and supporting the low back with the wrists; take both your legs behind your head and touch your toes on the floor. Exhale completely and relax your body.
3. Regulate your breathing while placing both your toes firmly onto the floor at the back of your head.
4. After a few breaths, slowly inhale and lift your toes and legs, supporting the low back, then exhale while bending your knees.
5. Bring your low back, chest, and abdominal area to the floor with one more deep inhale, and relax your back by placing it on the ground with your feet on the floor. Keep your knees bent and return to a normal breathing pattern.
6. Bring your chest, low back, and core area to the floor with one more deep inhale, and relax your back by placing it on the ground with your feet placed on the floor and knees bent. Regain your normal breathing here.
7. If your breathing is fast and lacking depth, take a couple of deep breaths, hold the breath, and then slowly exhale. Repeat this until the entire body is feeling relaxed and breathing is normal.
Performance Duration for Beginners: Hold the pose for 20-60 seconds.
Performance Duration for Advanced: Hold the pose for 2 to 5 minutes.
Part 3: Things to Keep in Mind
Be aware of the following safety cues if you are just starting your Halasana practice.
Plow Pose may not be suitable for beginners - You should be familiar with the fundamentals of inversions and how to execute them with appropriate body alignment. You'll also need a certain amount of flexibility to accomplish it securely. You're not ready for a plow pose if you find performing preparatory poses difficult.
Consider using a prop if your neck feels uncomfortable - If you put too much weight on the top of your spinal column, Plow Pose might put your neck in a vulnerable position (your cervical spine). Using a blanket as a prop can assist in protecting your neck by distributing weight to your shoulders rather than your neck.
Part 4: Relaxing Poses After Halasana
When muscles are not allowed to contract before moving on to the next pose or repeating the same stance, more harm occurs. During any yoga pose, awareness of the body is crucial, as it aids in getting the body to rest more quickly and intelligently.
After practicing Halasana, the shoulders and neck muscles need to relax and loosen. To ensure proper spine relaxation, a few poses must be practiced shortly after Halasana:
1. Supta Baddha Konasana (Reclining Bound Angle Pose): Bring the feet to the floor and place them in Namaste formation as you release the body from Halasana. Namaste's feet will provide the necessary comfort for the lower back and shoulders. Breathe easily and relax the entire spine with arms stretched out beside you and feet at Namaste.
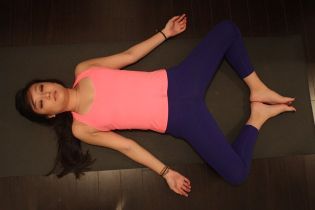
As you exhale, try to slide your knees closer to the floor, ensuring that your lower back is entirely flat on the floor. This calming position is necessary immediately post-Halasana practice because the blood flow in the feet, which was previously in the opposite direction, is now directed back to normal.
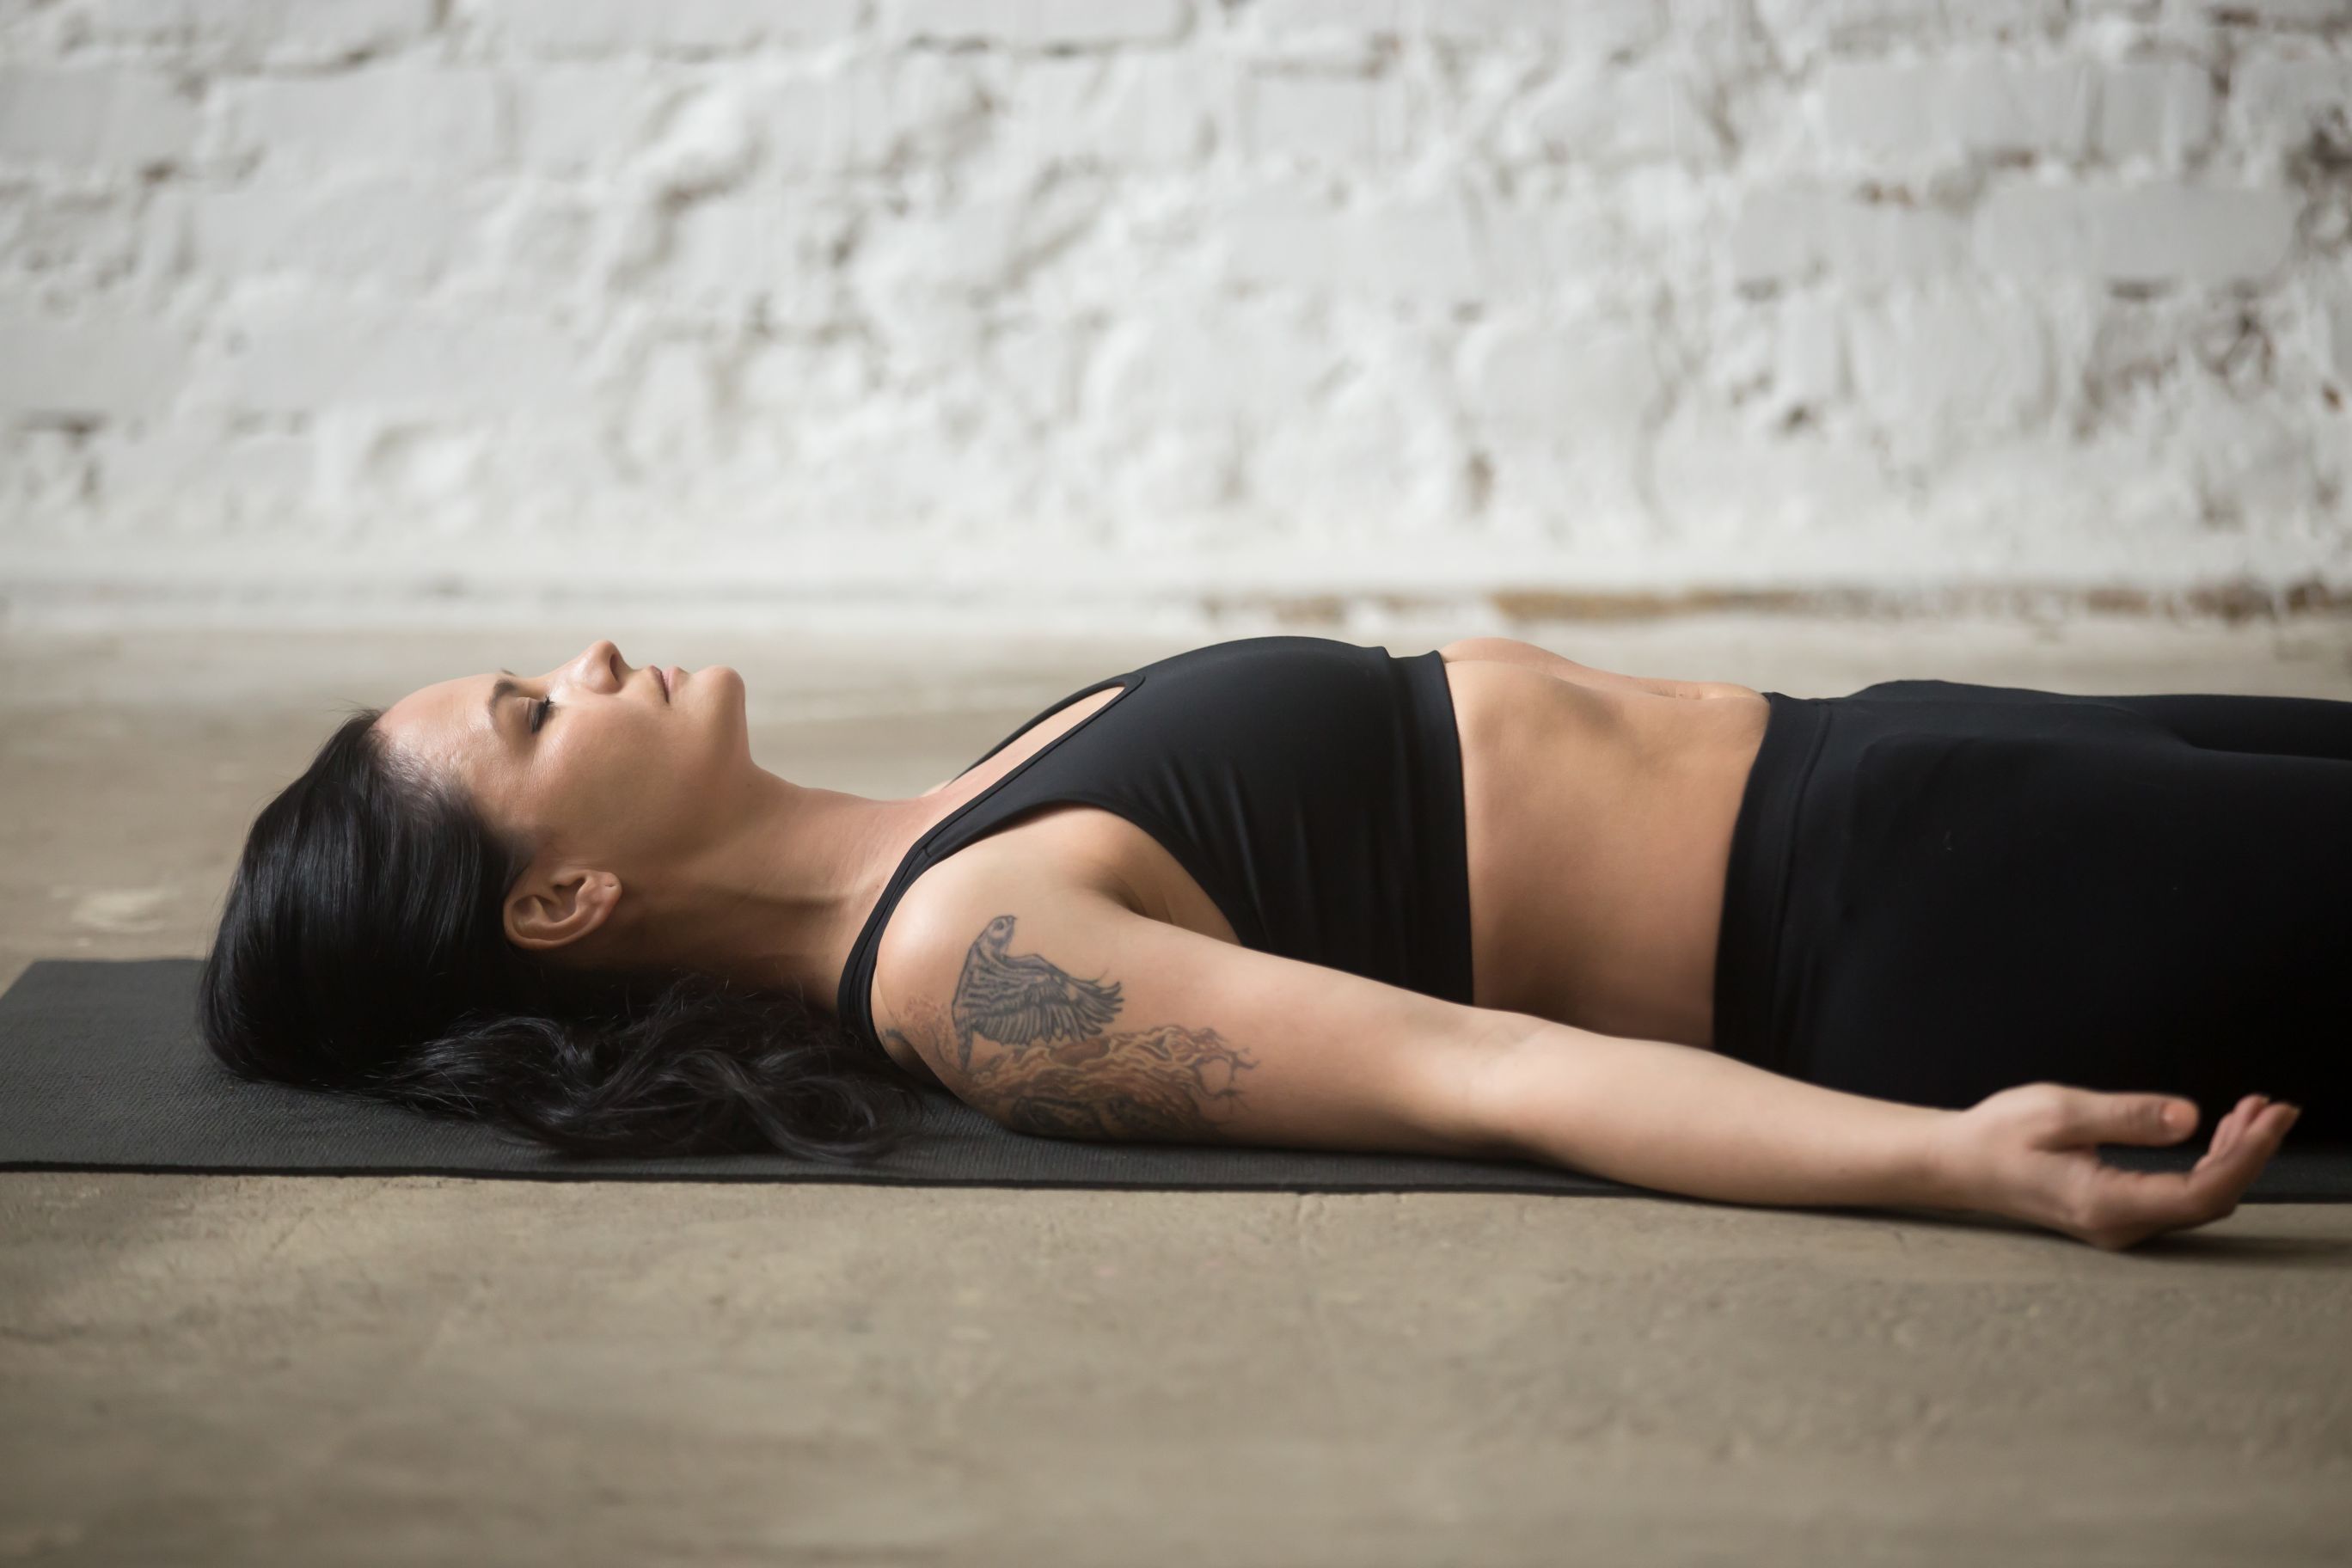
2. Savasana (Corpse Pose): Relax the entire body with steady breathing in Savasana (Corpse Pose), and make sure the limbs, head, and torso are relaxed and close to the mat. Relax your entire body by regulating your breathing. Hold this position for a total of 10-12 breaths.
Halasana Variations to Consider
Different students have different skills; thus, one may find a yoga pose simple while another finds it challenging.
As a result, for beginners who are having trouble performing the main pose, then these gentle form of plow pose are for you:
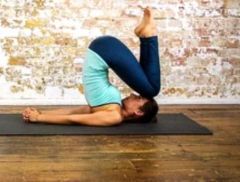
1. Easy Plow Pose: Instead of flexing and pointing your legs out in the inverted plow pose, try bending your knees and placing them just above the forehead. This pose will help you find a more comfortable position around your back and shoulders if facing any muscle pain or soreness due to pressure.
2. Plow Pose Hands-On Back: This variation is 90% similar to the final plow position; the only variation added here is the support from your hands on your back. If you feel uncomfortable while stretching your back in Halasana, consider placing your hands on your back for a more even, stable, and comforting back support.
Enjoy a Free 1-on-1 Session with a Coach!
Receive personalized guidance tailored to your unique fitness goals, live with a dedicated coach—no credit card required.
Frequently Asked Questions about Halasana
Halasana strengthens and tones your back muscles while stretching your spine. Your shoulders, arms, and legs will all benefit from this stance, as it aids in the prevention and relief of stress in the neck, shoulders, and back. Also, Halasana improves muscle and joint mobility by increasing flexibility all over the body.
Halasana should be avoided by pregnant women, and women who are on their period. Those with enlarged thyroids, spleens, or livers should avoid this yoga pose since it puts a lot of strain on the lower abdomen.
Avoid this pose if cervical muscles are weak or damaged, or if you are experiencing weakness in the legs, hamstrings, or calf muscles.
To perform Ardha Halasana or half plow stance, follow these steps:
- Inhale and steadily raise your legs together, without bending your knees, until they are vertical to the ground.
- From hip to shoulder, the body should be kept straight.
- Maintain the final pose with body awareness for 5-10 breaths.
- Exhale and slowly lower your legs to the ground, keeping your head relaxed.
- You can do this 3-5 times more if you like.
Note: If you have an abdominal injury, a hernia, or lumbosacral (lower back) pain, you should avoid Ardha Halasana practice.
Yes, it aids in burning fat, particularly in the abdominal area. Due to the increased strain level on the abdominal area, Halasana is ideal for keeping your abdominal muscles toned, and with regular practice it helps reduce belly fat.
Karnapidasana, Ardha Halasana, Purva Halasana, Plow Pose Hands On Back, Supta Paschimottanasana are all different Halasana variations one can add to their daily inversions practice.
Many people believe this to be a challenging pose; therefore, beginners should be cautious while performing Plow Pose. If you want to perform Plow Pose, consider building strong fundamentals with related preparatory poses.


.webp)
%20(7).jpg)
