What is Baddha Konasana (Bound Angle Pose)?
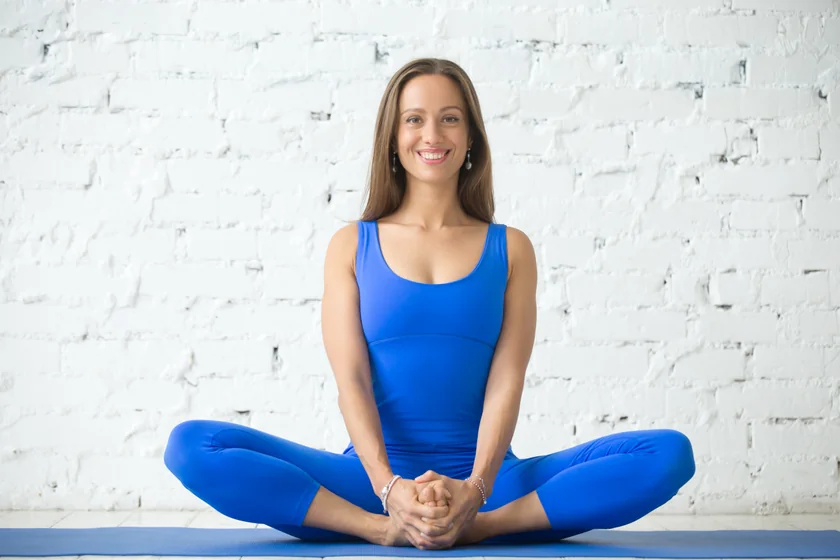
Baddha Konasana or Bound Angle Pose is a beginner-level seated hip opener. This pose is usually practiced for warming up the pelvic area, deep hip opening asanas, or for meditation.
This pose is also known as the Butterfly Pose because you spread your legs like the wings of a butterfly, and this action helps you open the deep pelvic tissues and targets your groin muscles for flexibility.
Folding forward during this pose can also help alleviate lower back pain. Plus, this is an excellent pose to perform during pregnancy for natural birth.
Overview & Etymology
The term Baddha Konasana is a combination of Sanskrit words, "Baddha" meaning Bound, "Kon" meaning Angle, and "Asana" meaning Posture.
This pose is mentioned in the traditional 15th-century Hatha Yoga texts - The Hatha Yoga Pradipika as a meditative posture Bhadrasana (Throne Pose).
Sanskrit Name: बद्धकोणासन Pronunciation: BAH-dah cone-AHS-ah-nah
Pose Type: Seated Hip Opener Also known as: Bound Angle Pose or Butterfly Pose
Strengthens: Lower Back, Pelvis, Groin, and Abductors
Stretches: Pelvis, Abductors, Hip Flexors, Lower Back, and Spine
Health Benefits of Baddha Konasana
Helps to relax the whole body.
Improves digestion and kidney function.
Increases concentration and mindfulness.
Improves blood circulation in the lower body.
Opens the lower body for deep hip-opening asanas.
Eases mild stress, depression, and anxiety symptoms.
Calms the nervous system and enhances brain function.
Reduces lower back pain and stiffness around the tailbone.
Activates Muladhara, Manipura, and Swadisthana Chakras.
Enhances hormonal balance and fights hormonal disorders.
Opens the vaginal walls and helps pregnant women in labor.
Soothes the reproductive system and improves its functioning.
When to Avoid Performing Baddha Konasana?
Avoid if you have kidney problems.
Avoid if you have inflammatory arthritis.
Avoid bending down if you feel unable to breathe.
Avoid if you’ve recently had knee, hip, or spine surgery.
Avoid if you currently have severe body pain or an injury.
Avoid during the initial pregnancy phase because it may lead to miscarriage.
How to do Baddha Konasana (Bound Angle Pose)
The entire process of Baddha Konasana practice is detailed below in four different parts- Preparation, Steps, Alignment Tips, and Relax Asanas.
Part 1 - Preparatory Poses for Baddha Konasana
For the bound angle pose, you’ll need to activate your thighs, glutes, spine, and low back.
Below are some static and dynamic warm-up movements that will help you increase blood circulation in both your pelvic and spinal muscles.
1. Sukhasana (Ease Pose) - This asana is a crossed-legged sitting yoga asana, generally used for meditative practices. Start with the staff pose and bend your knees, interlocking your feet in a cross.
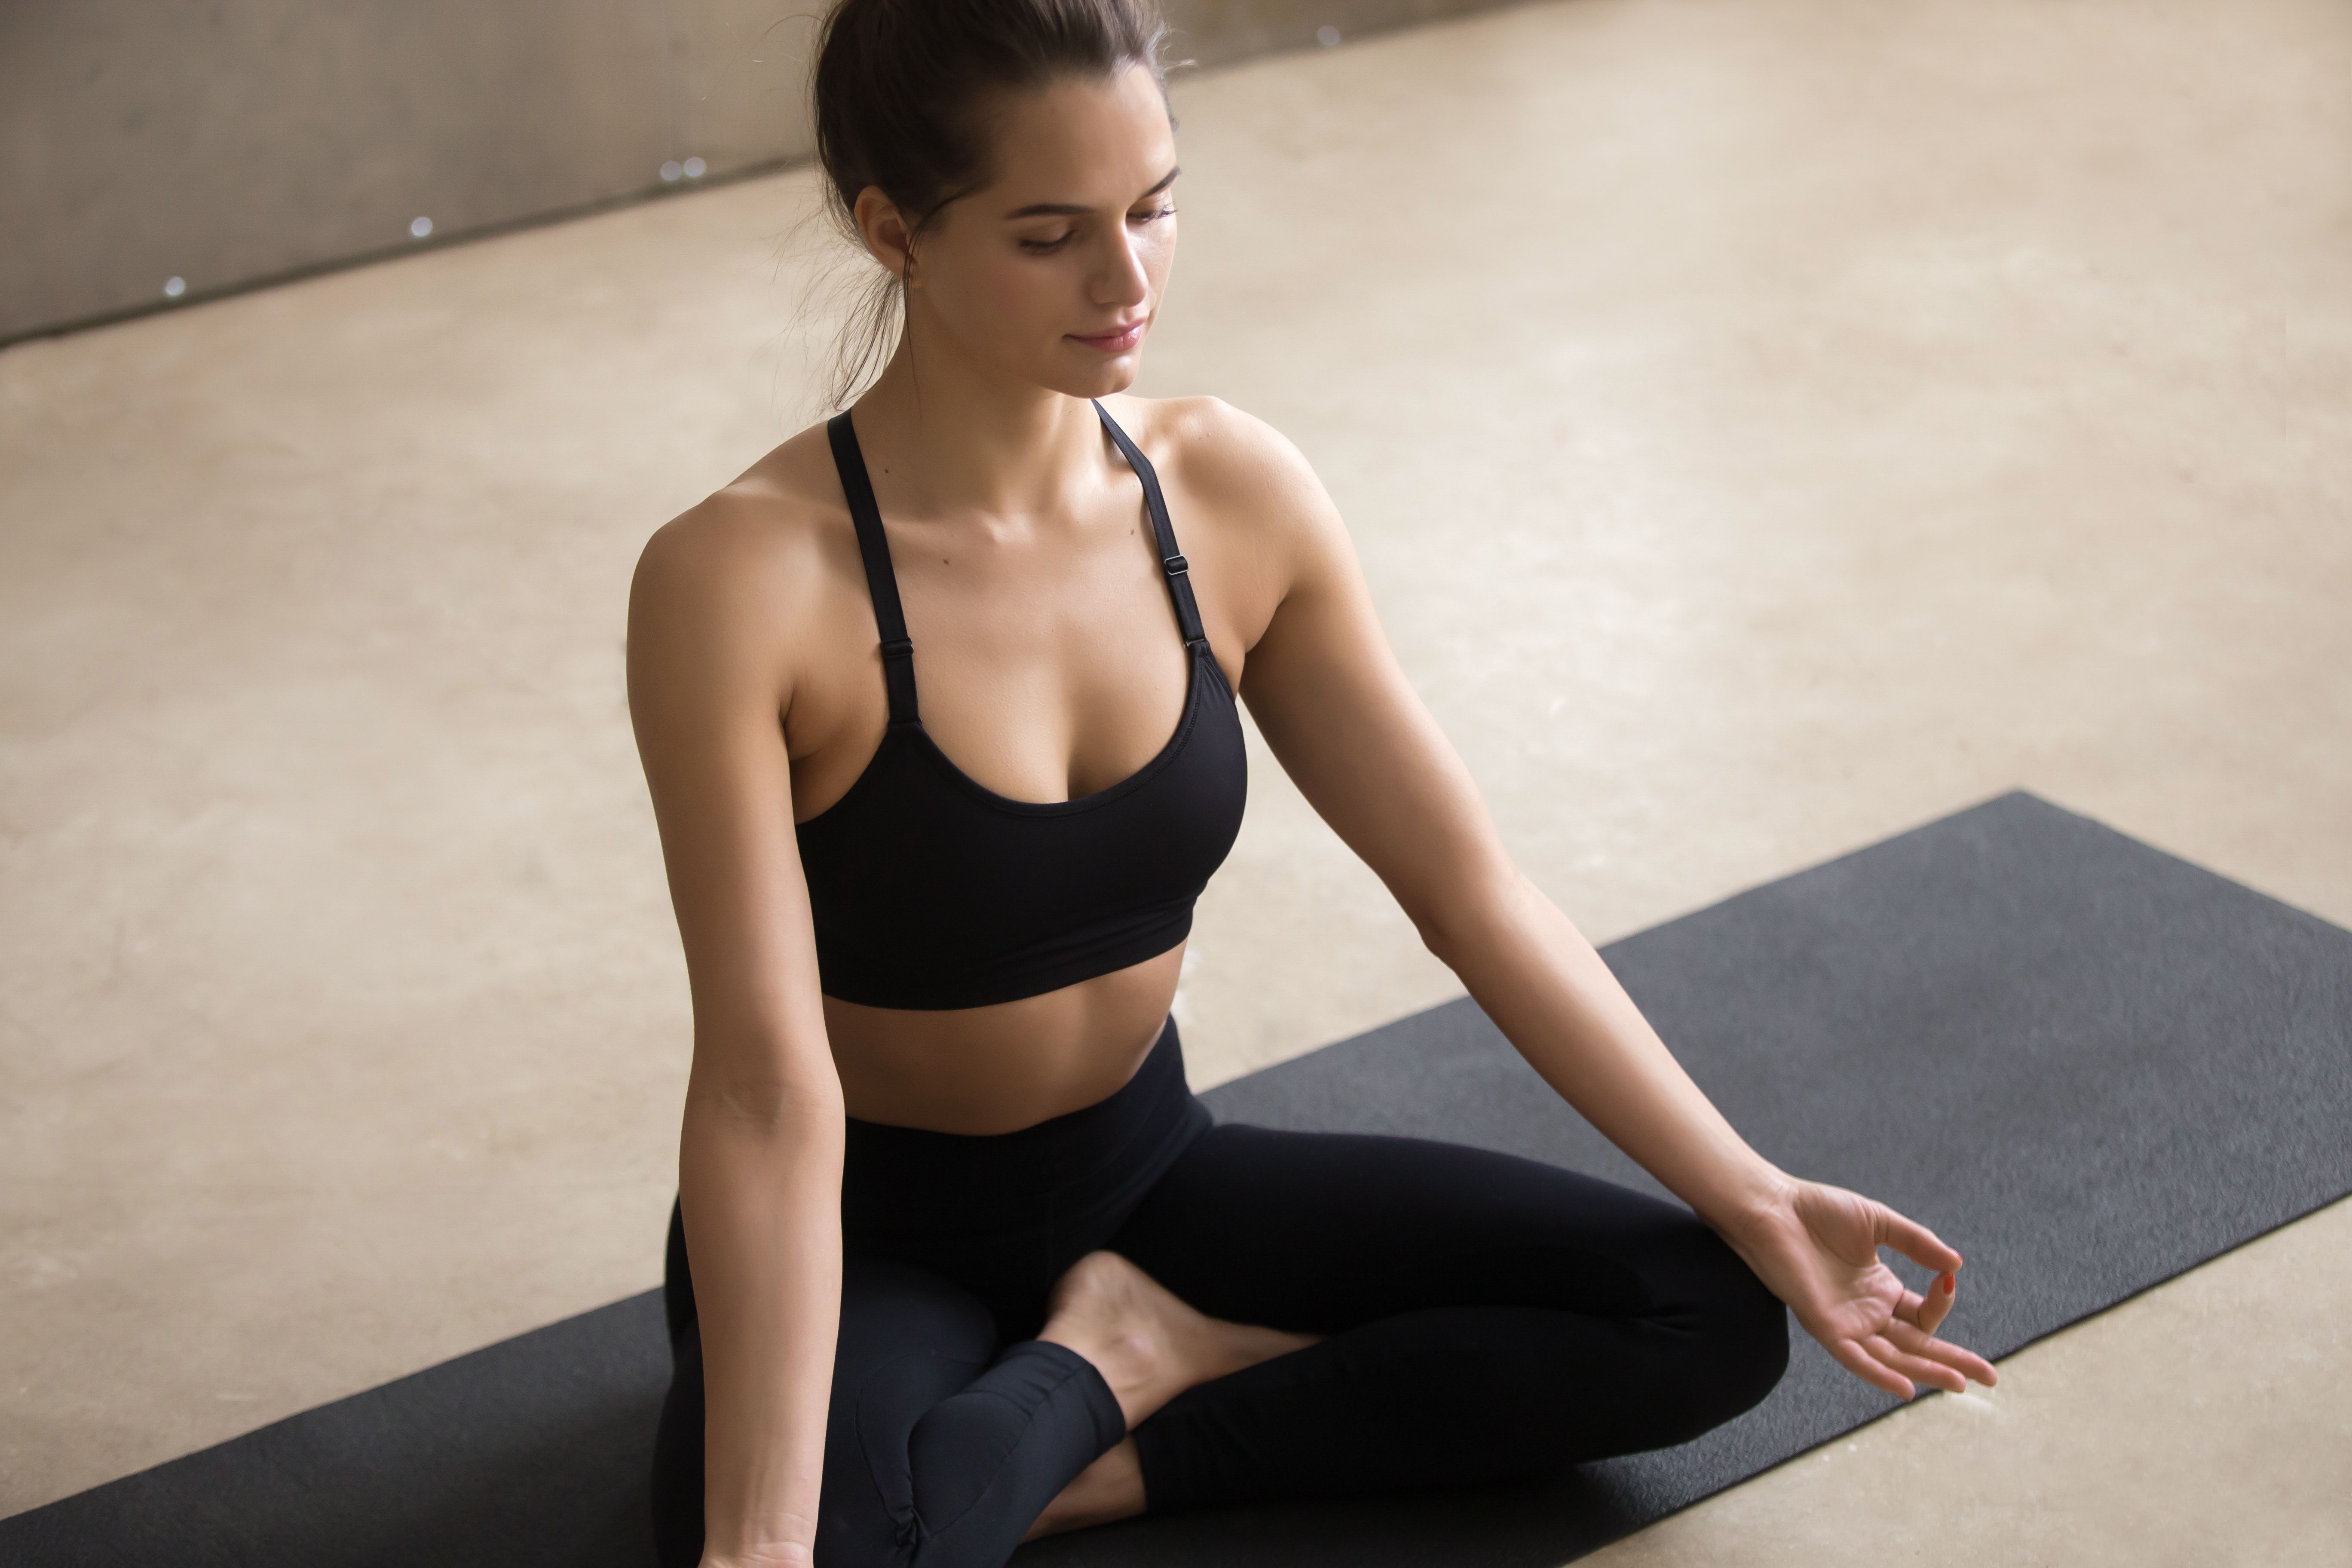
Try to align your sit bones into the ground with a firm foundation. Ensure your knees are close to the ground and your spine is upright. Hold this pose for 1 to 5 minutes, and focus on deep breathing with closed eyes.
2. Hindolasana (Seated Leg Cradle Dynamic Movement) - This is a seated hip-opening yoga asana for beginners. From the staff pose, lift one leg close to your chest and hold it with your arms.
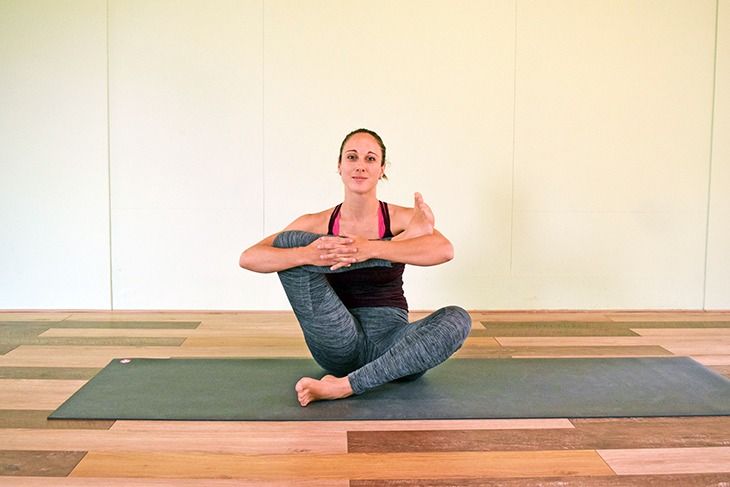
Now, gently move the lifted leg like you are cradling a baby in your arms. This will flex your glutes and open the deep pelvic muscles when done for 1 to 2 minutes on each side.
3. Seated Windshield Wiper Dynamic Movement - If your inner thighs are stiff, you can activate them with this movement. Simply sit in a butterfly pose, lean back a bit, and keep your hands on the floor for stability during the movement.

Start by internally rotating one leg inwards, then rotate the same leg externally. Repeat the same on the other leg. You can do this for a couple of minutes until you feel your inner thighs and glutes getting warmed up.
Part 2: Step-by-Step Instructions to Perform Baddha Konasana
The following are steps to practice the Bound Angle Pose:
Step 1- Get seated in Dandasana, with your legs extended and your arms relaxed at your sides. Inhale and focus on firmly placing your sit bones on the yoga mat.
Step 2- Bend your knees and bring your feet toward your sitting bones, placing your hands on your shins. If you feel pain, pressure, or discomfort in your knees, try not to touch the knees on the mat.
Step 3- If you feel comfortable flexing your lower body, press the outer edges of your feet and your sitting bones into the mat.
Step 4- Exhale and touch your knees to the ground and focus on your breathing for a few seconds here.
Step 5- Inhale and exhale to bend from your waist and lean forward as you rest your forearms, chest, and head on the ground.
Step 6- Hold this position for 3 to 5 full breaths and release the pose by getting back into Dandasana.
Breath Awareness:
Inhale: When you sit in the pose and while holding your feet with your hands.
Exhale: As you lower your knees close to the ground and while bending forward.
Performance Duration for Beginners: Hold Baddha Konasana for 30 to 60 seconds.
Performance Duration for Advanced: Hold Baddha Konasana for 1 to 5 minutes.
Part 3: Things to Keep in Mind
Below are a few alignment tips to be mindful of while performing Bound Angle Pose:
Keep your spine upright: Keep your shoulders relaxed and your spine upright. If you feel that sitting in this pose adds strain to your spinal column, try practicing this pose with a wall behind your back.
Focus on your breath: Practice staying in the meditative zone while performing Bound Angle Pose. To reap the mental health benefits from this pose, close your eyes and concentrate on every single inhale and exhale. If you find meditation challenging, try chanting some beej mantras for greater focus.
Do not over-extend or rush to bend down: If you are pushing your knees close to the ground and your inner thighs hurt, you are negatively straining your muscles and this can cause muscle tear.
Also, try not to rush while leaning forward. For beginners with a tight low back, this can cause a sprain. So it’s important to be mindful of your movements.
Part 4: Relaxing Poses After Baddha Konasana
After a prolonged session of the Bound Angle Pose, your pelvic muscles will need to relax and return to normal shape. The following are some relaxing asanas to restore your pelvic area.
1. Gomukhasana (Cow Face Pose):
From the Butterfly Pose, cross your knees together and stack them on top of each other. The formation of your legs will look like a cow's face.

Bring one arm behind your back from the shoulder, and the other arm from the side of your oblique. Now, try to reach for your fingers and interlock them together. Hold this pose for a minute on one side and then alter your arm and knee position.
2. Paschimottanasana (Seated Forward Bend): Sit straight in Staff Pose and inhale deeply with arms stretching out and resting on top of your head.
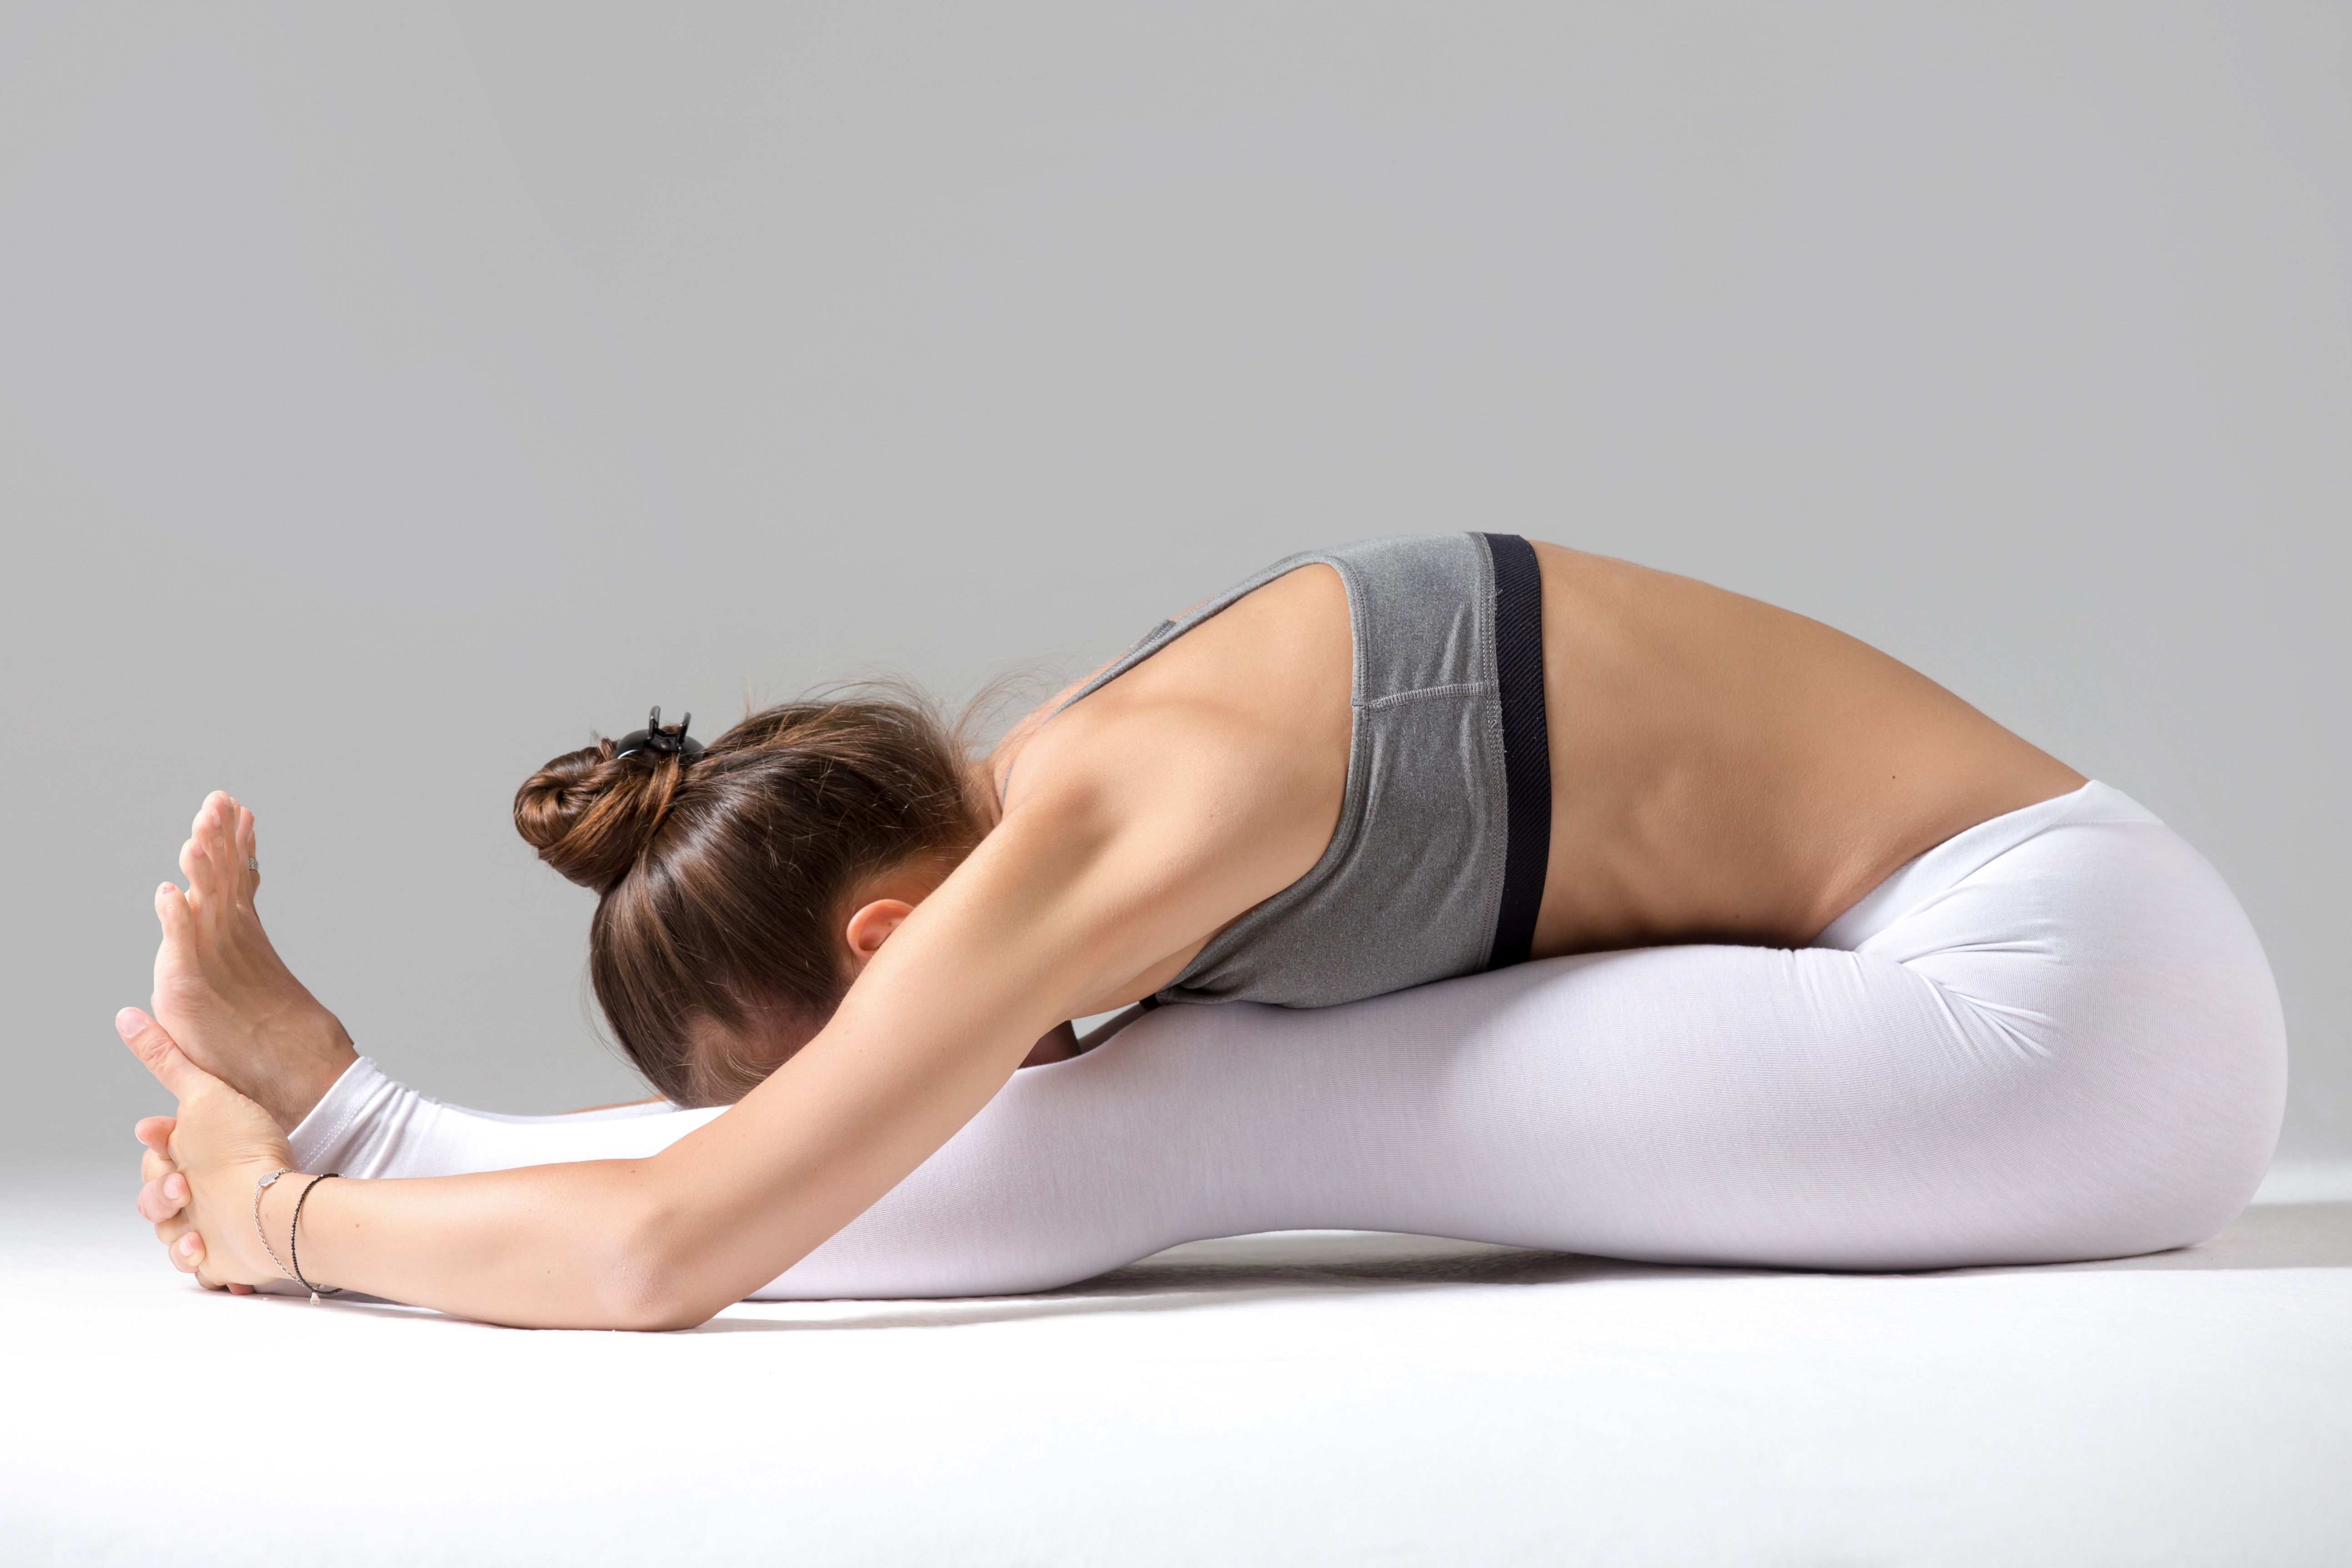
Inhale and exhale for a few breaths, and then exhale as you bend from your waist onto the legs. Keep the low back straight, arms flexed forward, and keep breathing while your head is resting.
3. Supta Baddha Konasana (Reclining Bound Angle Pose): Supta means reclining, and the lower half of your body will be positioned the same as in Bound Angle Pose. Gently lie down on the yoga mat and rest like you are in the corpse pose.
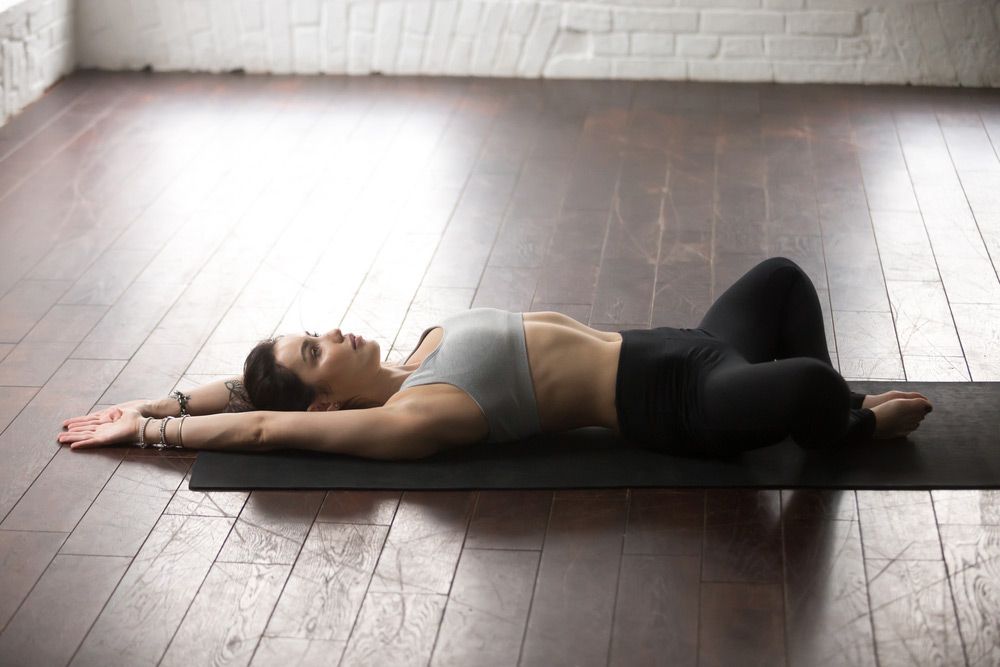
This pose will help relax any tension in your low back, tail bone, and sitting bones due to prolonged sitting in Butterfly Pose.
Baddha Konasana Variations to Consider
The following posture variations are for beginner and intermediate yogis to challenge themselves in their Bound Angle Pose:
1. Baddha Konasana Semi Forward Bend: Start in a seated butterfly pose and grip the mat with your pelvic sitting bones. Hold both the feet together and close your eyes with a deep inhale.

Consciously breathe in this position for a few seconds, then start leaning forward onto the floor with an elongated exhale. Do not lean down completely. First, keep your elbows on your shins and explore how your low back feels. Keep breathing and hold this pose here for a few minutes.
2. Baddha Konasana Full Forward Bend: Continue to understand how your inner thighs and low back are feeling. If it hurts, try not to over-extend your legs in this variation.
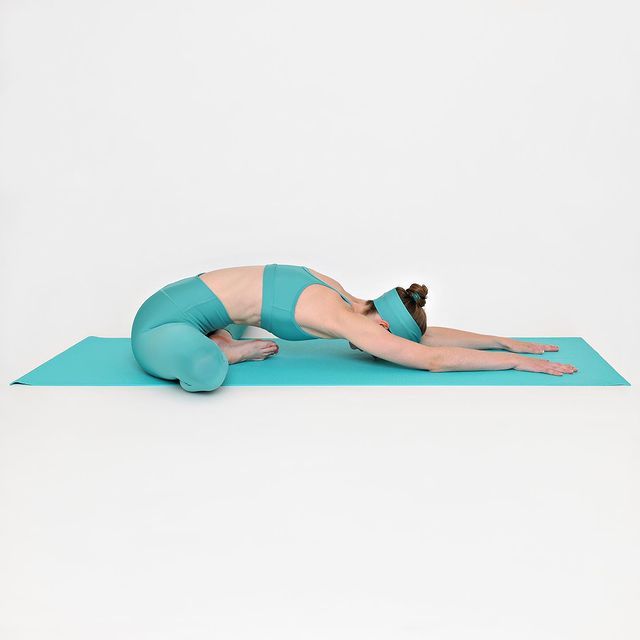
If you feel confident and are ready to extend then, stretch your arms in front, exhale deeply, and rest your head on the mat. Close your eyes, keep breathing, and feel the intense stretch of your whole lower body. Hold this pose for a few minutes and relax the pelvic area completely.
Enjoy a Free 1-on-1 Session with a Coach!
Receive personalized guidance tailored to your unique fitness goals, live with a dedicated coach—no credit card required.
Frequently Asked Questions about Baddha Konasana
The following are the benefits of Baddha Konasana:
- Aids in easing stress.
- Alleviates low back pain.
- Improves flexibility in the lower body.
- Increases blood flow in the pelvic region.
- Opens the inner thighs, pelvic muscles, and hip flexors.
Sit with your legs spread wide like wings, keep your feet together, knees close to the ground, and hands clasping both the feet.
Supta Baddha Konasana is a reclining variation of Seated Baddha Konasana. It stretches the lower body muscles like the groin, abductors, hip flexors, and glutes.
Yes, beginners can easily perform Baddha Konasana Pose. Just be mindful to avoid overextending your hip flexors or abductors.
If you feel this stretch is getting too intense, stop the practice, or keep your stretch minimal and gradually build your pelvic flexibility. Otherwise, you can tear your lower body muscles.
Supta Baddha Konasana is a variation of seated Baddha Konasana. "Supta" means reclining, "Baddha" means Bound, "Kon" means Angle, and "Asana" means Posture.
It is performed as a relaxing yoga posture because you are lying on your back with your legs in a bounded angle shape. Supta Baddha Konasana is itself a variation, so it has no varying posture types.


.webp)
%20(7).jpg)
