What is Navasana (Boat Pose)?
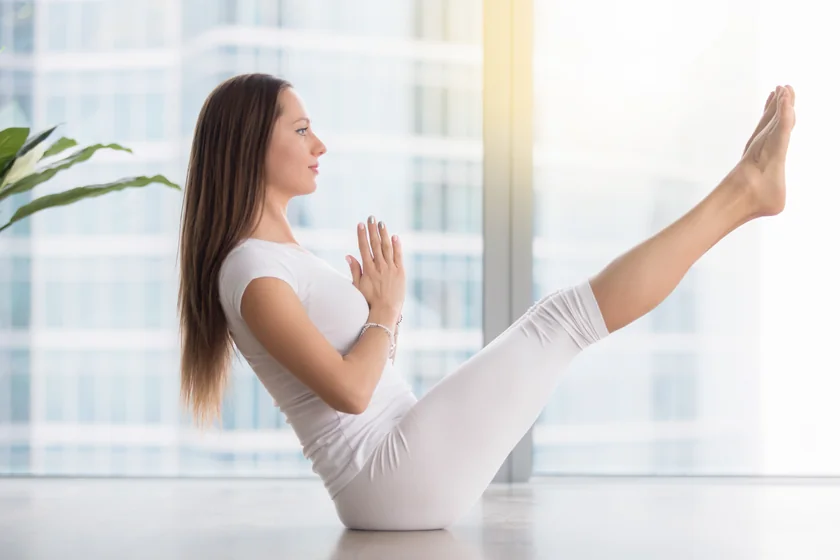
Navasana, or Boat Pose, is a seated yoga asana that requires core strength to maintain a "V" shape in the body. It improves mental focus, core stamina, core balance, and core strength over time.
Also, due to its physical and mental benefits, Navasana is a prominent pose in various yoga systems, like Ashtanga yoga’s primary series. This pose can be performed in multiple variations, from beginner-friendly Half Boat Pose to advanced-level Full Boat Pose.
Overview & Etymology
The name Navasana or Naukasana is a combination of Sanskrit words Nava, meaning "Boat," and Asana, meaning "Posture" or "Seat."
There are various references for the use of boats in Hindu Mythology. One of them is about the first human on earth, ‘Manu.’ The story narrates events of a great flood (Pralaya), during which Manu tied his boat to a gigantic fish’s horn (the fish was the incarnation of Lord Vishnu) and carried all the Vedas, Scriptures, plants and animals, to a safe place; at the top of Mount Meru.
This posture was first introduced as a yoga pose in the 19th century Sritattvanidhi as Nauksana and Purna Nauksana.
Sanskrit Name: नावासन Pronunciation: NAUK-AAHS-uh-nuh
Pose Type: Seated Also known as: Boat Pose or Paripurna Navasana (Full Boat Pose)
Strengthens: Core, Spine, Glutes, and Mental Consciousness
Stretches: None
Health Benefits of Navasana
Improves core strength.
Increases mental consciousness.
Strengthens the abdominal muscles.
Reduces neck, back, and spine pain.
Aids in weight loss around the abdomen.
Lengthens and strengthens spine tissues.
Improves digestion and enhances metabolism.
Activates chakra healing with improved hormonal balance.
When to Avoid Performing Navasana?
Avoid if you are pregnant.
Avoid during menstruation.
Avoid if you have abdominal cramps.
Avoid if you’ve had a recent injury or surgery.
Avoid if you have severe ailments like high blood pressure, heart problems, or asthma.
How to do Navasana (Boat Pose)?
Navasana is a great pose for strengthening your core muscles, especially your hip flexors, abdominals, and lower back. This experience can also help you find mind and body balance by continually engaging your abs and focusing on your breath.
So, here are the four phases to get started with Boat Pose Practice.
Part 1 - Preparatory Poses for Navasana
The majority of the Navasana practice requires a strong core. Still, if you are not well balanced around your core muscles, you can start with some activation exercises for the abdomen, hip flexors, and lower body muscles. Here is the list of some preparatory poses for the boat pose:
1. Surya Namaskar (Sun Salutations) - Begin your practice with a few rounds of Surya Namaskar to warm up your body and open up any tense muscles.
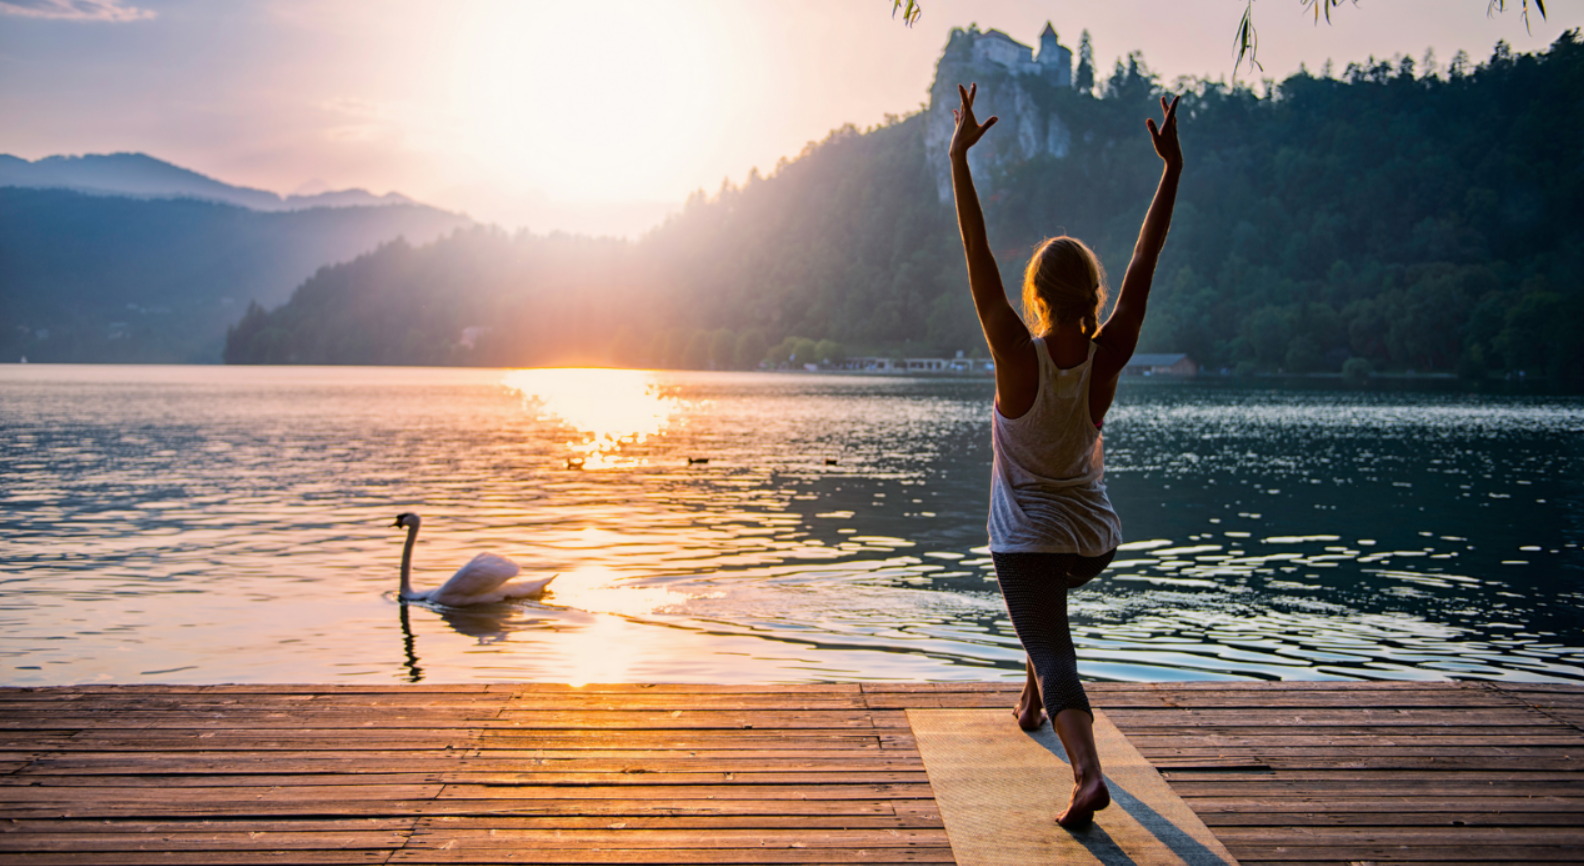
During Sun Salutations, make sure your breathing is in sync with your body movement. Practice for roughly six rounds on each side while paying attention to your body’s expansion. Allow yourself to sink deeply into each stretch. After six rounds, get into Tadasana and relax.
2. Brahmacharyasana Variation (L-Sit Variation)-
Sit in Dandasana and stretch your legs as your toes are pointing forward. Now, slowly lift one leg and hold it up for 10 seconds. Make sure to lift the leg using complete core engagement.
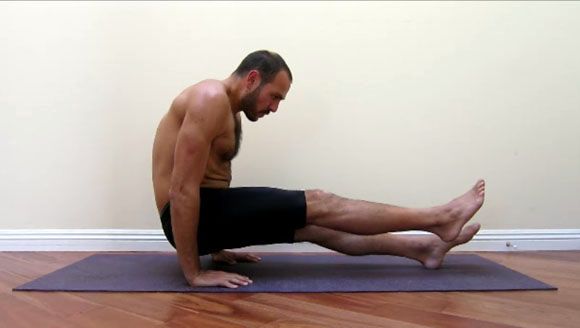
Repeat on the other leg and do this whole process three to five more times on both sides. This L-Sit pose variation is a core strengthening drill that helps activate the muscle around your core when you balance in the boat pose.
3. Brahmacharyasana (L-Sit Pose) -
Once the core is activated and if you feel even more powerful, go ahead and lift both legs raised from the ground and balance the L shape on the arms.
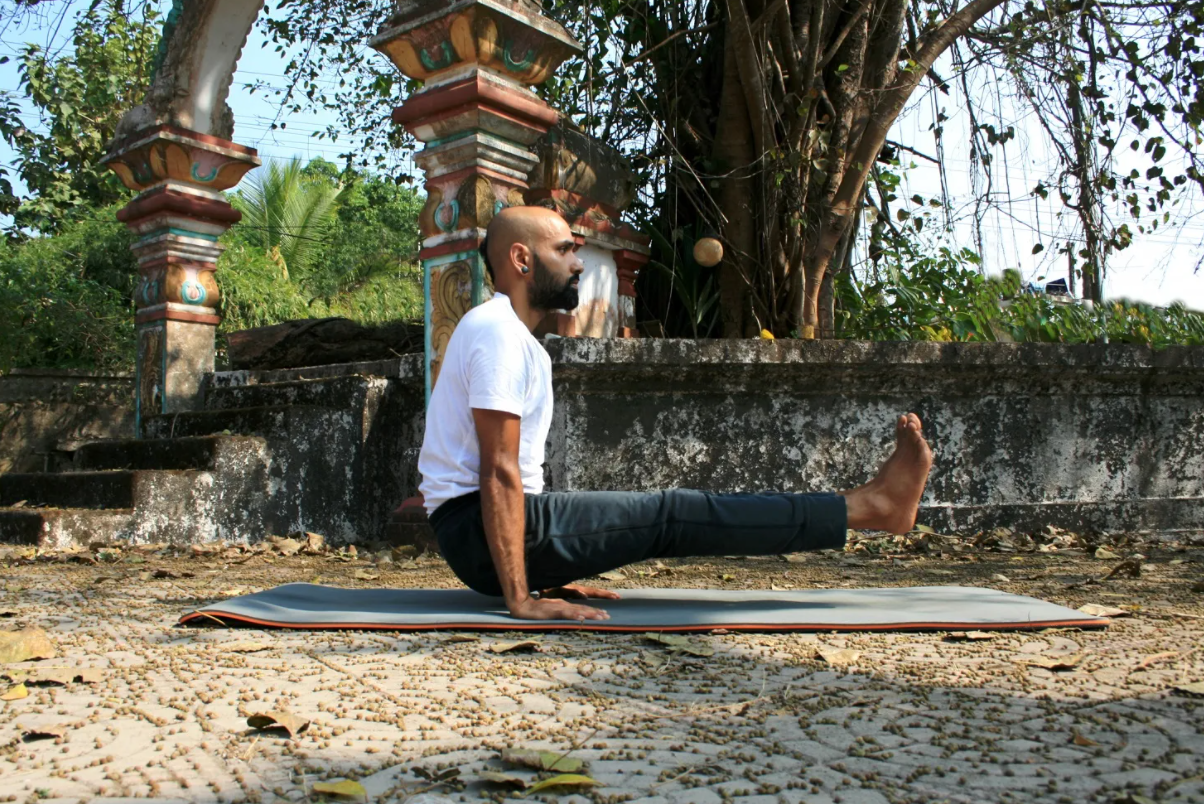
This pose will further enhance the core and arms strengthening process (especially for beginners) and help to create a stronger foundation for the Full Boat pose, for which the arm strength is also necessary
Part 2: Step-by-Step Instructions to Perform Navasana
Here are the following steps for practicing Boat Position:
Step 1: Sit in the middle of the mat, with your legs extended and your arms relaxed at your sides.
Step 2: If your lower back hurts, you can place a block behind your lower back for added support.
Step 3: Shift your body weight to the back of your sitting bones, making sure to not roll onto your tailbone and keep your breath normal. Here, core strength comes into play.
Step 4: Make sure your head and back are inclined but still placed in one straight line. Keep the core tight, legs stretched with toes pointing.
Step 5: Place your arms in front of you like ripples on which the boat would float. Make sure your fingers also point in the same direction as your feet.
Step 6: Lean a bit more backward, inhale deeply and lift your legs off the mat, and extend your arms until parallel with the mat. Try to straighten both legs in full boat pose if possible.
Step 7: Hold your breath in this position for a few seconds, then drop your legs on the mat and exhale deeply.
Breath Awareness:
Follow a normal breathing pace while getting into the pose.
Inhale deeply while lifting the legs and engaging the core muscles.
Exhale twice the size you inhale while dropping the legs.
If you are strong enough to hold this pose longer, make sure to take small breaths during the elongated hold.
Performance Duration for Beginners: Hold the boat pose for 30 to 60 seconds.
Performance Duration for Advanced: Hold the boat pose for 1 to 5 minutes.
Part 3: Things to Keep in Mind
If this is your first time performing boat position, keep a few of the below-listed points in mind:
Fix your gaze - Balancing in Boat Pose will be challenging during the first few attempts, and that's normal. To make it into this position faster, learn to focus your gaze at one fixed spot in front of you. Or, you can close your eyes and focus on your third eye spot (in the middle of your eyebrows) for a more extended balance.
Engage the muscles - If you find yourself losing your balance, it can be due to loose muscles and poor engagement in the muscle groups that are required for balancing. So, make sure your legs are tight and pointing; the same goes for your arms and your core (abdomen, hip flexors, and lower back); make sure they are all super tight.
Part 4: Relaxing Poses After Navasana
After practicing the boat pose, you might feel intense pressure around your whole core or even intense vibrations around your lower body. That’s why it’s vital to perform the following relaxation poses after Navasana practice:
1. Paschimottanasana (Seated Forward Bend Pose): After Boat Pose practice, lower your legs on the ground and get into a seated staff pose. Now, arch your back, lean forward by bending your body onto your legs, and rest your forehead here for a few long exhales.
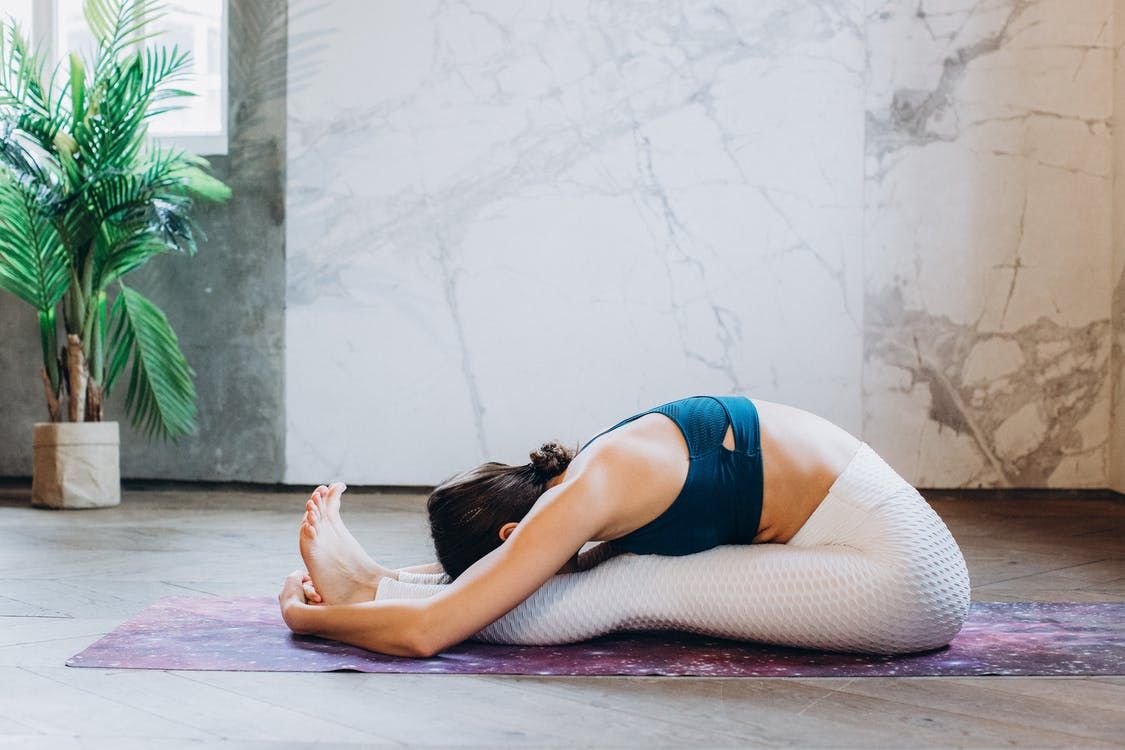
As you relax in this pose, breathe deeply and release all the excess tension from the lower back, spine, core, and legs. Hold this posture for one-to-two minutes.
2. Adho Mukha Svanasana (Downward Facing Dog Pose): This pose is very similar to the Full Boat Pose, but it is a counteract. It’s helpful if you relax your legs and arms even deeper in this pose, especially after a long practice of Full Boat Pose.

Just place your four limbs on the ground and flex your arms and calves as you stretch in the pose. Stay here for one-to-two minutes. You can move your legs in a walking motion or flex deeper with your arms to open your chest and back muscles.
3. Pawanmuktasana (Wind-Releasing Pose):
Bend your knees to chest and hold both your legs with your arms. You can even rock here on your back with the help of little momentum.
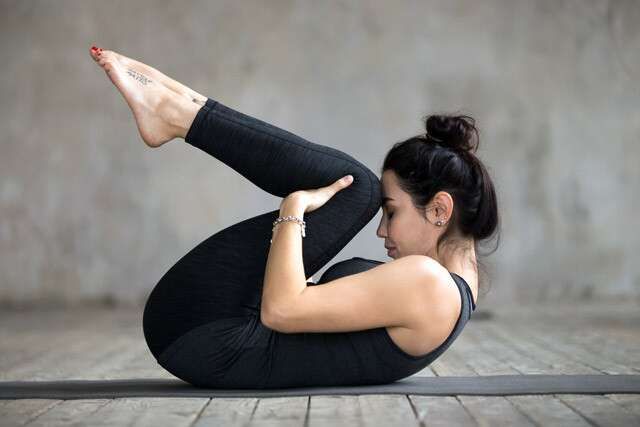
This pose will help you relax the hip-flexors spine and compress the abdomen further for enhanced digestive tract function.
Navasana Variations to Consider
Keep in mind that different students have varying abilities and strengths for every yoga asana. So, it's good to explore variations of Navasana so that students can choose the best interpretation that works for them. Now, take a look below to find your best Boat Pose variation:
1. Half Boat Pose: If you still need to develop strength in your legs, bend your knees and gradually work your way into the main position over time with practice.
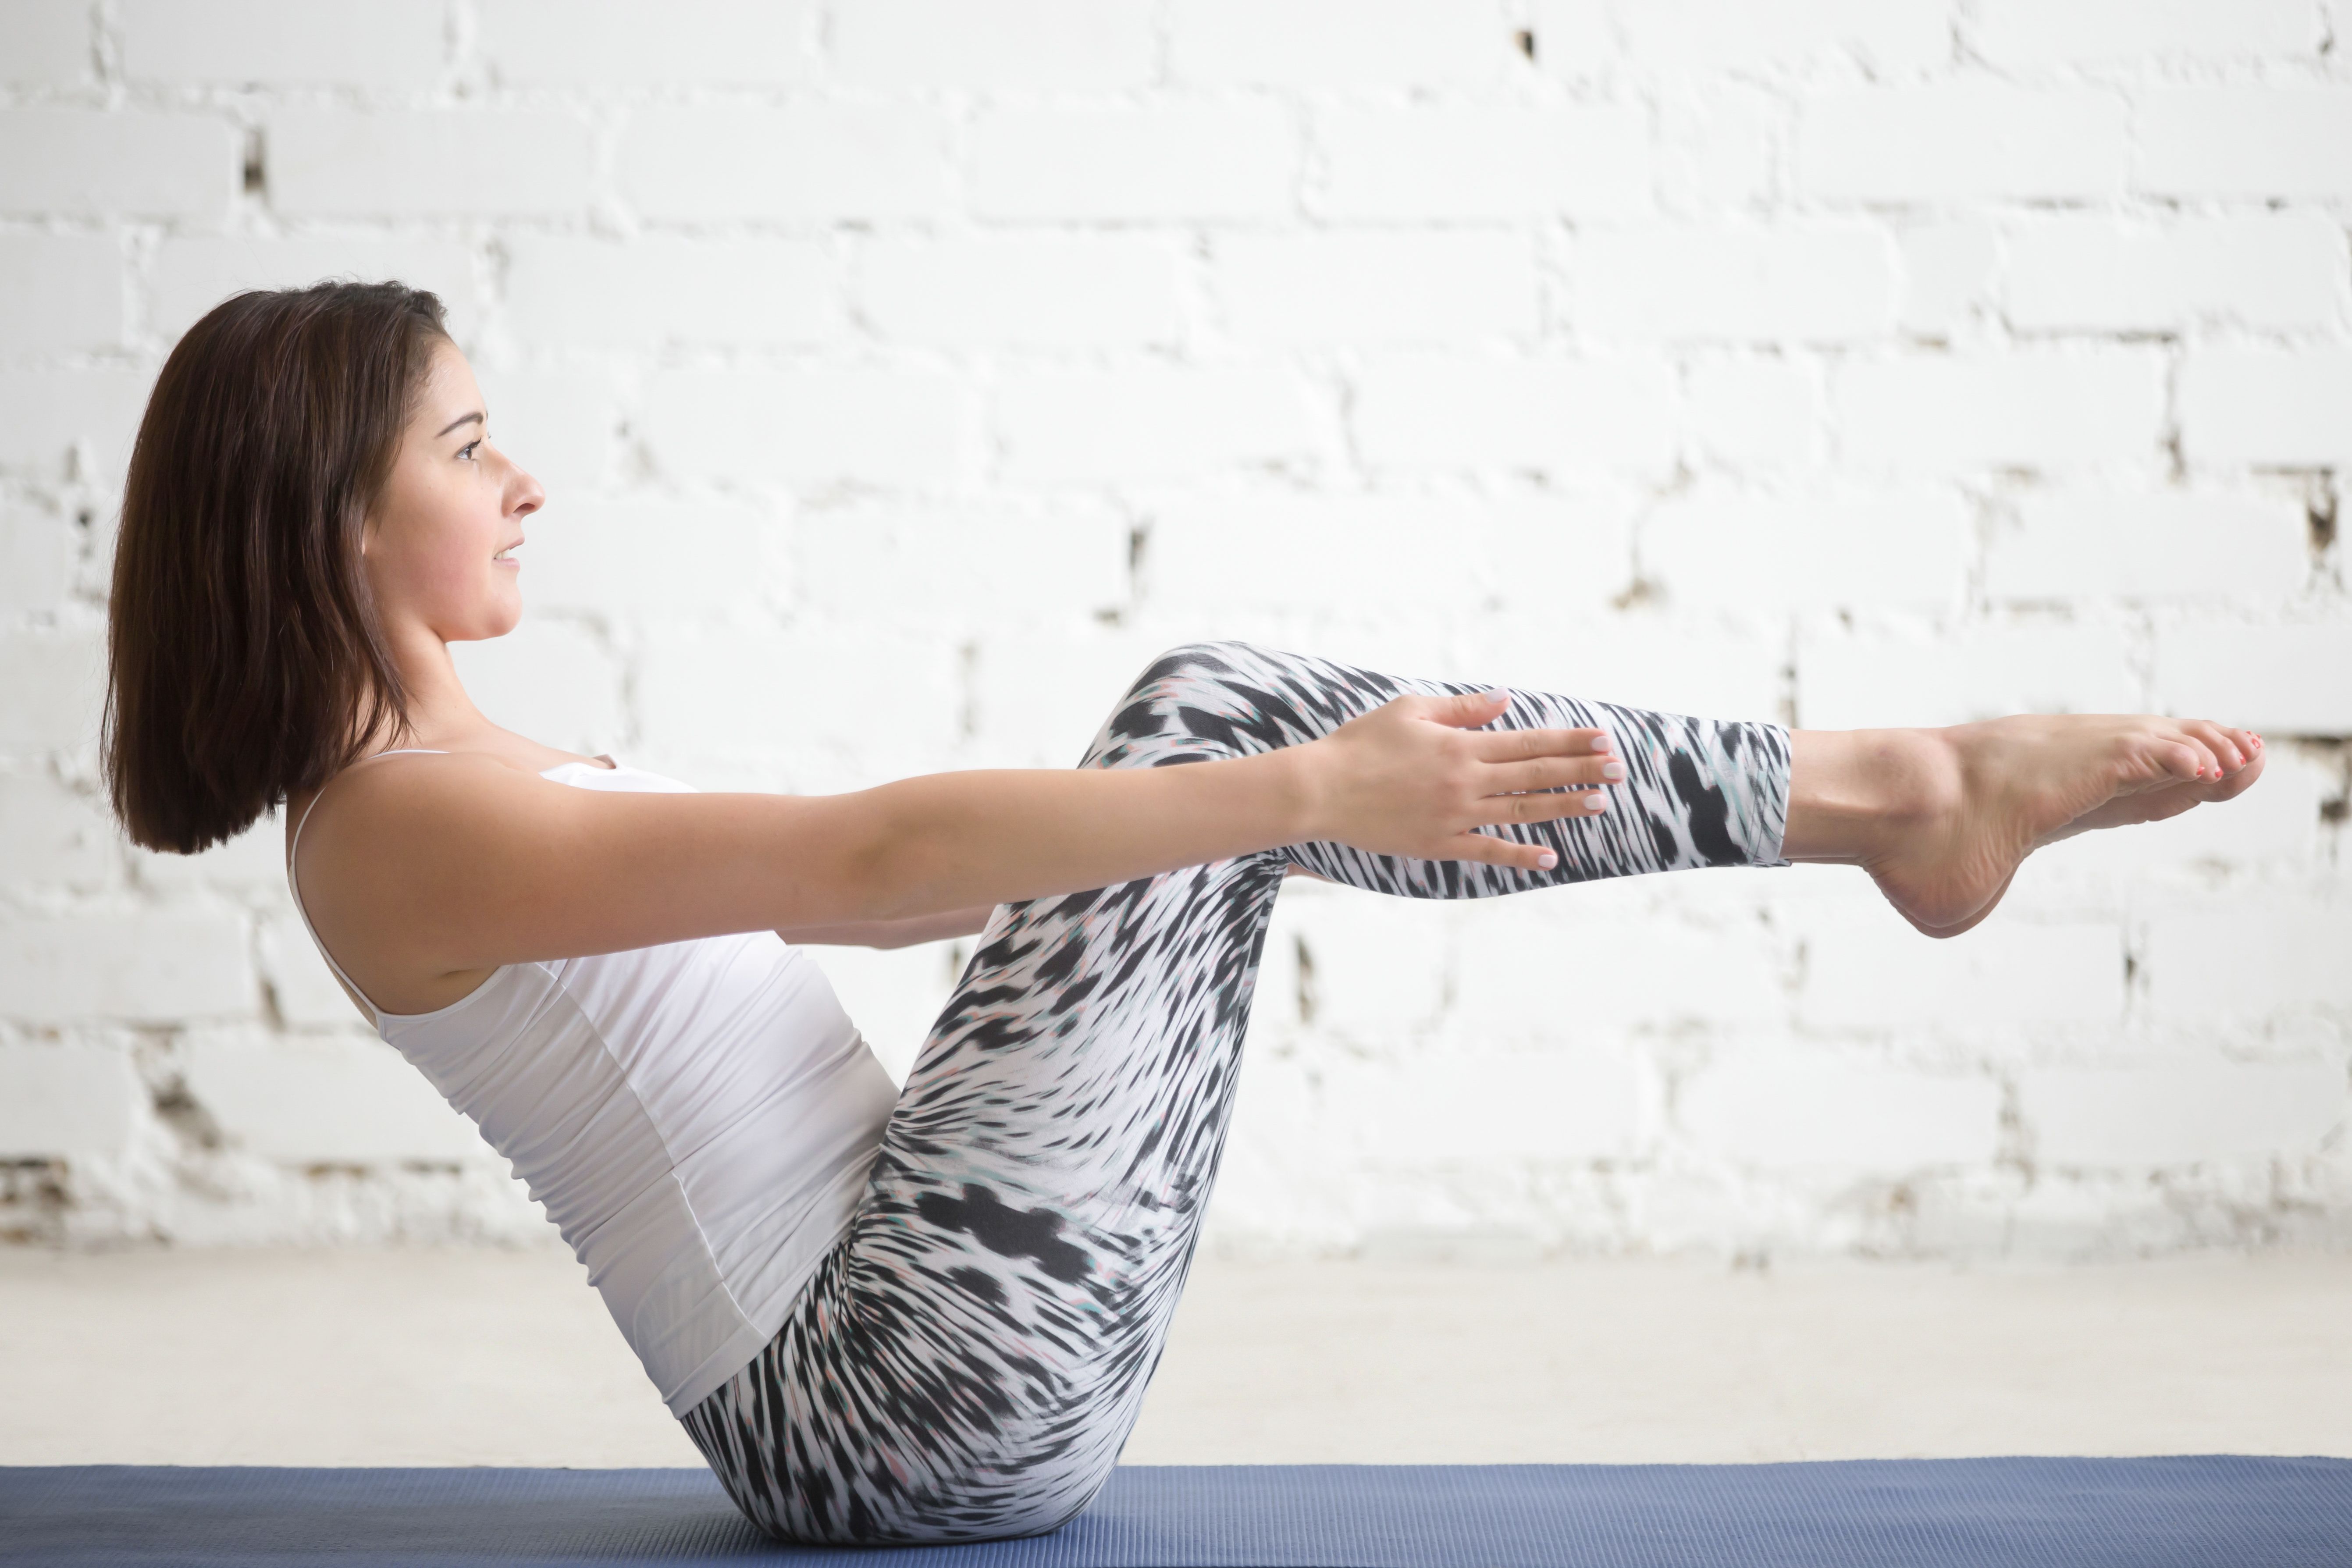
Holding onto this bent knee variation will help you gradually build strength around the hamstrings and quadriceps while minimizing the pressure on the core.
2. Revolved Heron Pose Variation: This is an intermediate-level variation for those who want to work on their leg and hip flexor strength. Engagement and focus on activating only one leg at a time make it easy to maintain balance, while strengthening your hip flexors.
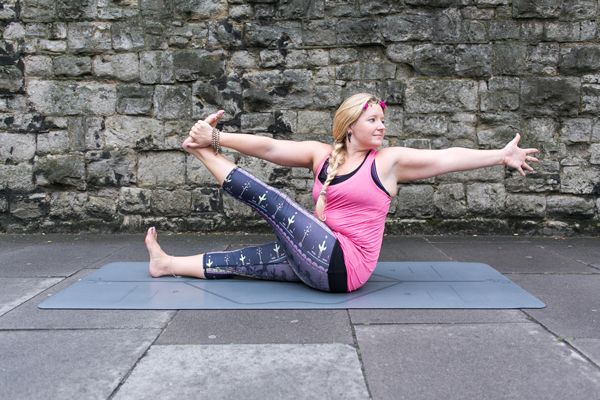
Once you feel stronger balancing this pose on one leg, you can lift the other leg slightly off the mat for an intense burn in the lower abdomen.
3. Hollow Boat Pose: This is an advanced variation, only for yoga practitioners who have already developed a considerable amount of core strength. To hold this for even a few minutes, you need hardcore strength around the lower back, hip flexors, neck, and the whole abdomen.

All the muscles are tensed and engaged throughout this variation of boat pose. Also, this pose is highly recommended for those who are seeking to lose fat around the waist and front tights
Enjoy a Free 1-on-1 Session with a Coach!
Receive personalized guidance tailored to your unique fitness goals, live with a dedicated coach—no credit card required.
Frequently Asked Questions about Navasana
Here are the following steps to do a Navasnana pose:
- Begin in a seated position.
- Keep your knees bent with both feet placed on the ground.
- Inhale and engage your core muscles as you lift your feet from the ground.
- Balance on your tailbone.
- Once you feel comfortable balancing, straighten both legs.
- Stretch out both your hands in front and hold for a few seconds.
- Finally, place your feet back on the ground with a deep exhale.
The benefits of Navasana include the following:
- Improves digestion.
- Burns fat around the waist and thighs.
- Stretches, lengthens, and strengthens the core muscles.
- Increases mind and body connection.
If you are just starting as a beginner, it is not advised to perform Boat Pose without any core strength. Beginners can start with a few core strengthening drills to make balancing more comfortable and flawless.
Ardha Navasana is Half Boat Pose. Here, you balance the body in a semi-v shape by keeping the knees bent, and both arms stretched out in front. This pose is best suited for intermediate-level yoga practitioners with some level of core strength.
Navasana or Naukasnana is a seated core-balance pose. Due to its appearance similar to a boat, it's been named Boat Pose. This position keeps your ribs, abdomen, and hip flexors super engaged and makes it easier for you to gain more core strength over time. The more often you perform the Navasana position, the more power you'll gain for related balance asanas.


.webp)
%20(7).jpg)
