What is Parshvottanasana (Intense Side Stretch Pose)?
Parshvottanasana is often referred to as the Pyramid Pose or the Intense Side Stretch Pose. It's a standing-side-forward bend used to release tension in the spine, glutes, and hamstrings.
From the five-point star pose, you’ll lengthen your spine by extending both arms behind your back and gently bending your upper body close to one leg on one side, then repeat the same on the other.
The best part about this pose is that it’s beginners friendly and everyone can benefit from practicing it. Also, the more you hold this posture, the more relaxed, flexible, and re-energized you'll feel.
Overview & Etymology
Parshvottanasana comes from the Sanskrit words where 'Parshva' means side, 'Ot' or 'Ut' means intense, 'Tan' means to extend, and 'Asana' means posture.
The intense side stretch pose is a modern yoga pose since it's not described in any of the ancient yoga texts.
In 1935, Krishnamacharya's book 'Yoga Makaranda' first introduced Parshvottanasana to the Indian yoga system. Later, his students Pattabhi Jois and B. K. S. Iyengar started to teach this pose in their yoga schools and made it a part of the Ashtanga primary series, Hatha yoga, and Iyengar yoga worldwide.
Sanskrit Name: पार्श्वोत्तानासना Pronunciation: Parsh-voh-tahn-AHS-anna
Pose Type: Standing Forward Bend
Also known as: Intense Side Stretch Pose or Pyramid Pose
Strengthens: Legs, Ankles, Obliques, & Spine
Stretches: Hamstrings, Glutes, Obliques, Shoulders, Spine, and Neck
Health Benefits of Parshvottanasana
- Relaxes the spine.
- Relieves menstrual pain.
- Soothes the mind and nerves.
- Strengthens the side body and legs.
- Stretches the glutes and upper back.
- Improves blood circulation toward the brain.
- Stimulates kidney, liver, and digestive function.
- Has therapeutic effects on thyroid imbalance and inflammatory bowel disease.
- Activates the Root and Sacral Chakra, which balances negative emotions and mood swings.
When to Avoid Performing Parshvottanasana
- Avoid during pregnancy.
- Avoid if you have knee arthritis.
- Avoid if you have a migraine or vertigo.
- Avoid if you’ve recently had any surgery.
- Avoid if you have scoliosis or kyphosis.
- Avoid if you have a herniated disc or lumbar spondylitis.
- Avoid if you currently have any severe body pain or injury.
How to do Parshvottanasana (Intense Side Stretch Pose)
The practice of Parshvottanasana, or pyramid pose, is divided into four main stages, warm-up, steps, posture cues, and relaxing pose.
Part 1 - Preparatory Poses for Parshvottanasana
It’s important to activate blood circulation in the spine, hamstrings, and lower back. Get started with these warm-up poses before you practice pyramid pose:
1. Tadasana (Mountain Pose) - It helps to build a strong foundation for all standing yoga poses. Start with standing in the center of the mat with your feet two inches apart. Keep your spine straight and gaze forward.
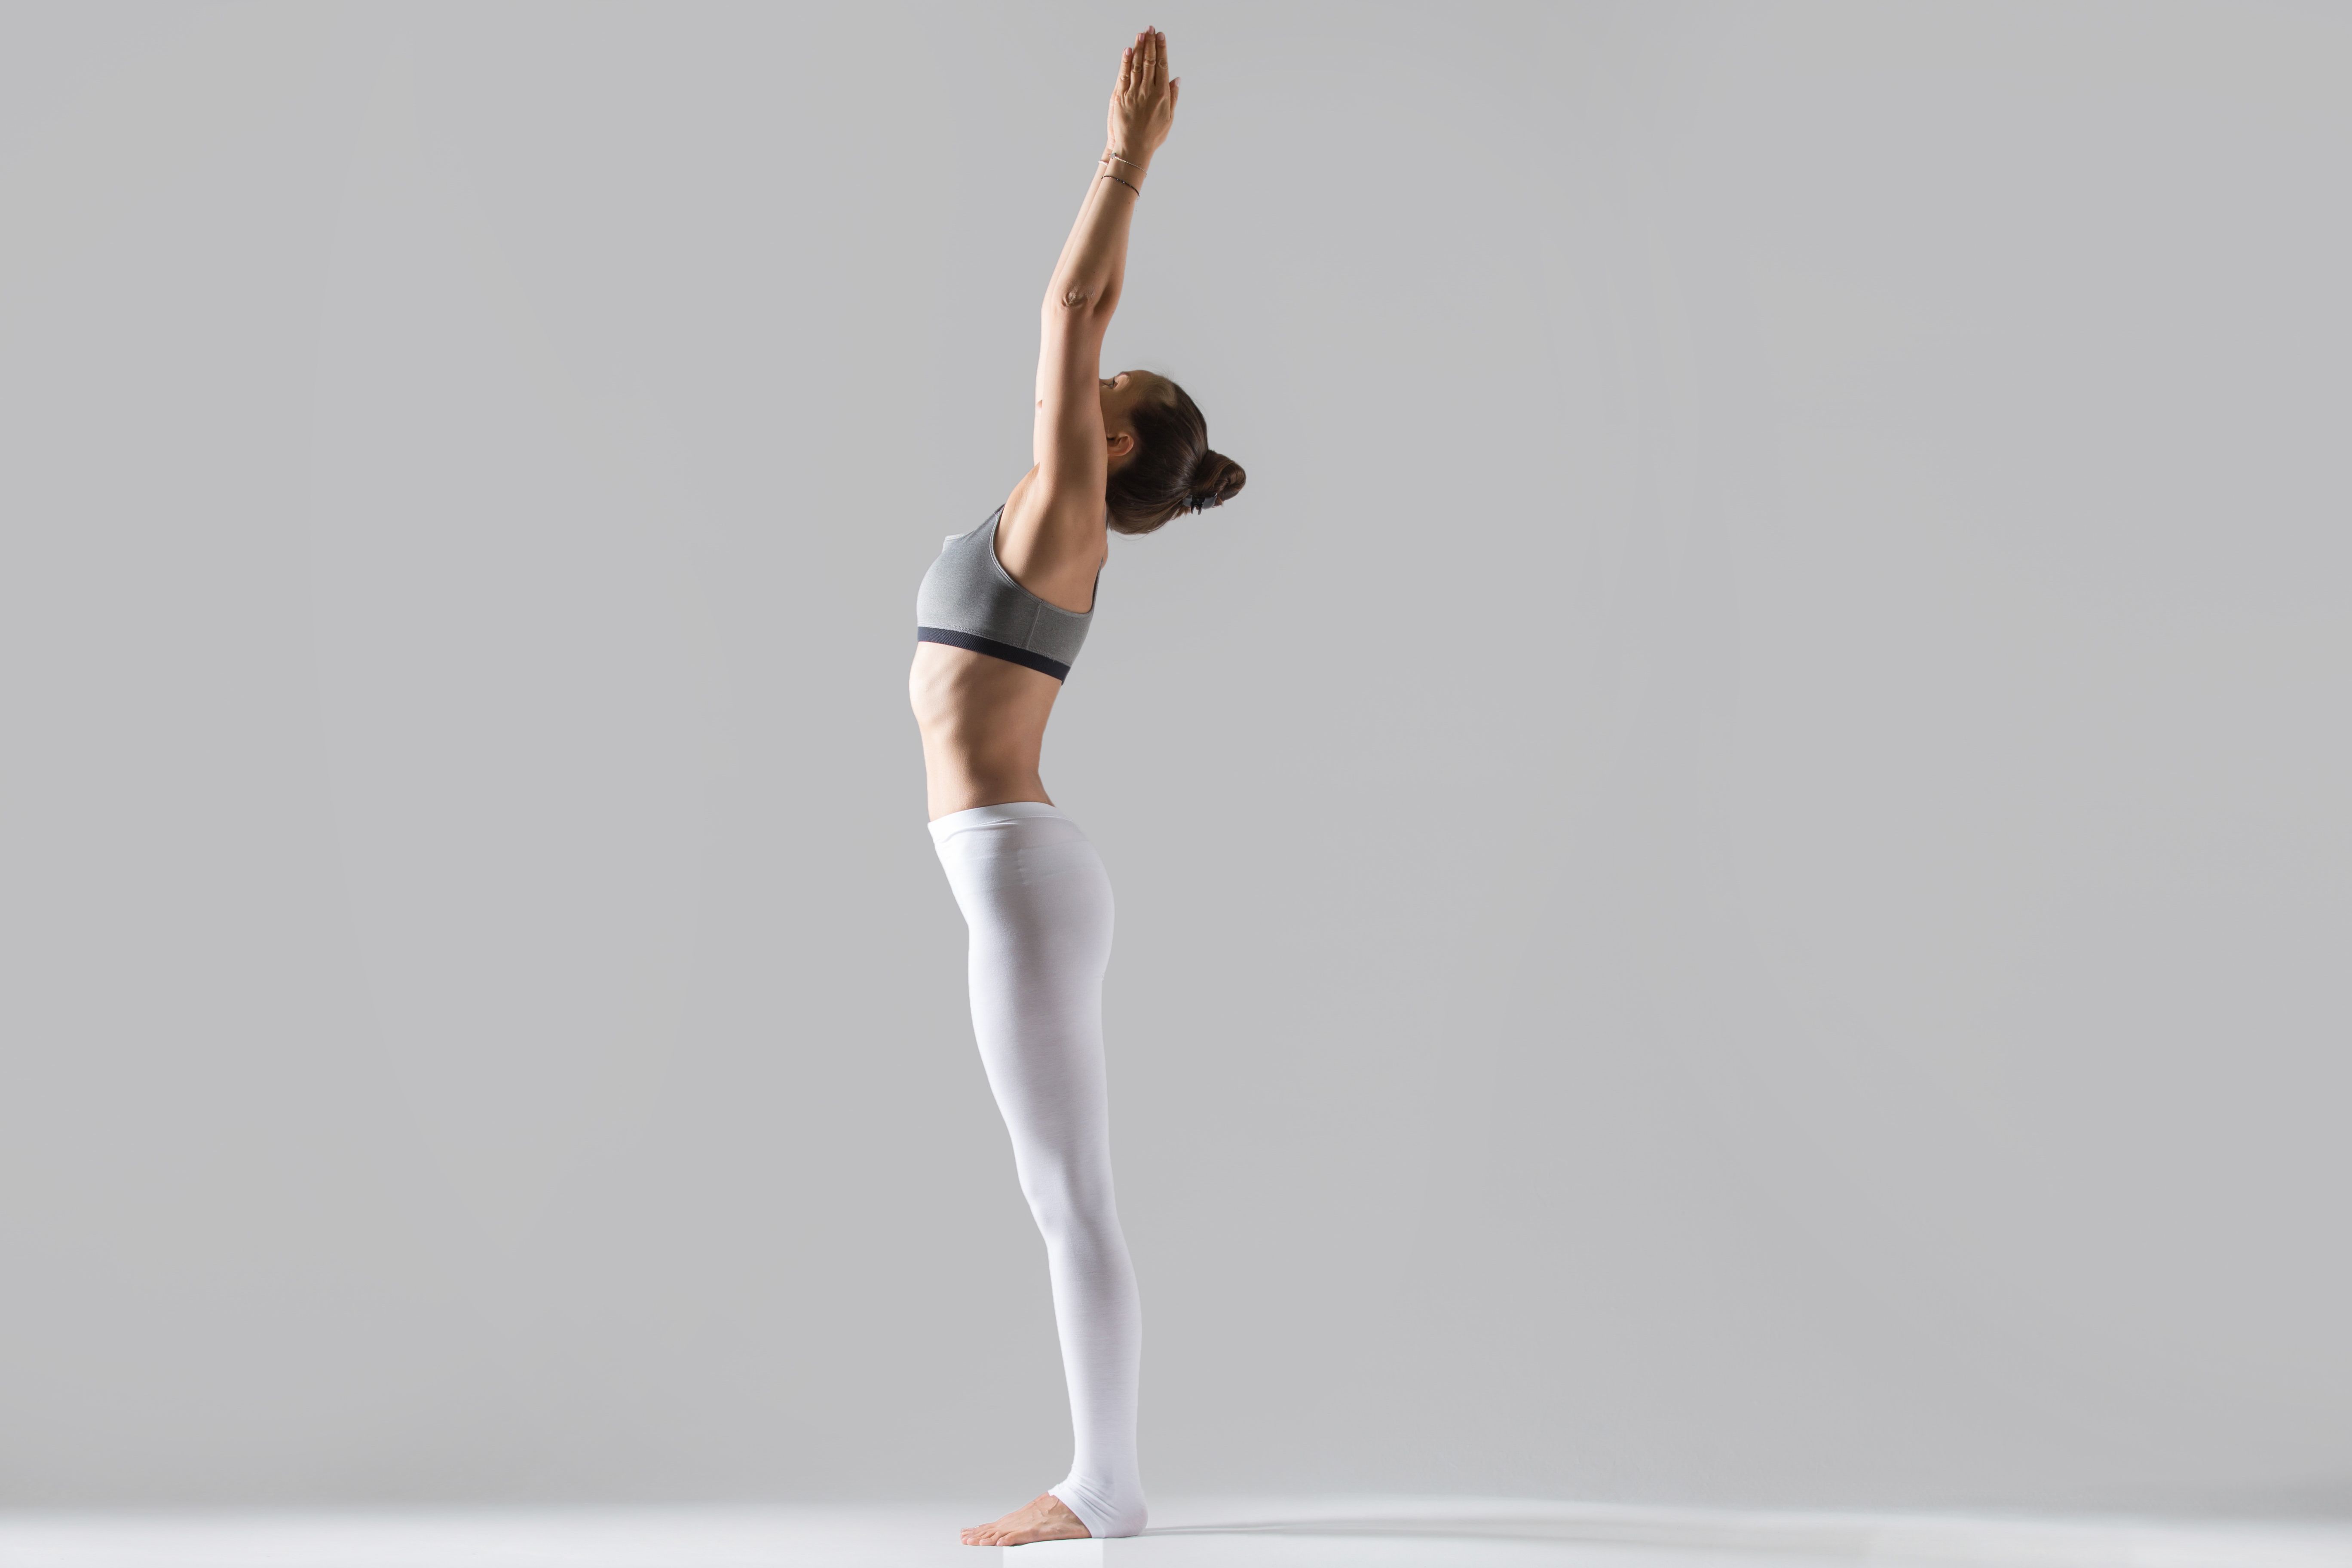
Take a deep breath, lift your arms to chest level and interlock your fingers. Inhale as you extend your arms overhead. Hold the pose here for a few seconds, then exhale and relax your limbs in a neutral standing position.
This pose is great for gently activating your legs, arms, shoulders, and spine.
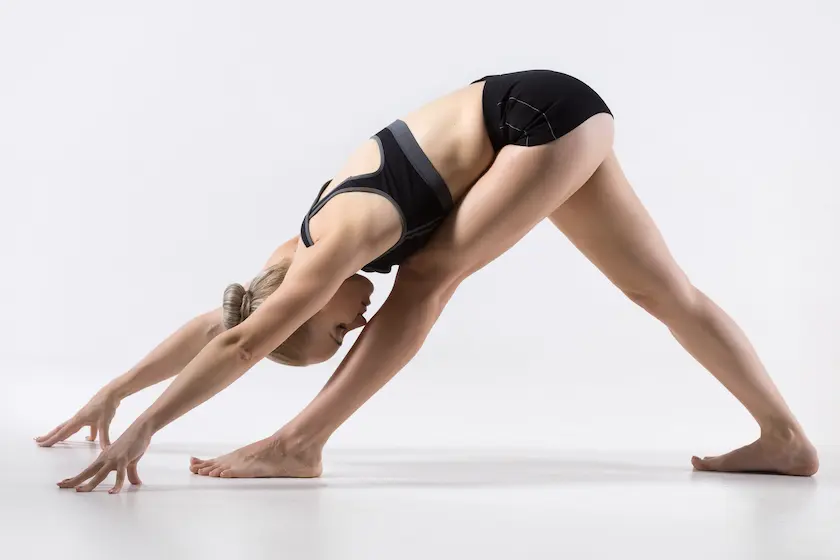
2. Adho Mukha Svanasana (Downward-Facing Dog Pose) - From a table-top position, start to lift your glutes toward the ceiling, and keep your palms and feet pressed into the yoga mat. Maintain a tight core to stabilize in this position.
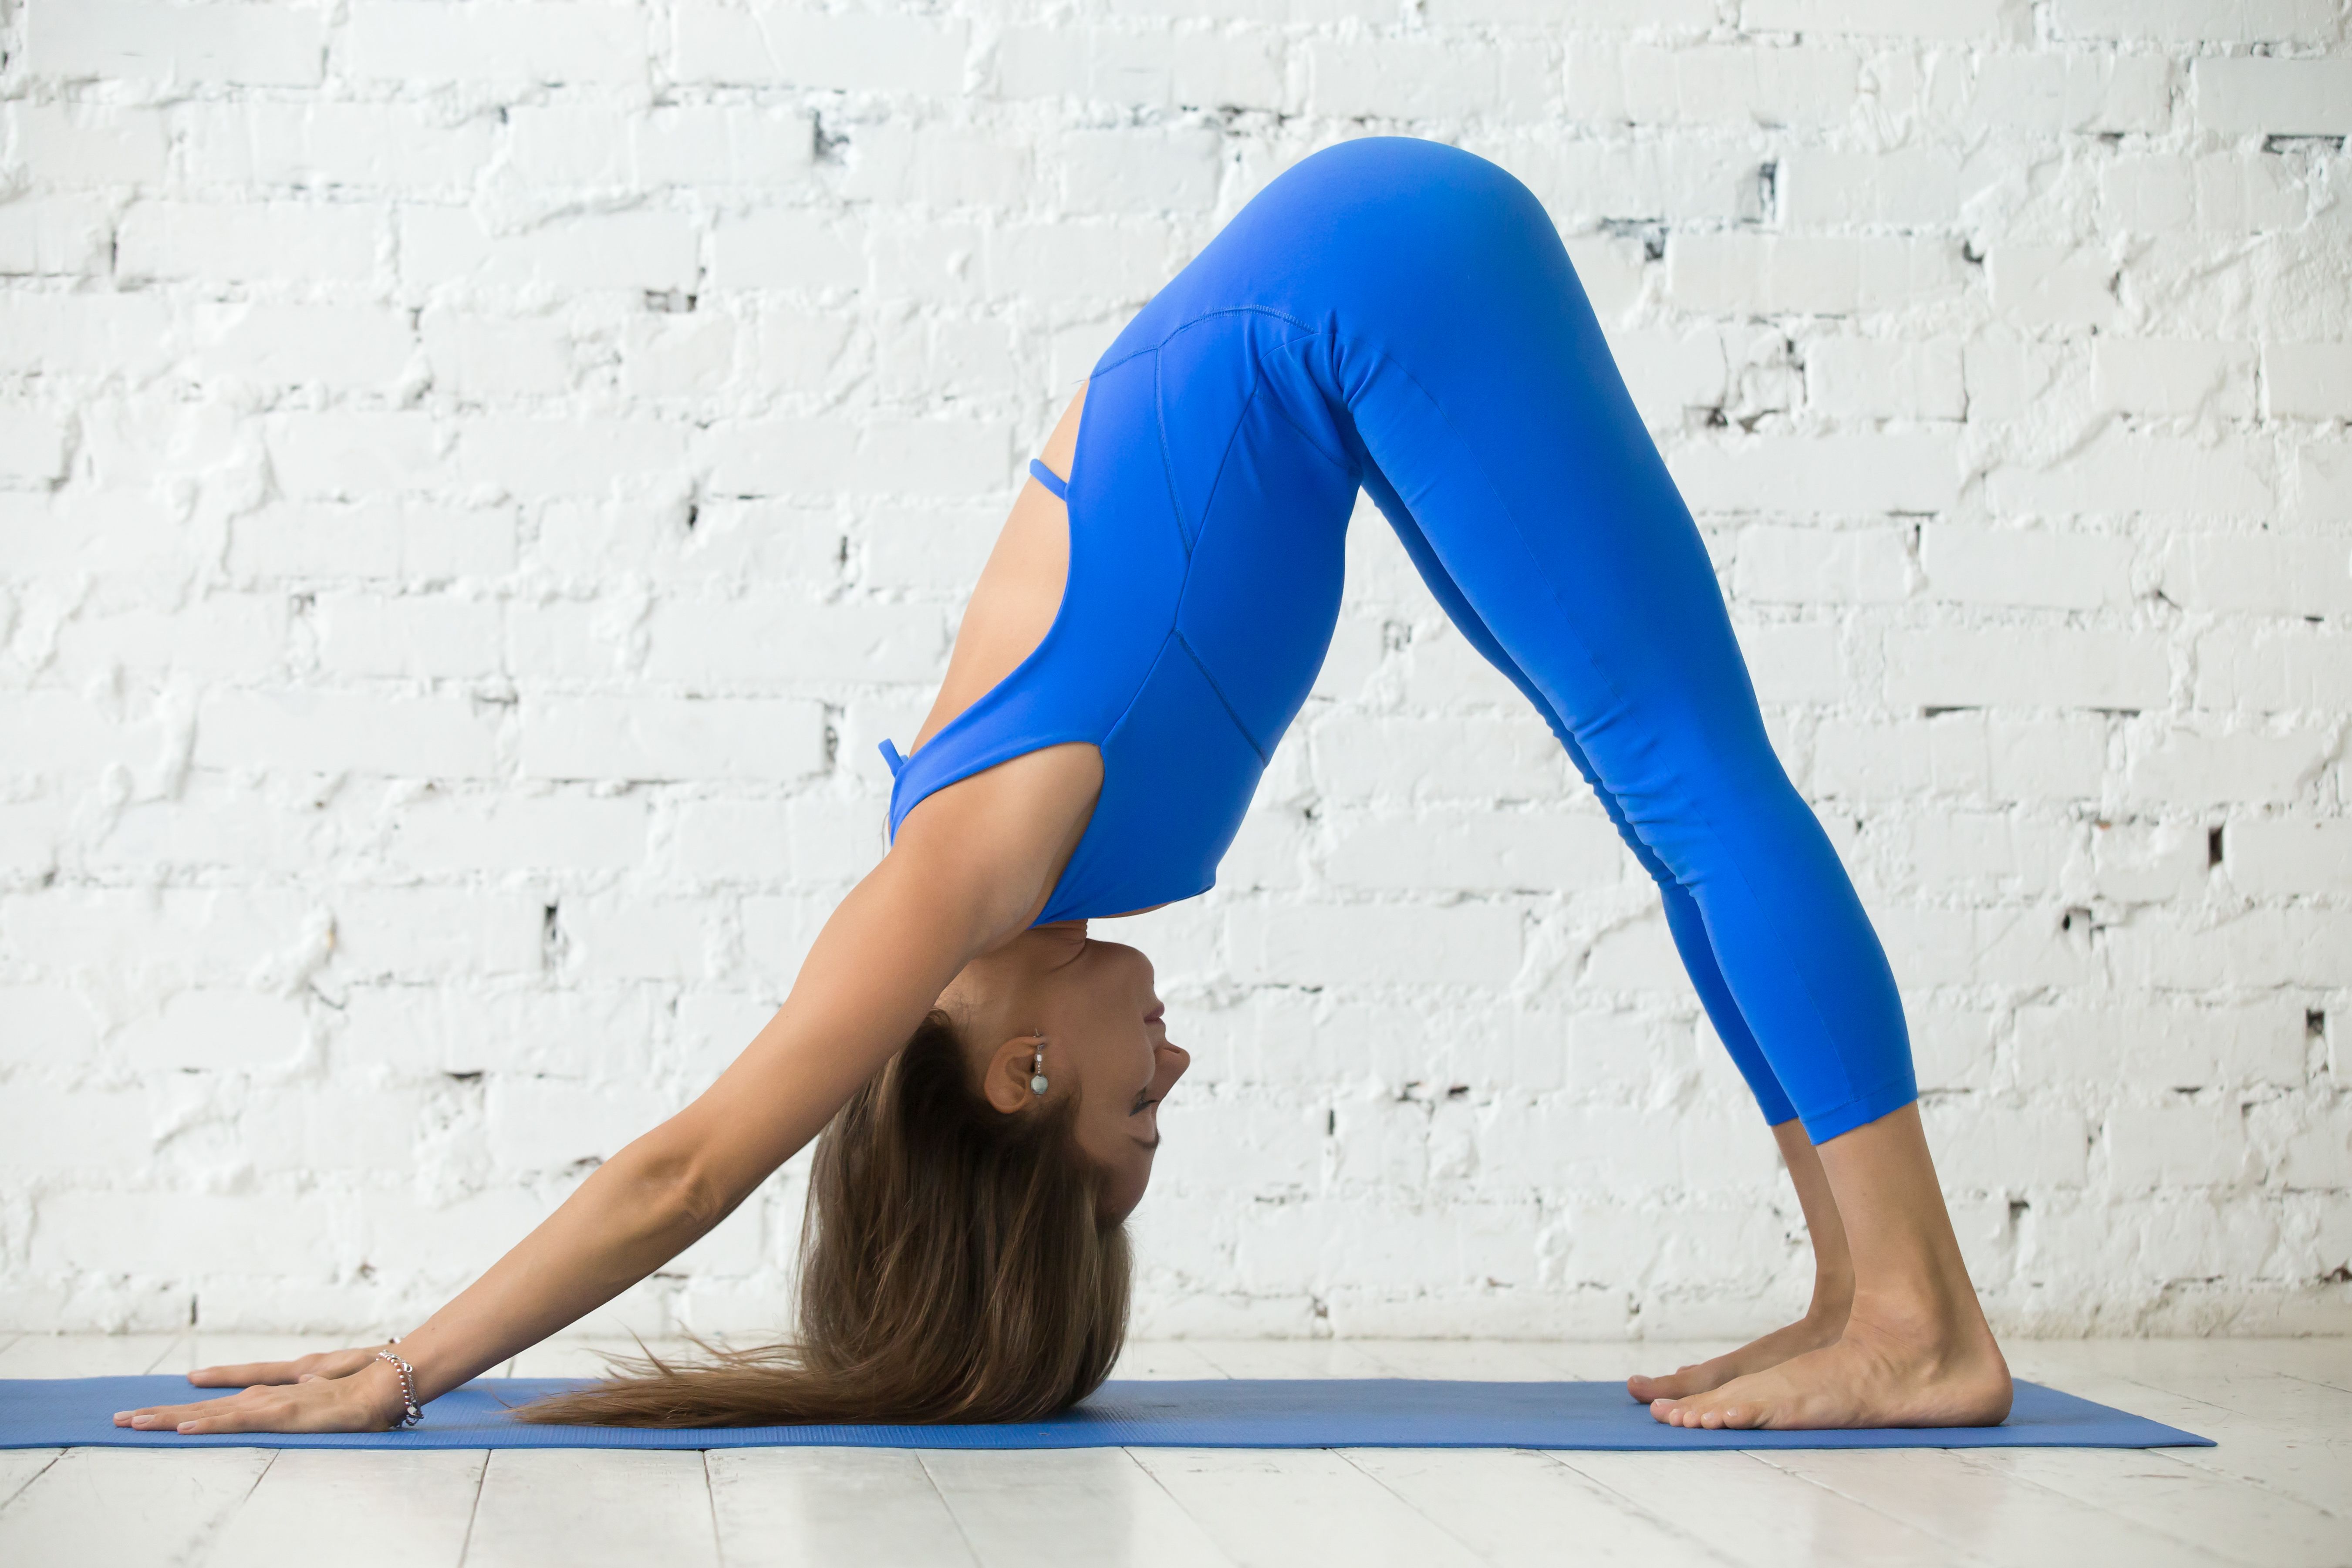
Hold the pose for 1-2 minutes and feel activation in your shoulders, back, hamstrings, and calves. This will help you develop core balance and introduce more mobility into the spine.
3. Prasarita Padottanasana (Intense Leg Stretch Pose) - Start by standing with your legs more than hip-width apart. Inhale and extend your arms over your head and exhale as you bend forward until your fingers can hold your big toes.
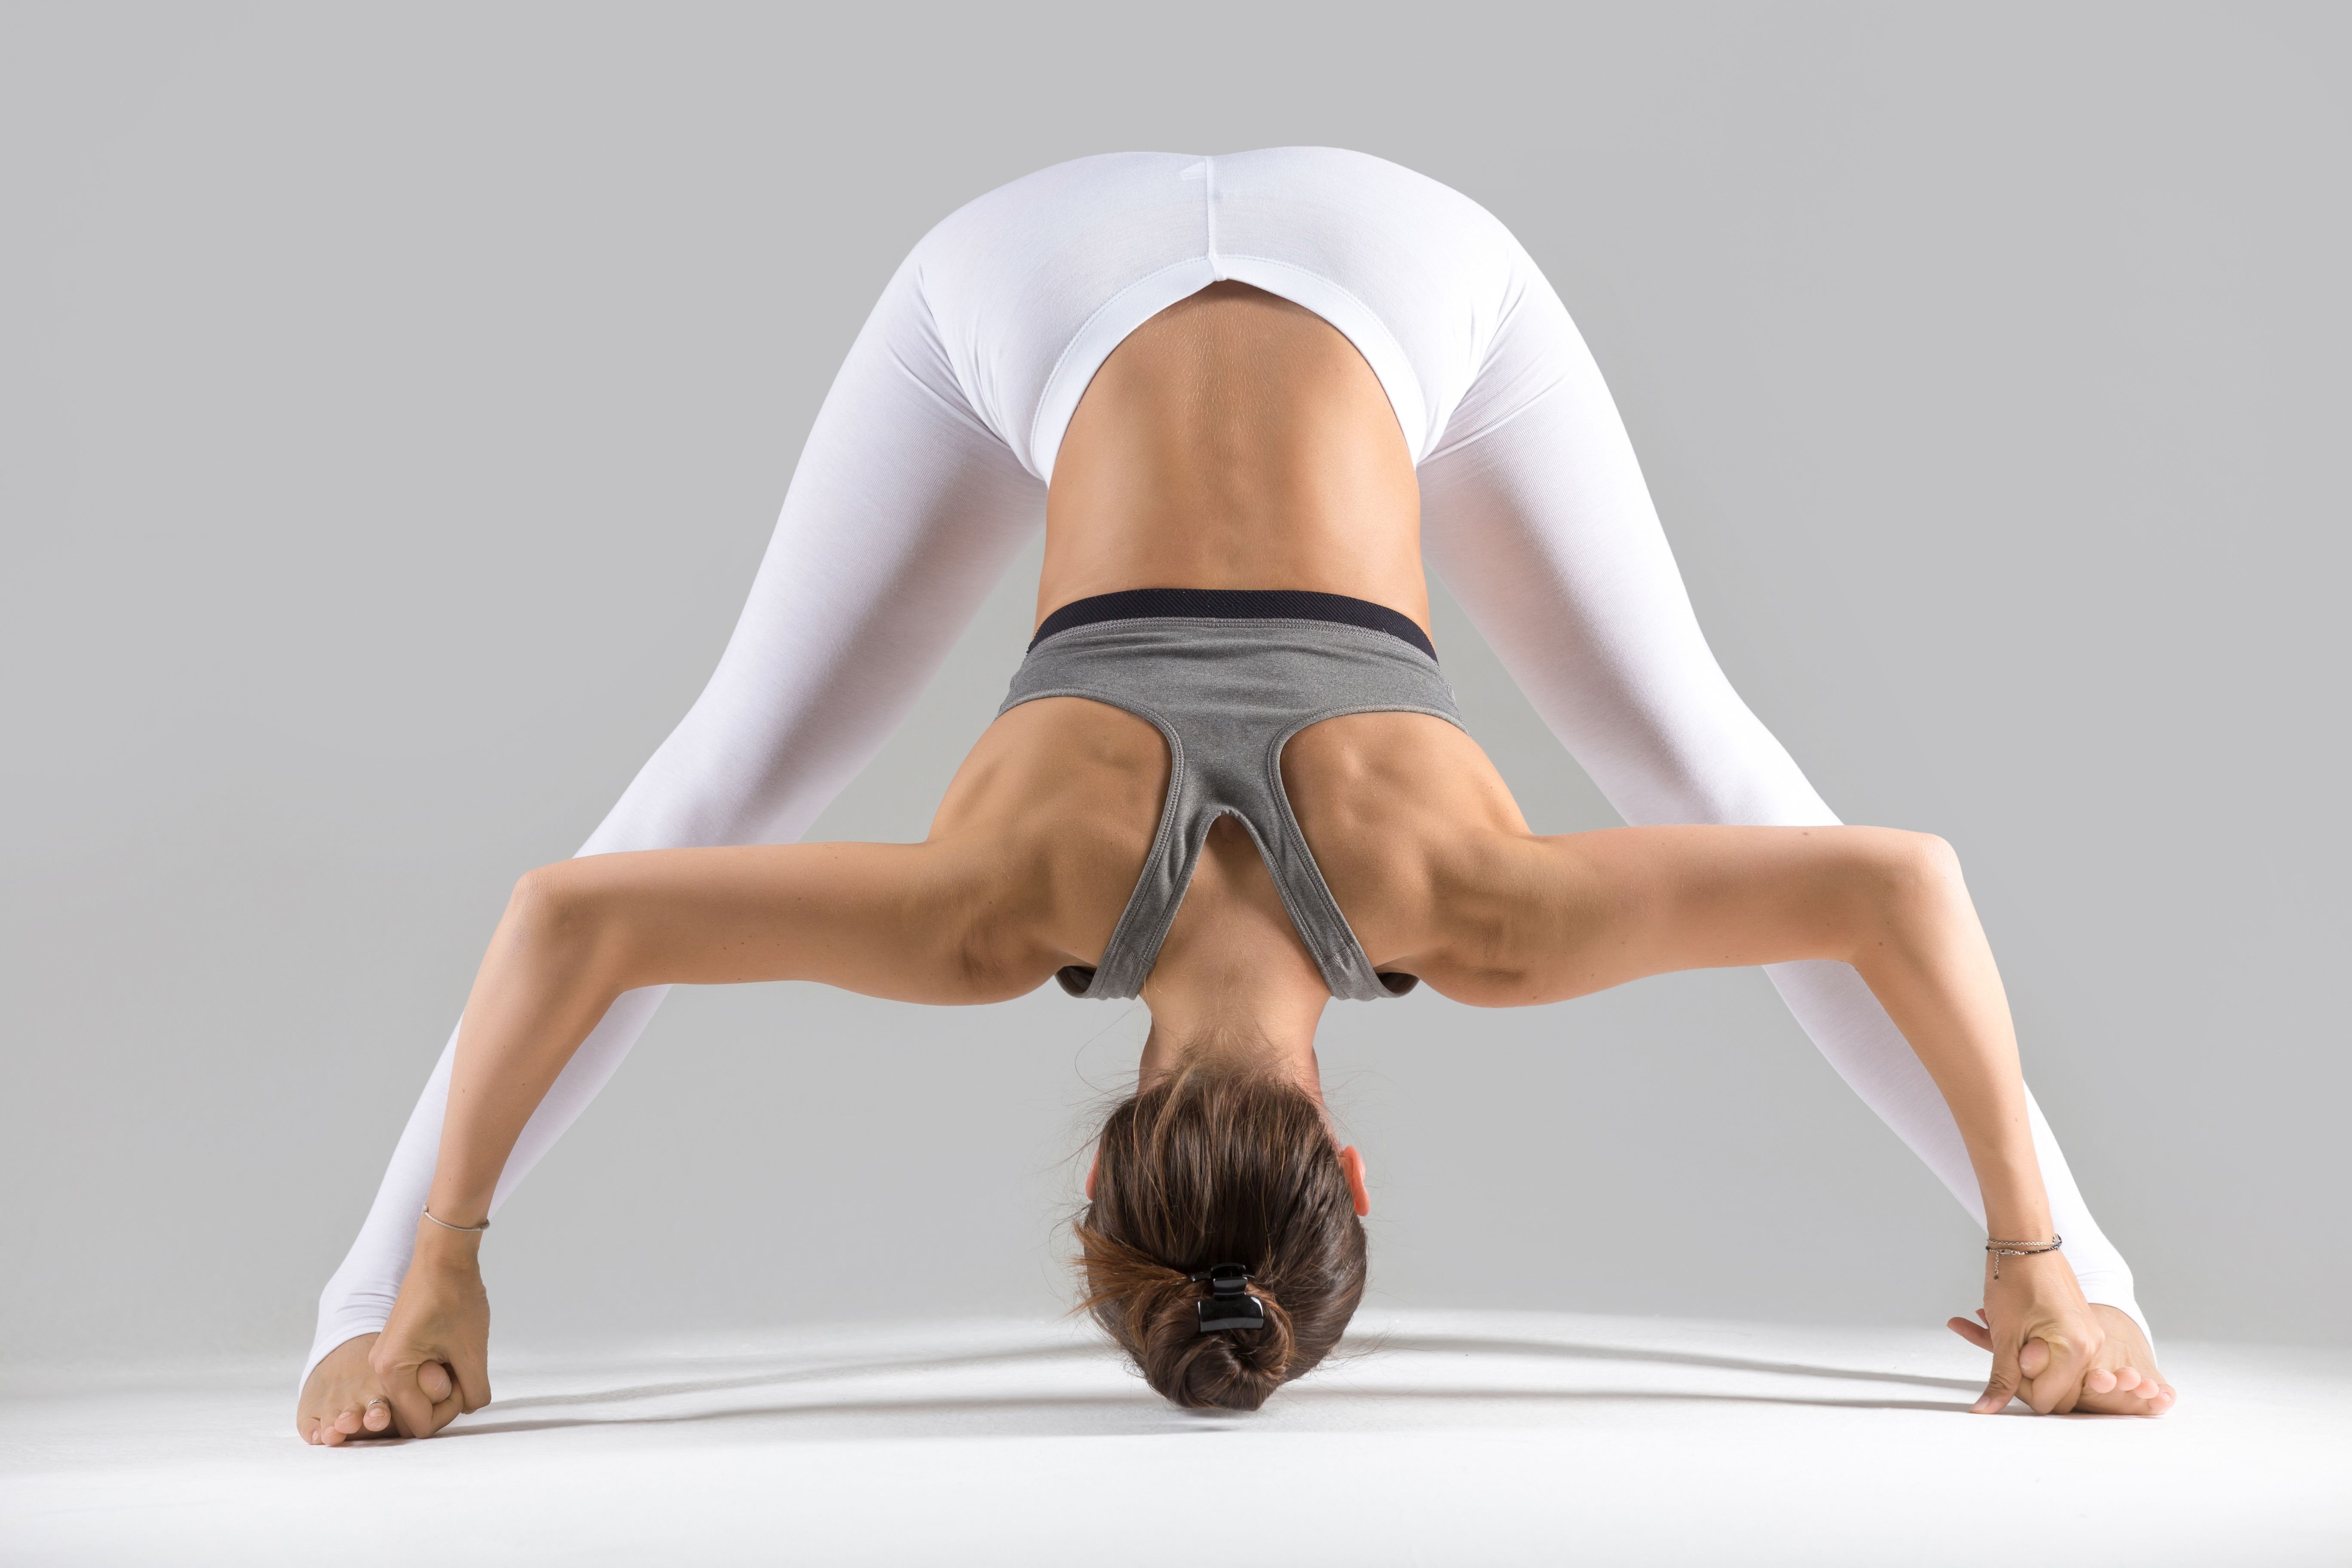
Hold this position for a few minutes. This wide stance forward fold is a great way to activate your inner legs, hamstrings, and lower back. It also encourages simultaneous rejuvenation of the neck, shoulders, and brain.
Part 2: Step-by-Step Instructions to Perform Parshvottanasana
The following are steps to practice an intense side stretch pose or Pyramid pose:
Step 1- Stand in the center of your mat and start with Mountain pose.
Step 2- Stand with a straight spine and hands in Anjali Mudra (Namaste). Focus on your breathing while closing your eyes.
Step 3- Step one foot halfway back on your mat and make a triangle with your legs.
Step 4- Keep both feet pointed in the same sideways direction. Extend both arms overhead and breathe in.
Step 5- Breathe as you reach downward and fold your upper body forward for Pyramid pose.
Step 6- Rest your fingertips on either side of your front foot.
Step 7- Keep the chest aligned with your front thigh and relax your neck by closing your eyes.
Step 8- As you hold the pose here, it’s good to maintain a soft bend in both knees.
Step 9- Finally, exit the pose by returning to Mountain pose, relax for a few seconds, and repeat the same on the other side.
Breath Awareness:
- Inhale: While standing in Mountain pose as you extend both arms overhead.
- Exhale: While folding the body forward into the side stretch.
Performance Duration for Beginners: Hold Parshvottanasana for 60 to 90 seconds on each side.
Performance Duration for Advanced: Hold Parshvottanasana for 2-5 minutes on each side.
Part 3: Things to Keep in Mind
To ensure your legs are safe, keep the following alignment tips in mind before you start your practice.
- Check the distance between your legs: Positioning your legs too far apart or legs too close together can compromise the pose, making it unsafe and ineffective. Try to keep your legs slightly more than the hip-width apart.
- Do not overstretch: Getting too low without enough leg muscle flexibility can overstretch your hamstrings. This can lead to a hamstring tear or low back pain. So, make sure to warm up your legs and back well before the main practice.
- Don’t lock your knee joints: Locking the knee joint means keeping your legs too straight that it starts to hurt around the knees. This can severely cause wear and tear of knee joints and induce pain. Try to maintain a slight bend in the knees as you stretch onto your side.
- Watch out for your hands: Do not place your palms on your shins as you execute the Parshvottanasana as this may lead to unnecessary pressure on your legs and hurt your knee joints.
Part 4: Relaxing Poses After Parshvottanasana
Here’s a list of a few counter-poses to perform after your intense side stretch pose practice:
1. Counter Spine Flexion: After intense side stretch, raise your upper body and arch your spine in the opposite direction while gazing toward the ceiling and placing your arms behind you in a reverse prayer pose.
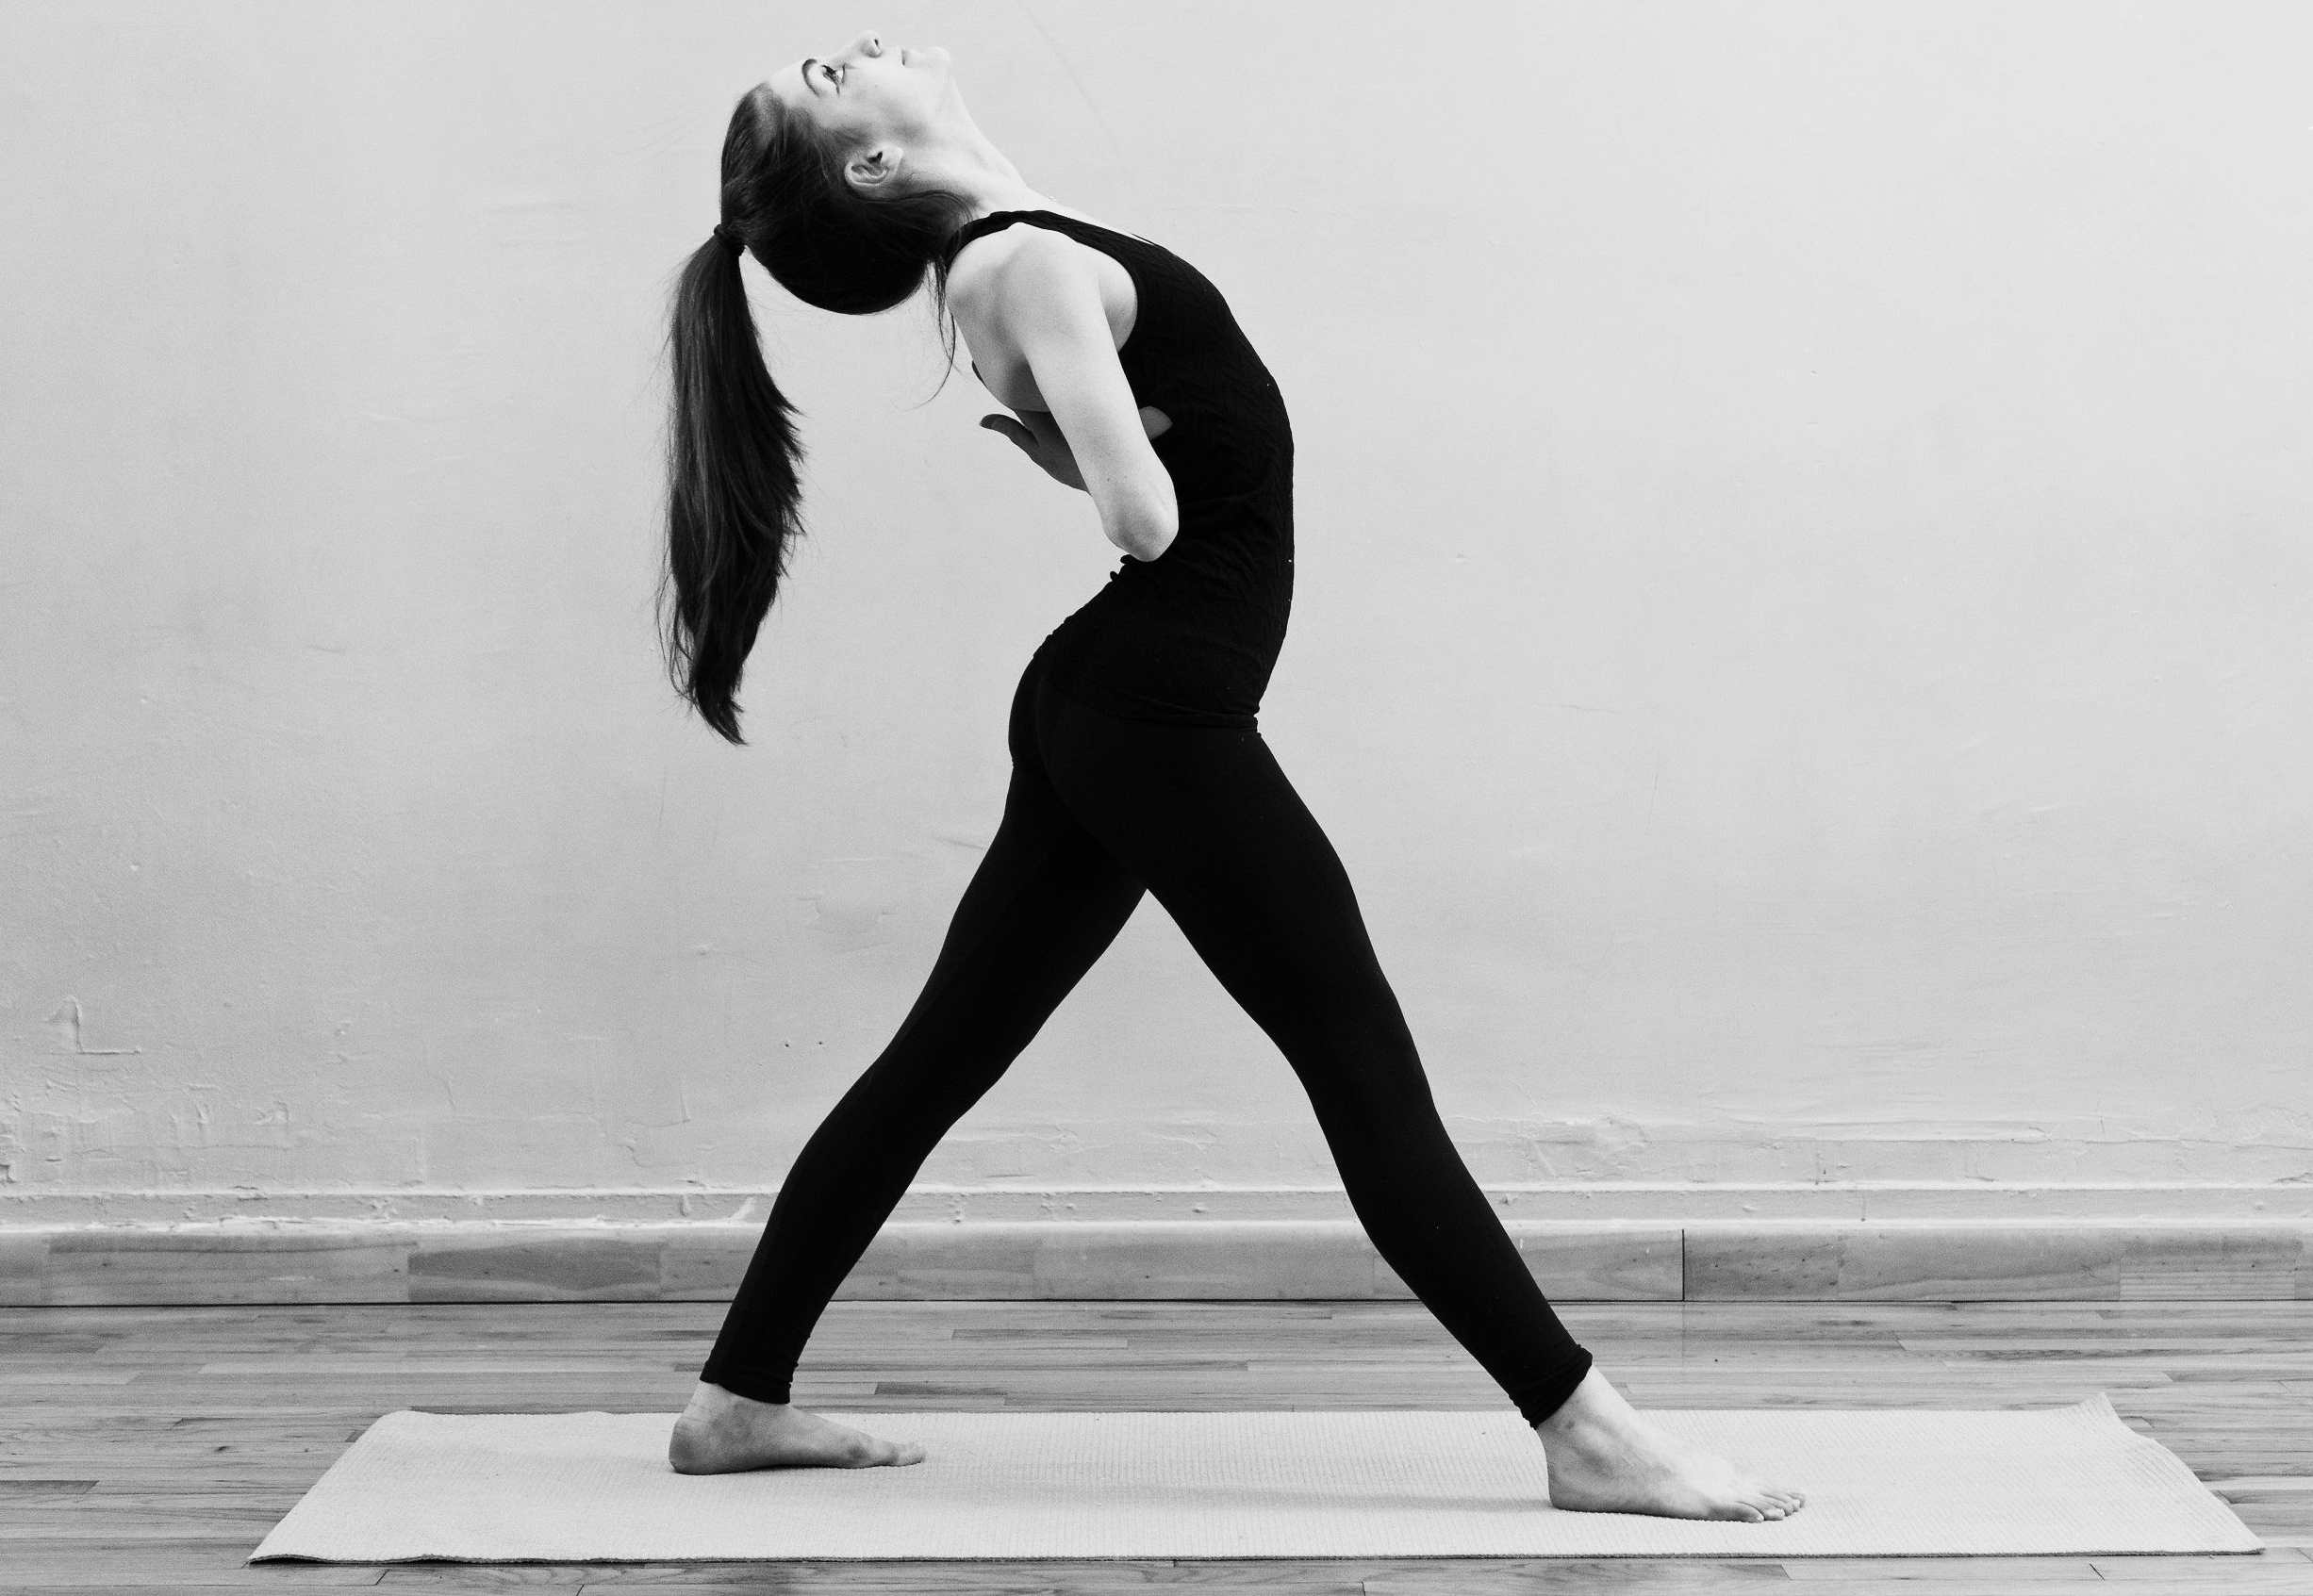
Hold this counter pose on each side for 30 to 90 seconds to bring your spine back to its natural shape.
2. Uttanasana (Standing Forward Bend): Straighten your spine by returning to Mountain pose. Now, breathe in and raise your arms overhead. Exhale as you start to fold forward, maintaining a slight bend in the knees, and completely resting your back, neck, and shoulders against your chest. Relax in this position for a few minutes.
Parshvottanasana Variations to Consider
To modify or upgrade your Pyramid pose practice, take a look at the following variations:
1. Ardha Parsvottanasana (Half Intense Side Stretch Pose) - As the name suggests, this variation involves limiting your forward bending motion. Start with both feet pointed in the same side direction.
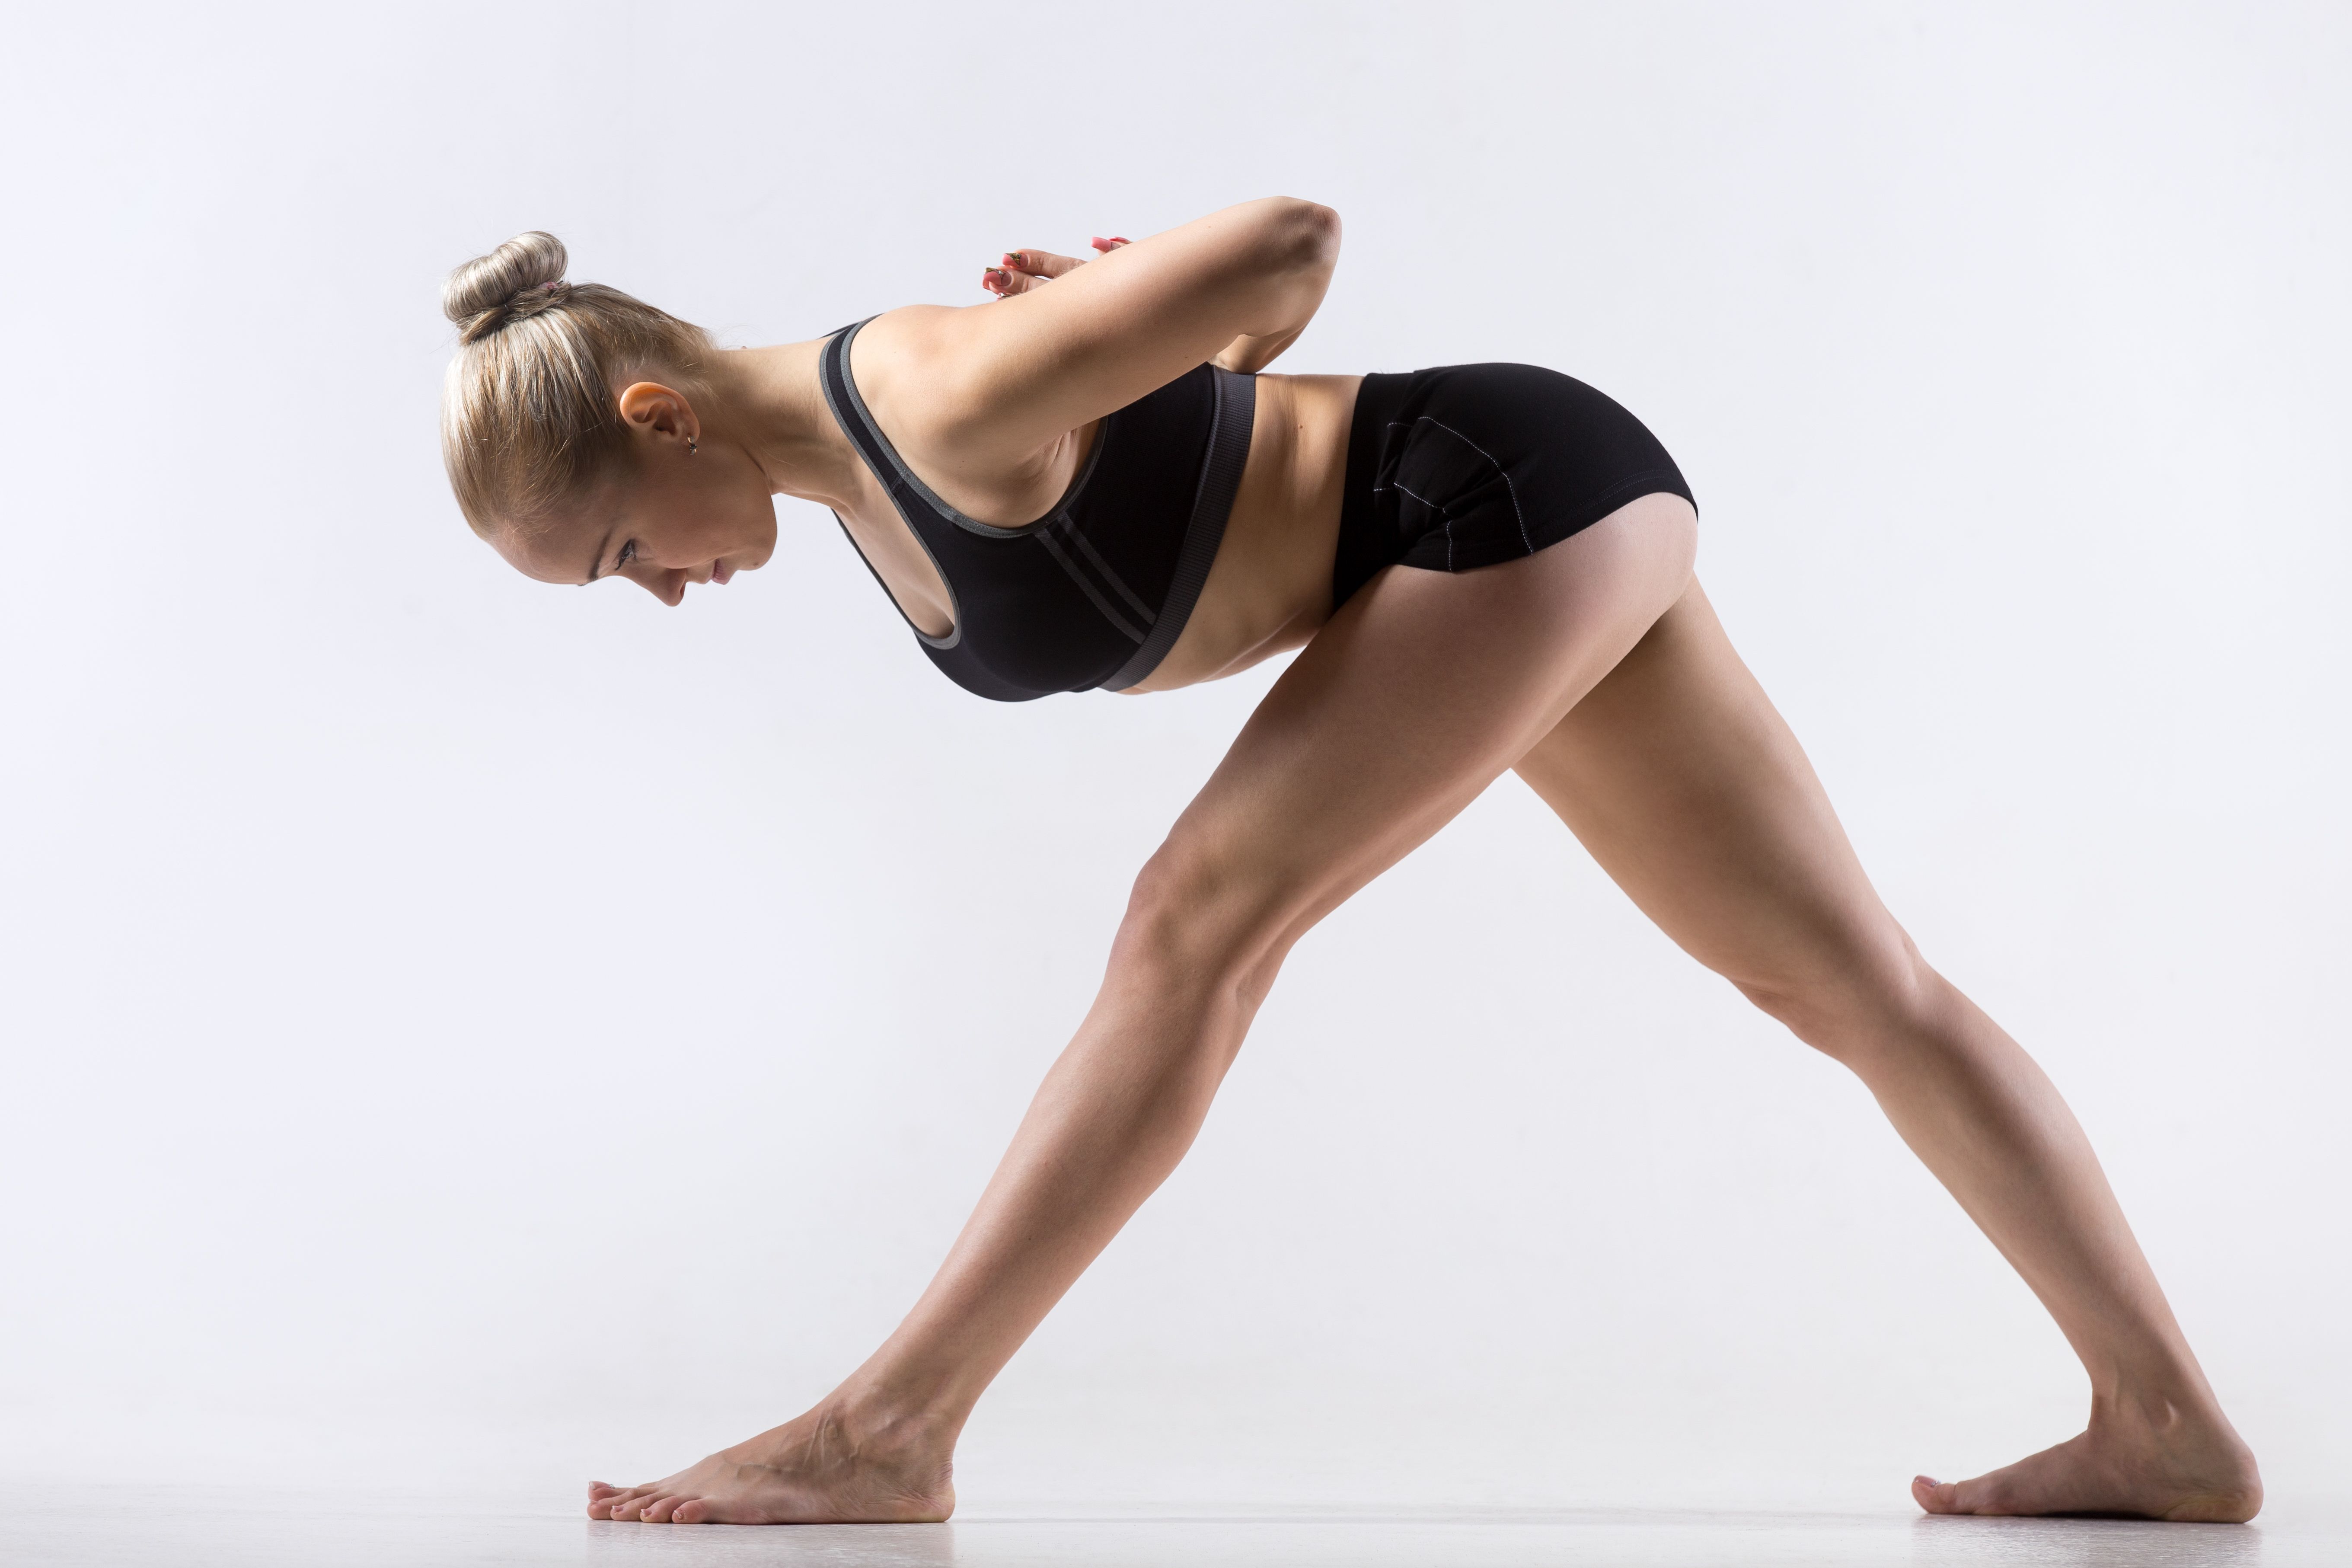
Gently, start to hinge your torso but only halfway through so that your upper body is parallel to the ground. To challenge your body balance further, you can incorporate reverse prayer formation with your arms.
2. Intense Side Stretch Pose with Reverse Flexed Arms - Take a deep breath, and stand with both legs wide open, pointing your feet in the same direction. Stand straight, and interlock your fingers behind your back.
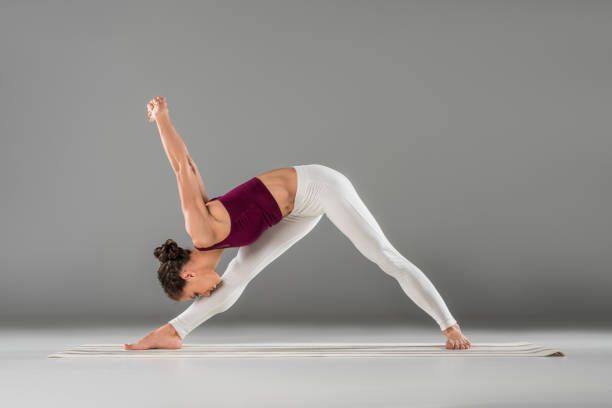
Exhale you bend your upper body forward, and with straight arms flex behind you. The locking of your fingers will challenge your shoulder’s range of motion ands increase shoulder mobility. This variation is best for intermediate-to-advance level yogis.
Enjoy a Free 1-on-1 Session with a Coach!
Receive personalized guidance tailored to your unique fitness goals, live with a dedicated coach—no credit card required.
Frequently Asked Questions about Parshvottanasana (Intense Side Stretch Pose)
Yes, beginners can perform Parshvottanasana. But it's a powerful side stretch, so before starting your Parshvottanasana practice, warm-up with some basic yoga asanas to stay safe from injuries.
Inner thighs, hamstrings, shoulders, spine, low back, and obliques are all stretched in Parshvottanasana.
The following are a few benefits of Parshvottanasana:
- Lengthens your spine.
- Reduces back pain.
- Stretches the side body.
- Burns fat from your inner thighs.
- Strengths your legs, knees, and ankles.
- Activates your digestive system and your reproductive system.
Reverse-flexed-arms-at-the-back and Arms-behind-in-Anjali-mudra are a few different variations for the Parshvottanasana. These variations will challenge the intensity of your side stretch pose, making you stronger and more flexible.
Pregnant women, or anyone with arthritis, scoliosis, or kyphosis should avoid Parshvottanasana pose. Or, practice a modified variation under the guidance of a professional yoga teacher.
It’s good to move your spine in the opposite direction for a few seconds after Parshvottanasana practice. It’s also recommended to relax your spine and legs in Uttanasana for complete restoration.


.webp)
%20(7).jpg)
