Whether you sit at a desk for eight hours a day, run regularly, or train hard in the gym, you likely need effective yoga leg stretches to combat legs that feel perpetually tight, heavy, or restricted.
The problem with most stretching routines is that they only focus on one muscle at a time. You might stretch your hamstring, then your calf, without treating the leg as a whole. In reality, your hamstrings, hips, quads, calves, and feet are all deeply connected. If you only stretch one tight spot and ignore the rest, the tightness will just keep coming back.
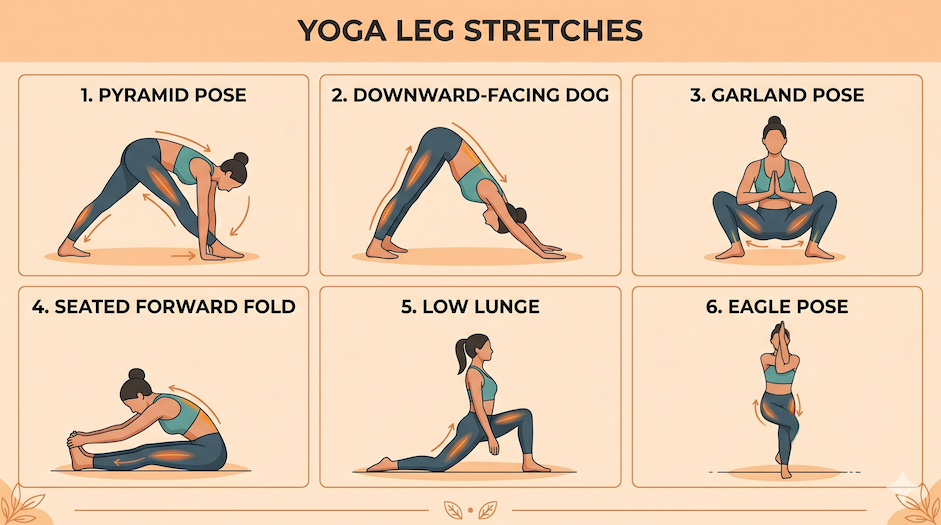
This guide breaks down 10 poses organized by the full lower body chain. By moving from your hips all the way down to your feet, using yoga for leg stretches ensures that every session addresses the whole system, rather than just one part that happens to hurt on a particular day.
If you feel like you are constantly stretching but never actually gaining flexibility, you are not alone. Here are three reasons why your legs stay tight:
What Yoga Adds to the Equation:
[inline-CTA-1]
The following 10 poses are sequenced intentionally from hips to feet. Within each group, we start with accessible floor poses to relax the nervous system, followed by functional, weight-bearing standing poses.
Releasing the hips and hip flexors first makes every hamstring and quad stretch that follows significantly more effective.
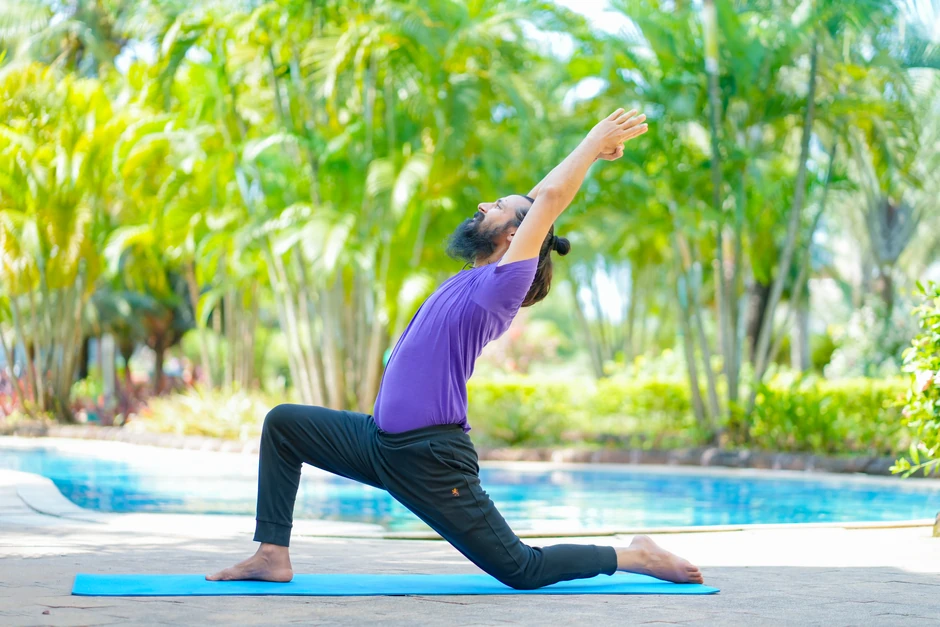
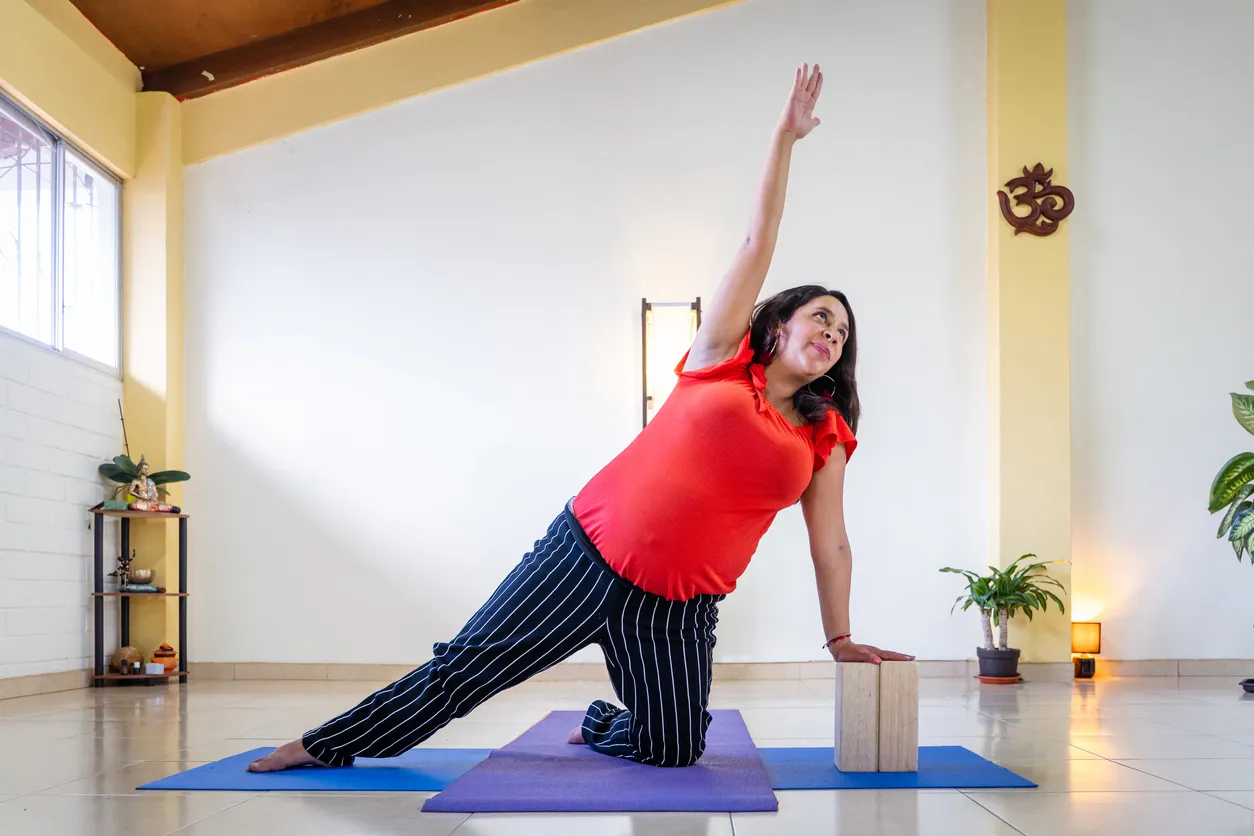
It deeply stretches the front of your back hip. Since sitting at a desk keeps your hips scrunched up all day, finally opening them up instantly takes the pressure off your lower back and hamstrings.
Key alignment cue: Tuck the back toes and press the back heel toward the wall behind you. This actively lengthens the quad and hip flexor simultaneously, rather than just passively stretching the inner groin.
Modification: Place both hands on yoga blocks on either side of the front foot to keep a more upright torso without straining.
It stretches the quadriceps and hip flexors simultaneously in a supine (lying down) position. This allows the deep psoas muscle to release without your body having to balance, making it more effective for deep quad release than standing stretches.
Key alignment cue: If your lower back arches significantly off the floor, stay seated upright rather than reclining. A heavy back arch indicates the quads are too tight for the full reclined version today.
Modification: Sit on a block between your heels to reduce knee flexion; place a bolster or rolled blanket under your back rather than lying fully flat on the floor.
This is the most commonly tight muscle group in the lower body—and the most frequently stretched incorrectly.
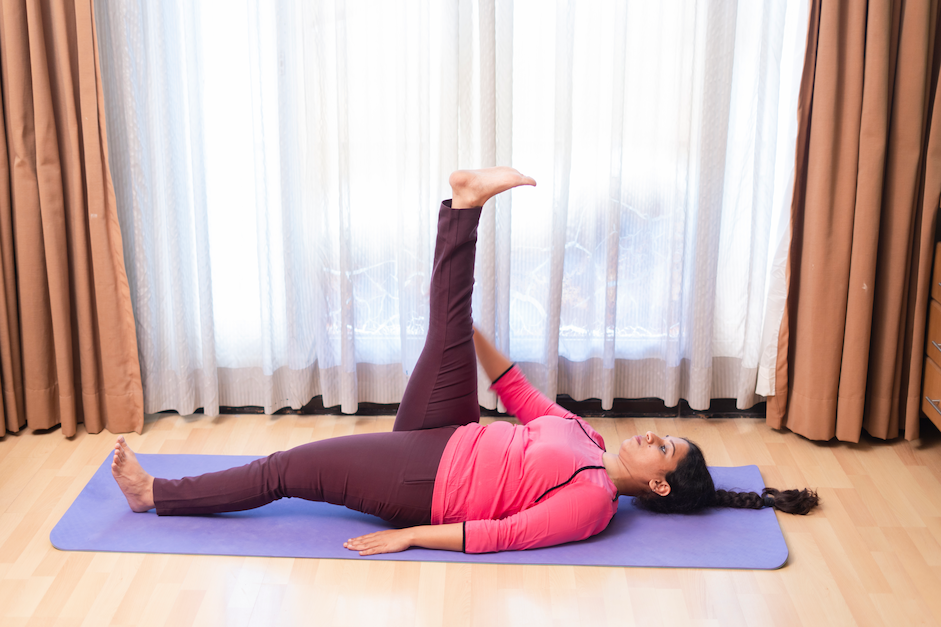
It stretches the hamstring from its origin at the sit bone through full hip flexion. The supine position neutralizes the pelvis so the lower back cannot compensate by rounding.
Key alignment cue: Keep the grounded leg's thigh pressed actively into the floor. The moment it lifts, the lower back takes over the stretch, and the targeted hamstring releases tension.
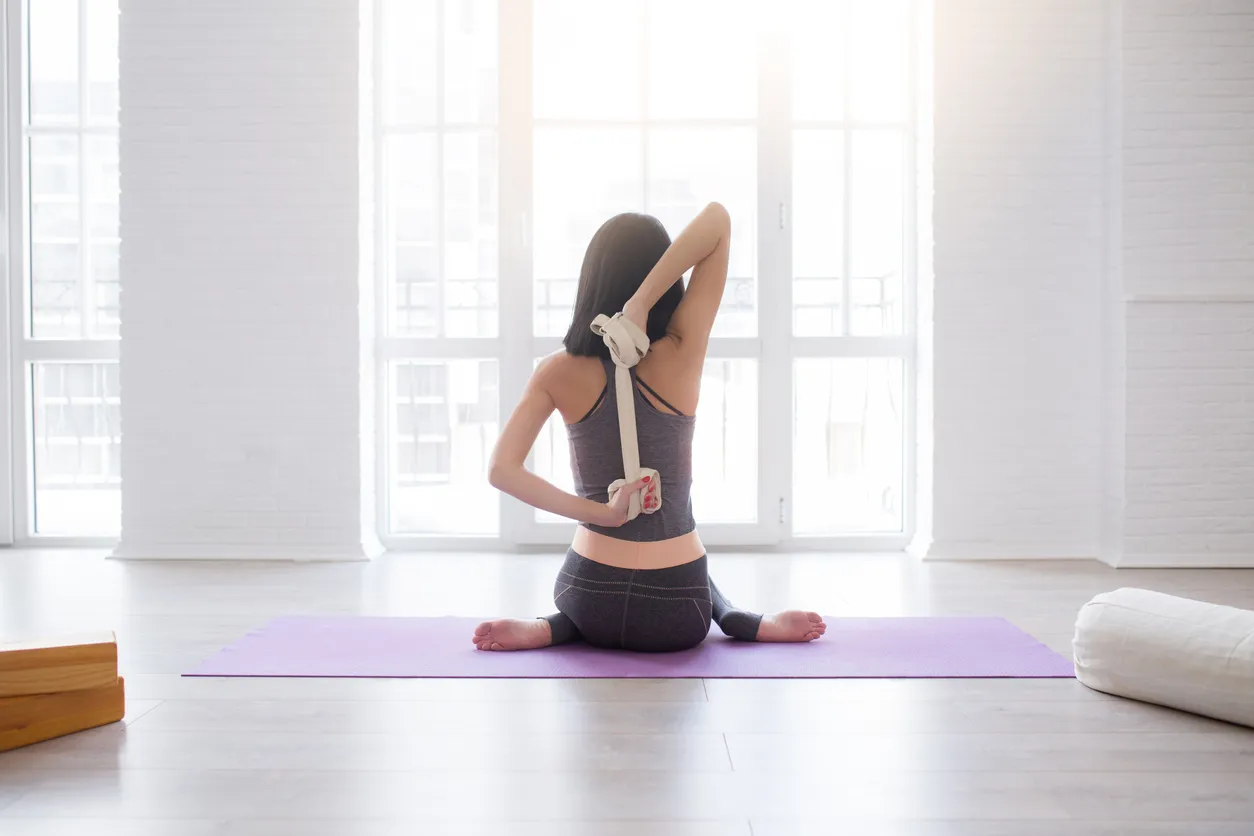
Modification: Loop a yoga strap around the arch of the raised foot. Hold the strap at a comfortable length rather than straining to grip your toe.
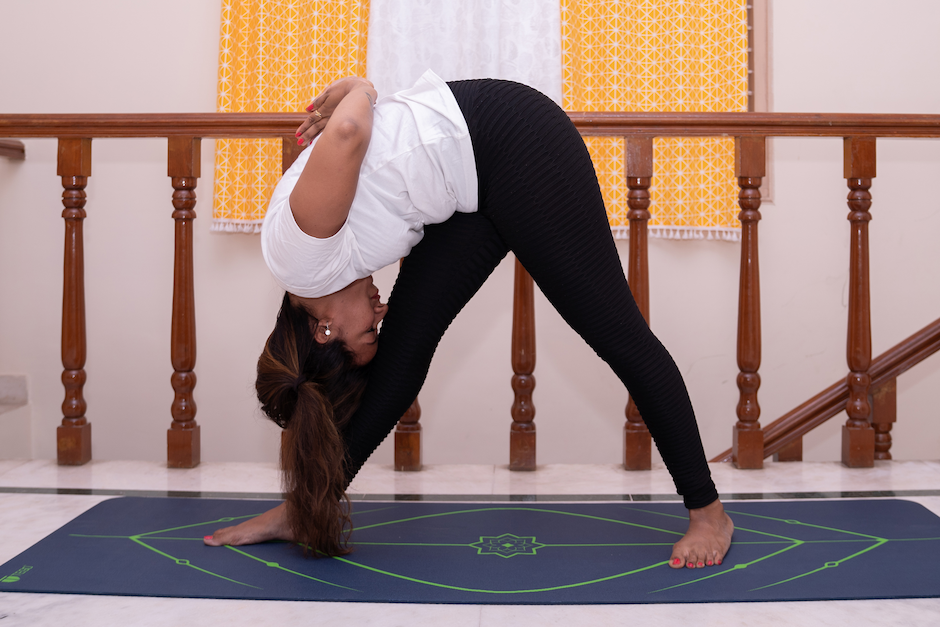
Pyramid Pose isolates one hamstring at a time under body weight, which trains the muscle to maintain length in a functional position. This stretch transfers to daily movement and sport more directly than supine versions.
Key alignment cue: Square both hips to face the front foot before folding. The tendency to rotate the back hip outward shifts the stretch away from the hamstring and into the IT band.
Modification: Place your hands on blocks on either side of the front foot; shorten your stance if your hips will not square.
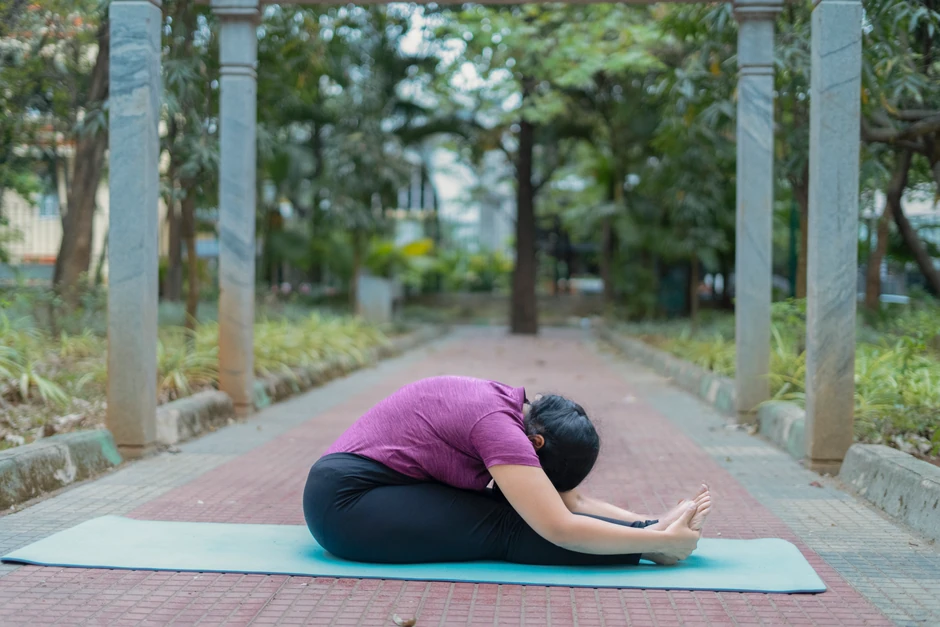
This pose stretches both hamstrings, the calves, and the entire spinal erector chain simultaneously.
Key alignment cue: Sit on the edge of a folded blanket or block to tilt the pelvis forward before folding. Without anterior pelvic tilt, the lower back rounds immediately, and the hamstrings barely stretch.
Modification: Loop a strap around both feet, holding it at a comfortable arm's length. This allows for a flat-back position at whatever hamstring length you have today.
This is your downstream chain. Tight calves pull the ankle into plantar flexion and silently restrict every pose above them.

It is the only pose that stretches your hamstrings, calves, and ankles all at the same time. It opens up the entire back of your legs while gently lengthening your spine. The pedalling action helps you focus on stretching one calf at a time before holding the pose with both legs.
Key alignment cue: Prioritize a long spine over straight legs. A flat back with bent knees is far more beneficial than a rounded back with straight legs. Your hamstrings and calves will lengthen over time; your spine must be protected now.
Modification: Keep a significant bend in both knees to allow for spinal length. You can also walk your hands further forward to increase the angle if your calves are very tight.
Standard Uttanasana stretches the hamstrings and the superficial calf (gastrocnemius). Elevating the heels shifts the emphasis to the soleus and Achilles—the exact muscles most responsible for ankle stiffness and conditions like plantar fasciitis.
Key alignment cue: Both variations (standard and heel-elevated) require a soft knee bend for the first several breaths. Locking the knees immediately triggers the stretch reflex in the calves and hamstrings, causing them to grip rather than release.
Modification: Rest your hands on yoga blocks on the floor, or place your hands on a chair seat if you have significant hamstring or calf restriction.
These areas are often entirely neglected in standard leg stretching routines. Quad tightness directly compresses the knee joint, while a tight IT band restricts healthy hip extension.
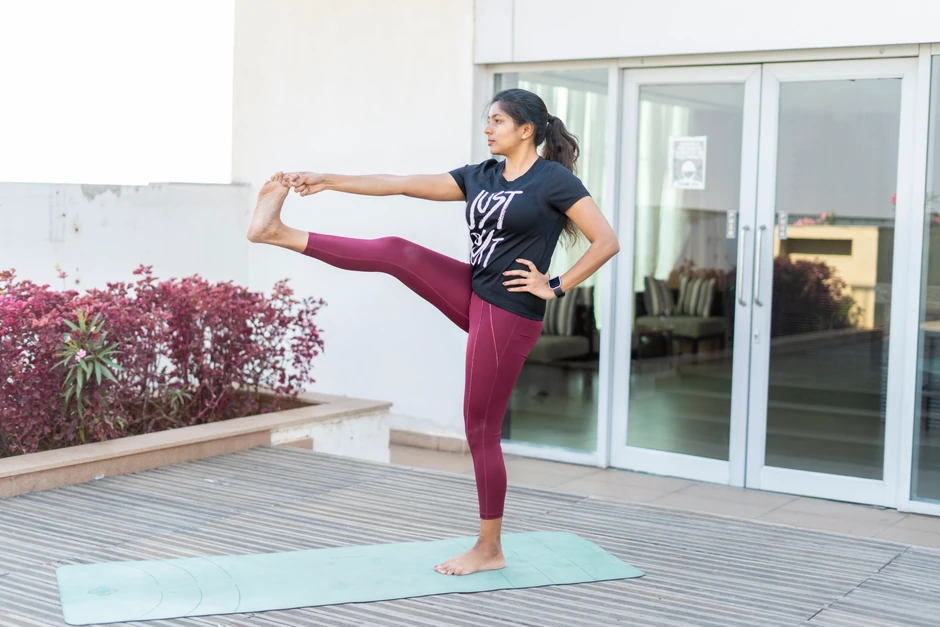
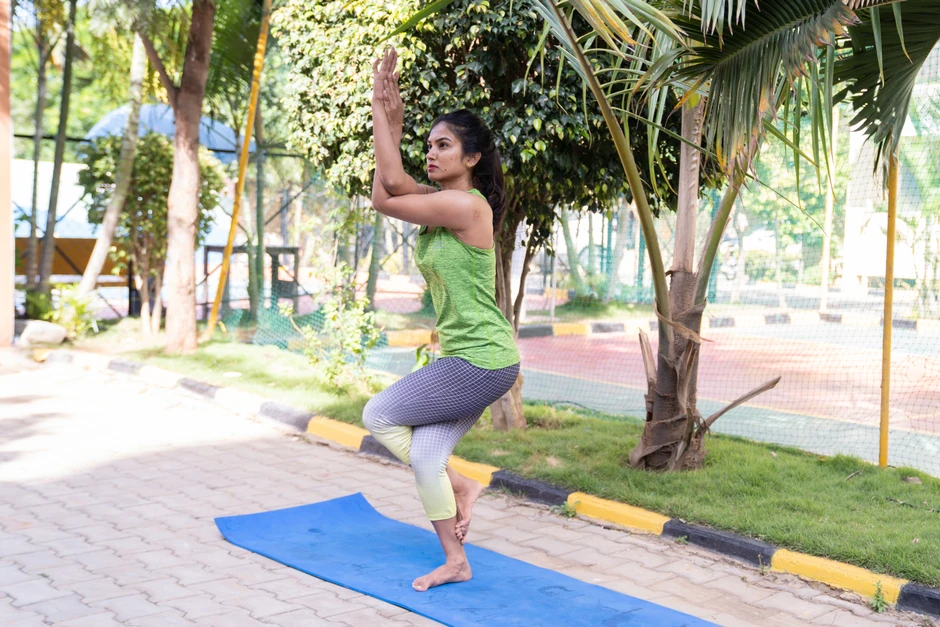
This pose uniquely addresses both legs simultaneously in different ways. The raised leg gets a deep hamstring stretch, while the standing leg builds quad stability in a lengthened position. The IT band of the standing leg is also loaded laterally when the raised leg extends to the side.
Key alignment cue: Maintain a long spine and a lifted chest. The tendency is to hinge forward from the hip to reach the foot, which reduces the hamstring stretch and risks lower back rounding.
Modification: Loop a strap around the raised foot to hold it extended without gripping your toe. This allows your torso to stay perfectly upright.
Stretches the outer hip, IT band, and glute of the wrapped leg. The crossed-leg position creates a unique lateral compression-stretch of the outer hip and IT band that no traditional forward fold or hamstring stretch achieves. It is particularly effective for runners and cyclists dealing with outer knee tightness.
Key alignment cue: Sit back into an imaginary chair as you wrap the legs. The deeper you sit, the more the outer hip and glute of the top leg stretch. Standing up too straight reduces the IT band stretch significantly.
Modification: Rather than fully wrapping the foot behind the calf, simply cross the thigh over and sit into the squat. A full foot wrap is not necessary to get the stretch benefits.
This is your structural foundation. Restricted ankles physically limit every single pose above them, yet they are almost never addressed in traditional leg stretching routines.
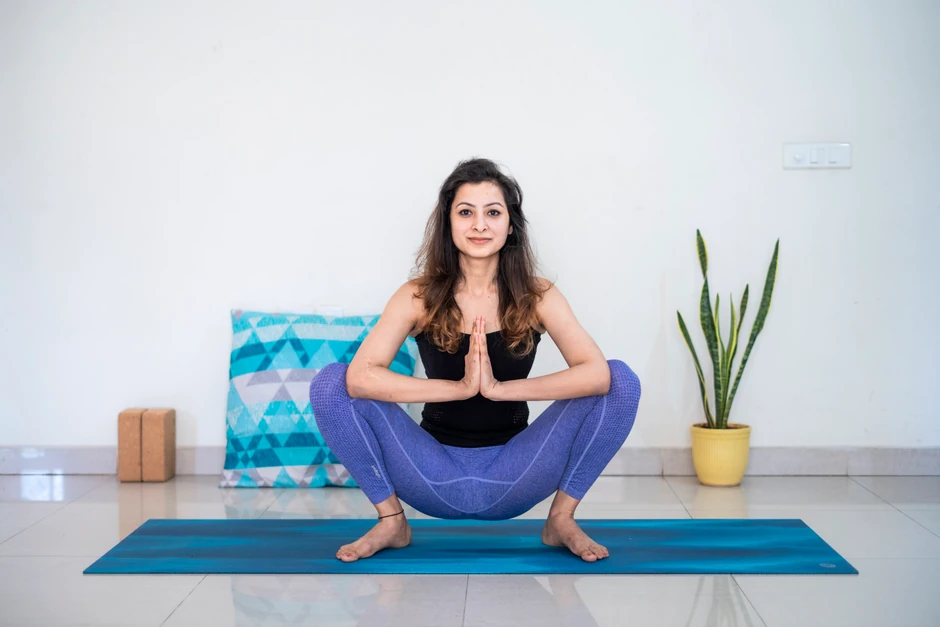
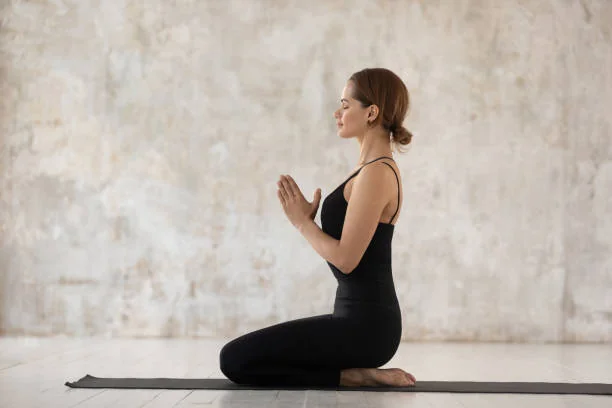
A deep stretch for your ankles that fixes the stiffness holding you back. Practicing this pose gradually restores your ankle flexibility, which naturally makes every other leg stretch much easier.
Key alignment cue: Keep your heels on the floor (or resting on a rolled blanket if they naturally lift) and gently press your inner thighs out against your upper arms. This creates space in the groin and inner hip that allows the squat to deepen over time.
Modification: Sit on a yoga block at its lowest or medium height to take the pressure off your knees, or place a rolled blanket under your heels to safely manage ankle restriction.
This sequence works on your specific tightness pattern — whether that is desk-worker hips, runner's calves, or athlete quads.
[inline-CTA-2]
Knowing the right stretches is only half the battle; how you order them changes the result. Whether you need a quick release or a deep flexibility session, here is how to structure your routine.
Four Key Sequencing Principles:
Depending on your daily habits or specific physical pain points, you may need to adjust your focus. Here is how to tailor your routine:
The ten poses above cover the complete lower body system—from the deep hip flexors all the way down to your ankles. Lasting leg flexibility requires addressing this entire connected chain, rather than just pulling on the tightest spot.
Figuring out exactly which poses to prioritize, what order to do them in, and which modifications are necessary for your unique body is exactly what personalized guidance delivers.
Book your free 1-on-1 session and experience the benefits of personalized yoga coaching first-hand.
The best yoga leg stretches for beginners are:
Both require no prior flexibility and can be safely modified to meet you exactly where you are today.
Daily practice of 10–15 minutes produces much faster results than longer, exhausting sessions two or three times a week. Consistency matters more than duration—even 5 dedicated minutes of Downward Dog and Low Lunge daily will produce noticeable physical change within 3–4 weeks.
Some yoga leg stretches help sciatica, while others can seriously aggravate it. Poses that flex the hip with a perfectly straight leg (like Supta Padangusthasana) can pull and tension the sciatic nerve. The safest yoga stretches for sciatica leg pain utilize a strap to keep a slight bend in the knee until symptoms settle.
Both, ideally. Yoga strap leg stretches extend your reach in supine and seated poses so you can maintain proper alignment without forcing your body. Yoga block leg stretches elevate your hips in seated poses to allow an anterior pelvic tilt—the exact position the hamstrings need to actually stretch.
Together, they make every pose accessible right from the first session.
For actual flexibility gains, hold each stretch for 45–60 seconds. For therapeutic or deep tissue release (like tight calves or chronic hamstring tension), aim for 60–90 seconds. Shorter holds—which are very common in fast-paced flow classes—are fantastic for warming up, but they do not create lasting length changes in the muscle or fascia.

Receive personalized guidance tailored to your unique fitness goals, live with a dedicated coach—no credit card required.
Use a yoga block to deepen 10 essential stretches for your back, hips, chest, and legs. Step-by-step poses for beginners and experienced yogis alike.
Learn how to use a yoga strap to deepen 8 essential stretches for your back, hips, shoulders, and legs. Step-by-step poses for all levels.
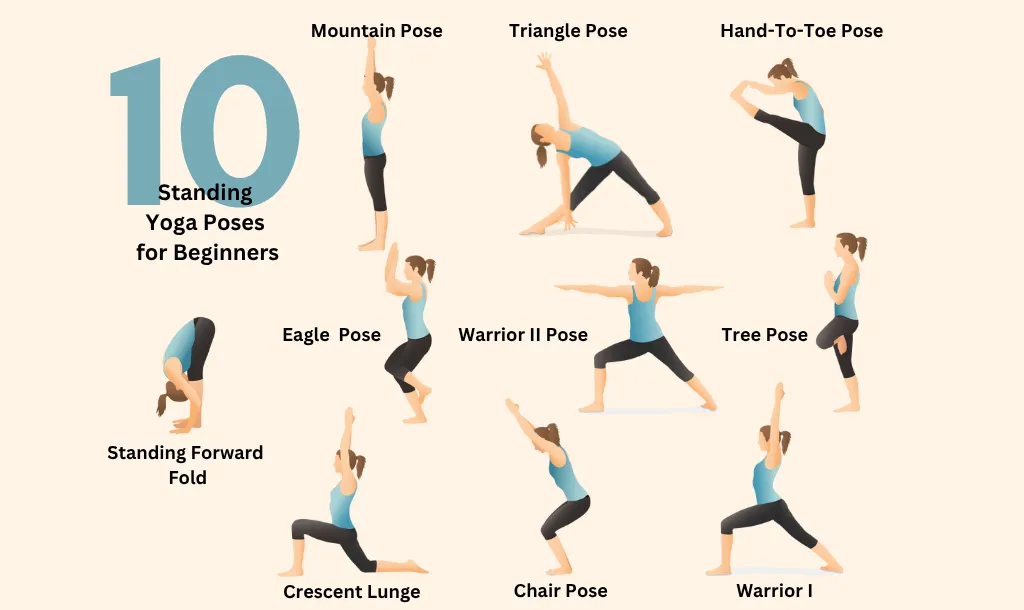
Standing yoga poses can build strength in the legs, core, and lower back muscles. Explore some poses that can improve balance and alignment and build stability!


© Copyright 2025 MyYogaTeacher Inc