Yoga blocks do more than add support. They can change the angle, depth, and alignment of a stretch.
The right block height can make a pose feel more stable, more accessible, or more effective.
In some stretches, placing a block under the hips or hands can actually help you go deeper with better form.
Yoga block stretches can target the back, hips, chest, shoulders, and legs without forcing flexibility.
Small changes in block placement can make a big difference in where you feel the stretch and how safely you hold it.
Table of contents
How to Use | How to Use a Yoga Block for Stretching
10 Yoga Block Stretches | Yoga Block Stretches by Body Part
Tips to Use | Tips for Better Results With Yoga Block Stretches
Takeaway | Takeaway
Ever feel like a stretch would work better if your body had a little more support? That is where yoga block stretches can help.
A block is not just for beginners. In the Iyengar tradition, it is used as a practical tool to improve alignment, change the angle of a stretch, and help you stay in a pose without straining.
That is what makes stretches with a yoga block so useful. They can support your body, extend your reach, and make stretches for the back, hips, chest, and legs feel more effective. Instead of forcing your body into position, the block helps you create more stability, comfort, and depth over time.
Keep reading to learn how to use a yoga block and which stretches can help improve flexibility more safely and effectively.
How to Use a Yoga Block for Stretching
A yoga block can make stretches feel more stable, more accessible, and more effective. The key is knowing which height to use and whether the block is there to support your body or extend your reach.
The 3 yoga block heights
Flat (lowest height): The most stable option. Best for seated stretches, under the hips, and gentle support.
On its side (medium height): A good middle ground for standing stretches, under the hands, or under the sacrum in supported backbends.
Upright (tallest height): Gives the most lift. Useful when you need extra height under the hips or hands, but it can feel more intense and less stable.
Two ways a yoga block changes a stretch
Support & Stability: The block holds part of your body weight so your muscles can relax more fully. This works well in poses like Supported Pigeon or Reclined Butterfly.
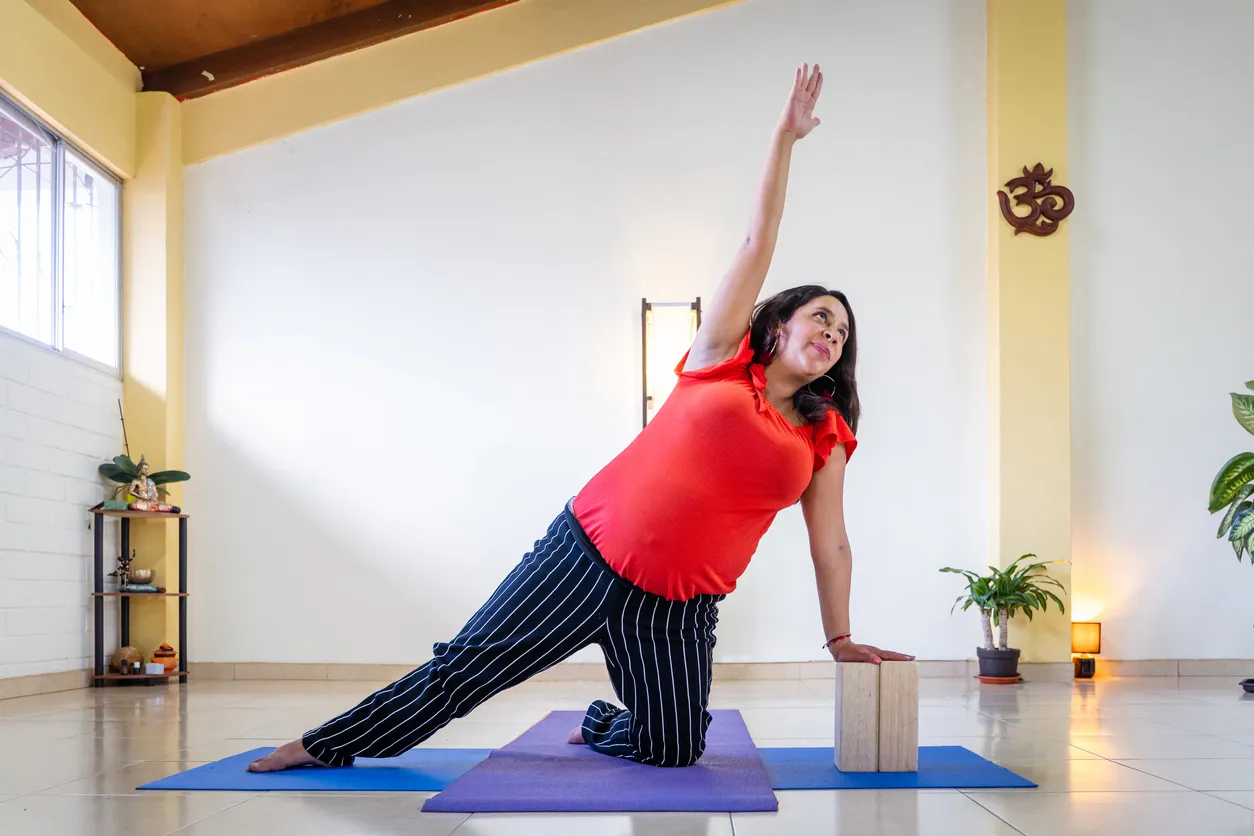
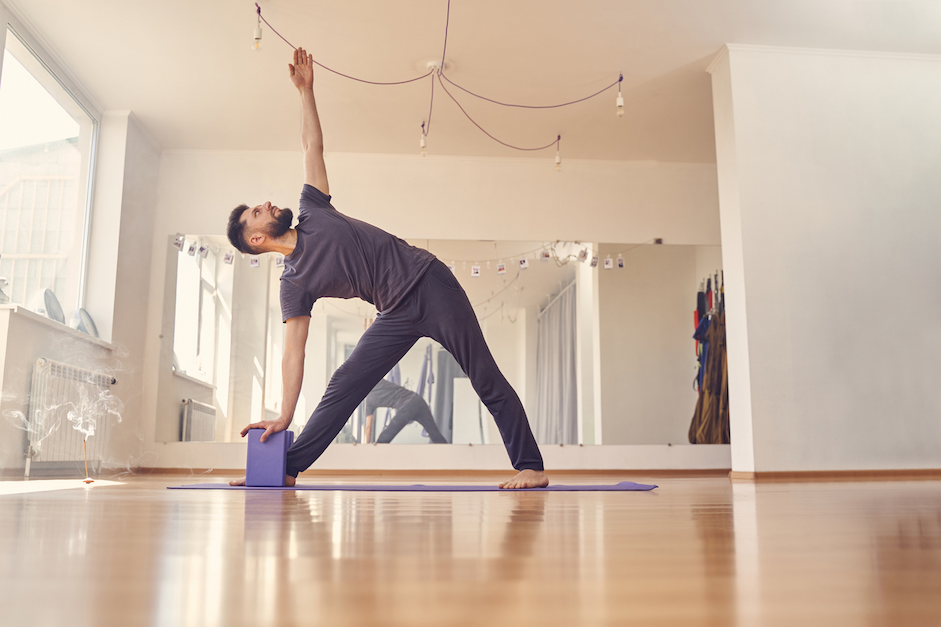
Extension & Reach: The block brings the floor closer to you so you can ensure better alignment while stretching. This is common in poses like Triangle or Standing Forward Fold.
Foam vs. cork blocks
Foam blocks are lighter, softer, and often more comfortable for longer or restorative holds
Cork blocks feel firmer and more stable, which can be helpful in standing stretches or if your hands get sweaty
Used well, a yoga block is not just a prop for beginners. It is a simple tool that helps you stretch with better alignment, less strain, and more awareness.
[inline-CTA-1]
Yoga Block Stretches by Body Part
Below are 10 effective yoga block stretches for the back, hips, chest, shoulders, and legs. Each one uses the block a little differently to support your body, improve alignment, or help you deepen the stretch without strain.
Back Stretches
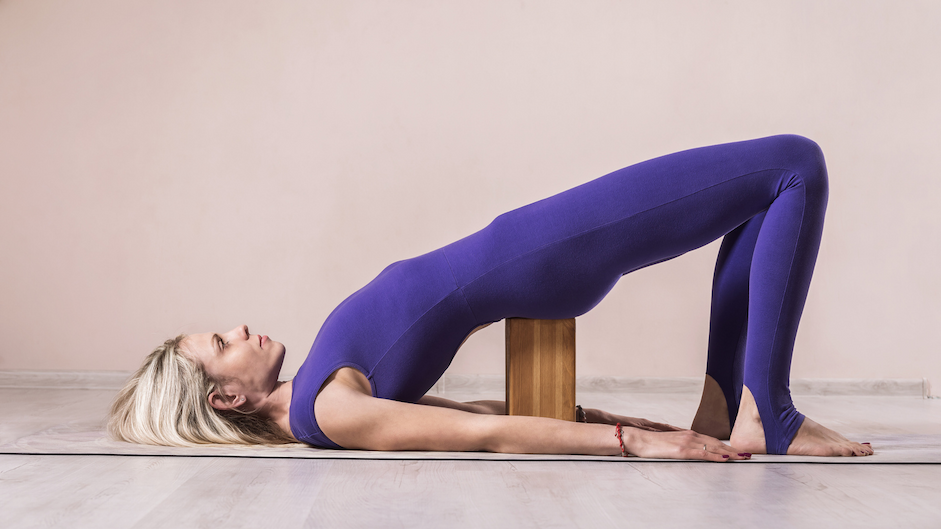
1. Supported Bridge Pose (Setu Bandha Sarvangasana with Block)
This is one of the most effective yoga block stretches for lower back relief because it turns an active backbend into a passive, supported stretch.
Block setup: Place the block under your sacrum on medium or low height, not under the lower back.
Hold: Start with 30 seconds and build to 1 to 2 minutes.
You should feel: A gentle release across the lower back, hip flexors, and front body.
Stop if: You feel sharp compression in the lower back.
Steps:
Lie on your back with your knees bent and feet hip-width apart.
Press into your feet and lift your hips slightly.
Slide the block under your sacrum and lower your weight onto it.
Rest your arms by your sides and let your hips relax fully.
Sitting on a block can make this stretch much more accessible by helping the pelvis tip forward.
Block setup: Sit on the block on a flat or medium height.
Hold: Stay for 30 to 60 seconds.
You should feel: A stretch in the inner thighs, hamstrings, and lower back.
Stop if: The lower back rounds sharply or the stretch becomes pinchy.
Steps:
Sit on the block and open your legs into a comfortable wide position.
Place your hands on the floor or on another block in front of you.
Lengthen your spine and hinge forward from the hips.
Keep the chest broad and the lower back long.
Only fold as far as you can without rounding heavily.
Getting the block placement right can make a big difference in how a stretch feels.
[inline-CTA-2]
Tips for Better Results With Yoga Block Stretches
A yoga block can make stretches feel more supported, but small adjustments often make the biggest difference. The right height, placement, and amount of weight you put on the block can help you stretch more comfortably and get better results over time.
Start at medium height, not the lowest: Most people instinctively choose the lowest block setting, but medium height is often a better starting point. It gives you enough lift to keep good alignment without forcing the stretch.
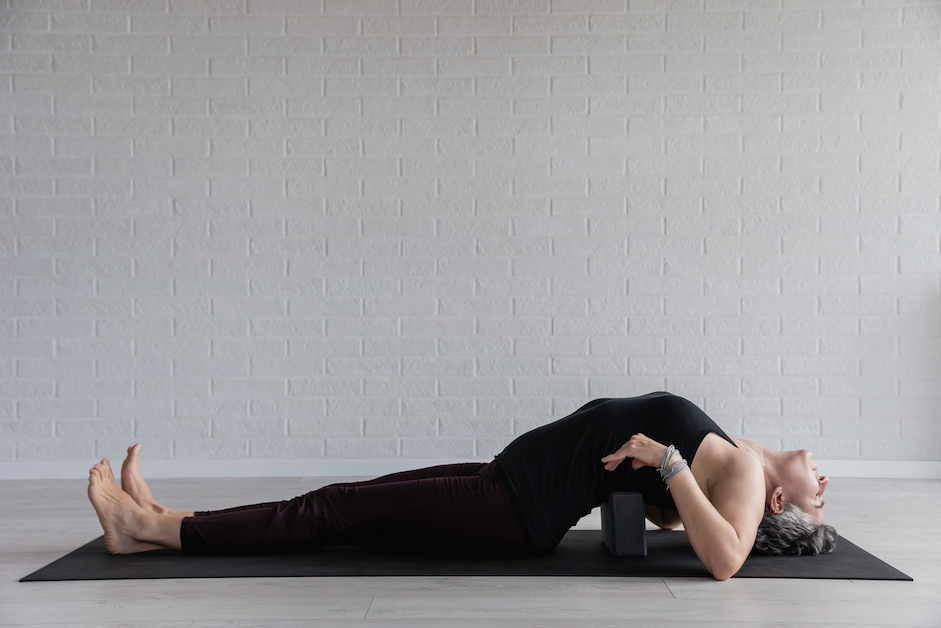
Let the block support your weight: In passive stretches like Supported Bridge, Fish, or Reclined Butterfly, fully rest into the block instead of hovering above it. That support helps the muscles release more completely.
Change heights slowly: It is fine to adjust block height during a stretch, but do it gradually. Move on an exhale, then stay for 2 to 3 breaths before deciding whether the new position feels better.
Choose the right block material: Foam blocks are softer and more comfortable for longer, restorative holds. Cork blocks are firmer and more stable, which can feel better in standing poses or when you need extra grip.
Use two blocks when needed: One block is enough to start, but two can make many stretches more comfortable and effective. This is especially helpful in poses like Reclined Butterfly, Supported Fish, and Seated Wide-Leg Forward Fold.
The block should feel supportive, not sharp: A yoga block should create a broad sense of support, not a sharp point of pressure. If anything feels poky or uncomfortable, especially around the spine, adjust the height or placement right away.
Takeaway
A yoga block is not a shortcut. It is a tool that helps you stretch with better alignment, better support, and more control. In many poses, the right block placement can be the difference between straining through a stretch and actually getting the benefit of it.
That is why precision matters. Your ideal block height and placement depend on your flexibility, proportions, and the goal of the pose. With guidance from a certified yoga instructor, you can learn how to use your block correctly from the very first stretch.
Frequently Asked Questions
What are yoga blocks used for in stretching?
Yoga blocks help change the height or angle of a stretch so you can move with better alignment. They work in two main ways: they can support your body weight so muscles relax more fully, or they can extend your reach so you do not have to force your way into a position.
Which yoga block stretches are best for lower back pain?
Supported Bridge Pose and Seated Forward Fold are two of the most helpful options. Supported Bridge uses the block under the sacrum to create a gentle passive release, while Seated Forward Fold helps you keep the spine long instead of rounding into the lower back.
How many yoga blocks do I need?
One yoga block is enough to get started. But two blocks give you more options, especially for stretches like Reclined Butterfly, Supported Fish, and Seated Wide-Leg Forward Fold. If you plan to use blocks often, having two is worth it.
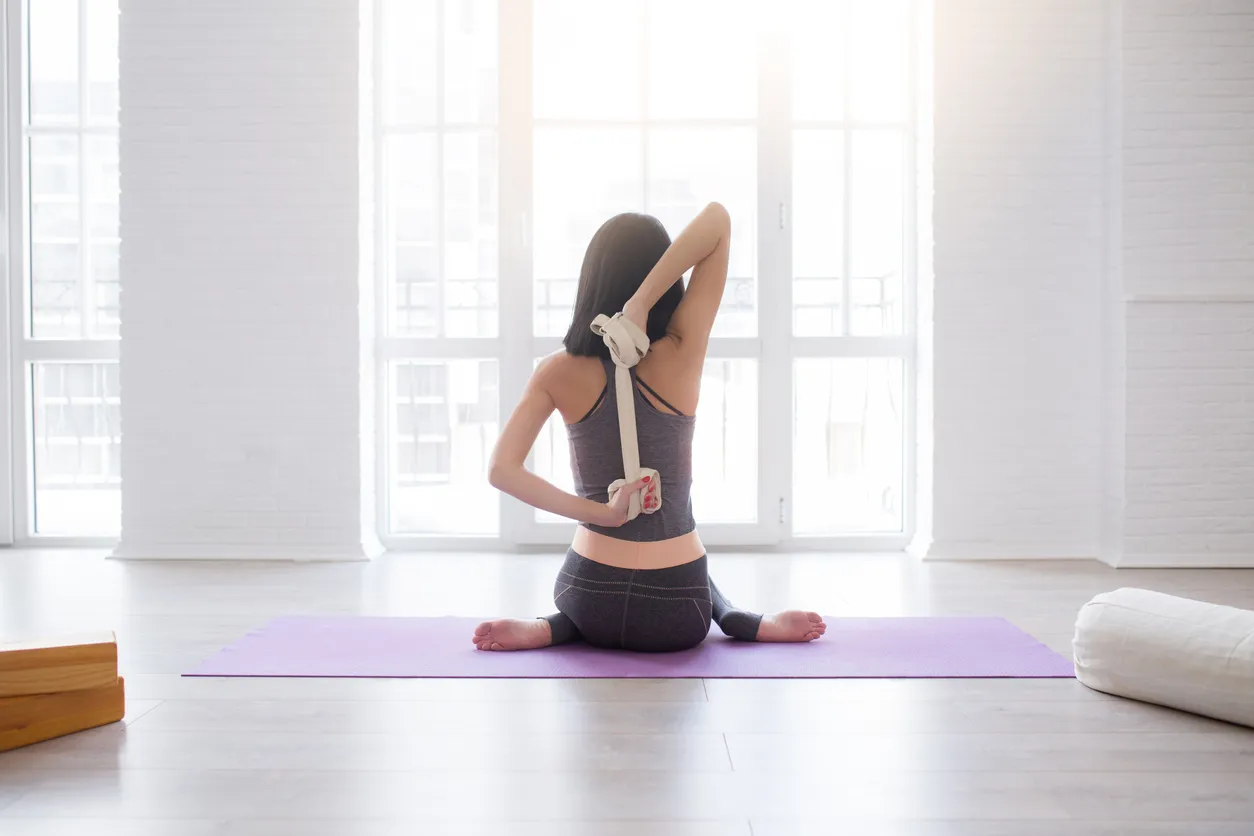
What’s the difference between using a yoga block and a yoga strap?
A yoga block changes the height or angle of a stretch, while a yoga strap extends your reach along a longer line. They do different jobs and often work well together, especially in forward folds and hamstring stretches.
How long should you hold a yoga block stretch?
For flexibility, hold most stretches for about 30 to 60 seconds. For more restorative or deeply supported stretches, you can stay for 1 to 3 minutes as long as the position feels comfortable and steady.
No items found.
Online Yoga Classes with Expert Indian Teachers - Live!
1-on-1 & Group Classes - Available 24x7, Live via Zoom
Enjoy a Free 1-on-1 Session with a Coach!
Receive personalized guidance tailored to your unique fitness goals, live with a dedicated coach—no credit card required.
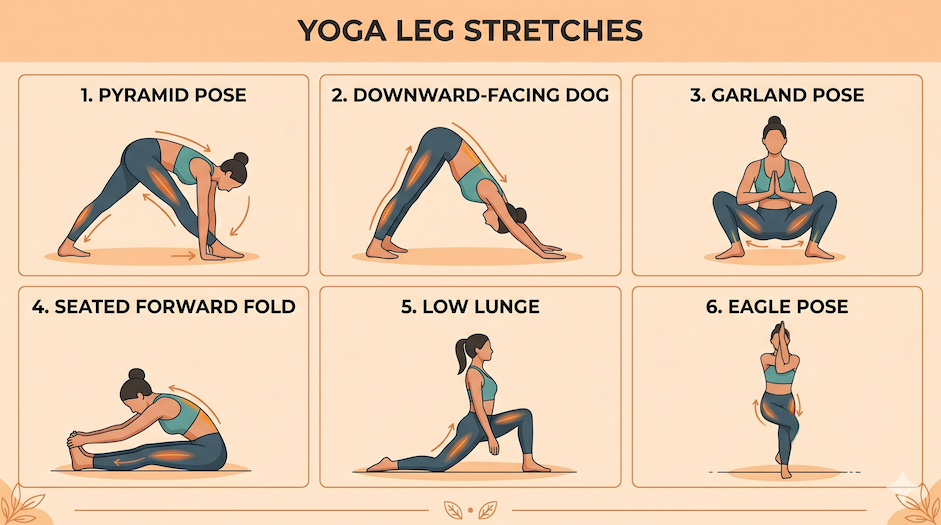
Tight legs from sitting, running, or training? These 10 yoga leg stretches target your hamstrings, calves, hip flexors, quads, and feet — step by step.
Celebrate International Yoga Day with MyYogaTeacher!
Join the Live Surya Namaskara Challenge on June'21. Choose 12, 24, 54, or 108 rounds of guided Sun Salutations, complete the challenge, and receive your certificate.